When a hydraulic MTB brake feels spongy, the problem is usually not strength, it is trapped air or poor fluid management. The brake bleed order matters less than the method, but it still matters enough to get right: I want the right brake first, the right bleed direction inside that brake, and no shortcuts that pull air straight back in. This guide breaks down the practical sequence I use, what changes from brand to brand, and the mistakes that waste time.
What matters most before you start
- For a normal MTB, the front and rear brakes are separate systems, so there is no universal front-to-rear rule.
- If I am bleeding both brakes, I usually start with the rear or with the brake that feels worst and has the longer hose.
- Inside one brake, follow the manufacturer’s direction: most systems move fluid from caliper to lever or from lever to caliper with the lever and reservoir kept level.
- Use the correct fluid only. Shimano and Magura use mineral oil; Hope uses DOT 4 or DOT 5.1; SRAM varies by brake family.
- Keep pads, rotors, and bleed ports clean. A perfectly bled brake can still feel bad if contamination gets onto the friction surfaces.
- If your manual says something different from a generic workshop tip, follow the manual.
- Finish with a lever-feel test, a leak check, and a short re-bed if pads or rotors were disturbed.
Which brake to bleed first when both need work
On a mountain bike, I treat front and rear as two separate jobs. There is no hydraulic link between them, so one brake does not need to be bled before the other for technical reasons. If I am doing both, I normally start with the rear because the hose is longer, routing is fussier, and any air in the longer circuit tends to make the problem more obvious.
If your bike uses a linked or unusual braking setup, the answer can change, so I would follow the maker’s service sheet rather than a generic habit. For a standard trail or XC bike, though, front-versus-rear is a workflow choice, not a mechanical law.
That said, I will start with the brake that feels worst if one lever is clearly softer than the other. The point is not to follow a ritual; it is to avoid creating extra work. Once one brake is sorted and clean, I move to the second with the same kit, the same cleanliness, and the same lever position.
| Situation | Best order | Why I would do it that way |
|---|---|---|
| Only one brake feels spongy | Bleed that brake first | Fix the actual problem instead of opening a healthy circuit for no reason. |
| Both brakes need a full service | Rear first, then front | The rear hose is usually longer and more awkward to route cleanly. |
| One brake had a hose shortened | Service that brake immediately | Cutting the hose introduces air, so that circuit needs attention before anything else. |
| Contamination or crash damage on one side | Deal with the damaged brake first | Contamination and bent parts are more urgent than a cosmetic setup bleed. |
That gives you a sensible workshop rhythm, but the real key is what happens inside each brake circuit. That is where air hides, and that is where the bleed sequence actually matters.
The sequence inside one brake circuit
When I bleed a single brake, I follow the manufacturer’s direction of travel and keep the highest point of the system where air can escape. Air always wants to rise, so the lever angle, reservoir position, and caliper orientation matter more than people think. If the manual says to hold the lever level or rotate it slightly, I do exactly that.
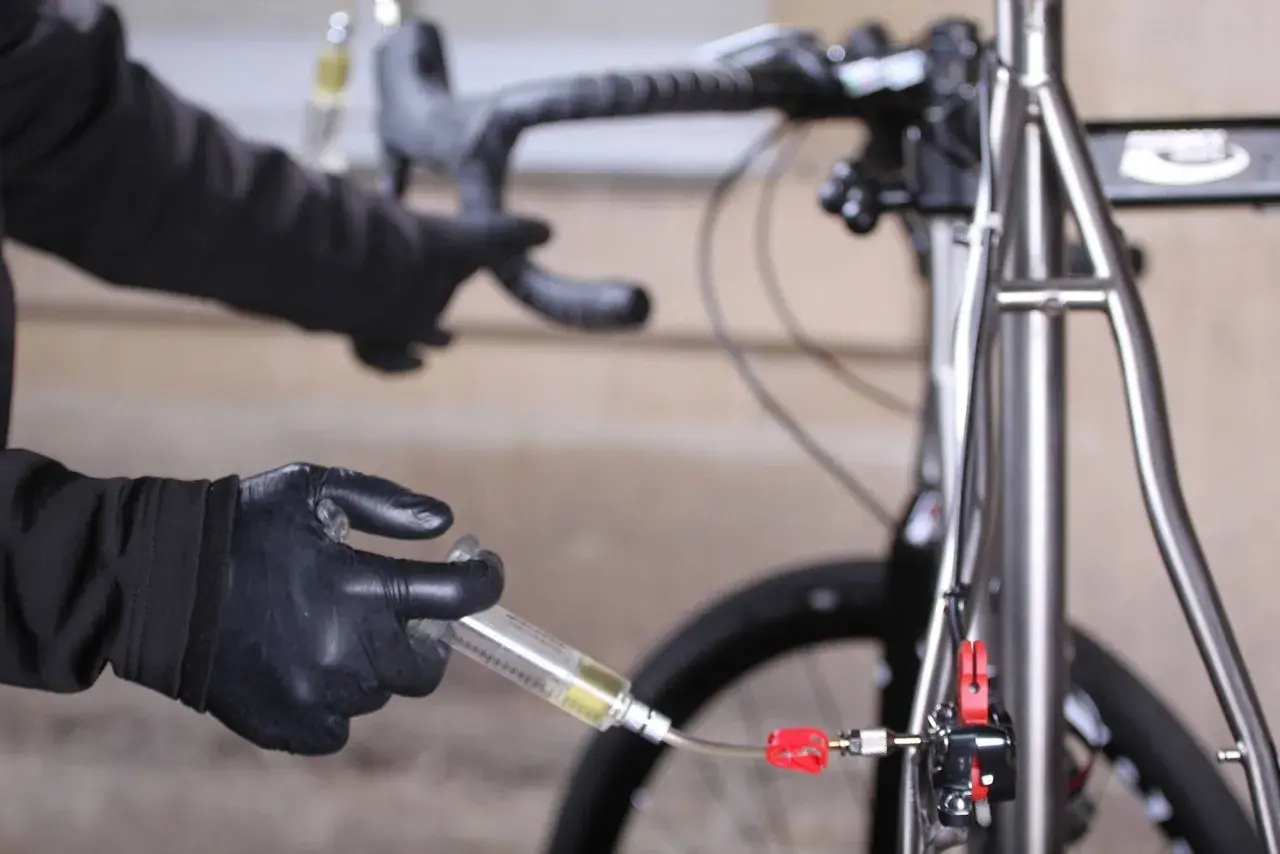
Most MTB systems fall into one of two patterns. Shimano pushes fluid with a funnel at the lever and a bleed screw at the caliper, while other systems use a syringe-and-reservoir approach that works in the opposite direction. The point is not which end is “first” in theory; the point is to move fluid along the designed path without trapping bubbles in the hose or behind the pistons.
Shimano’s routine is particularly precise: with the lever depressed, the caliper bleed screw is opened and closed in rapid 0.5-second bursts, usually 2 to 3 times, and the lever body is then tilted 30 degrees each way to chase out stubborn bubbles. That kind of detail is why a generic order chart is less useful than a brand-specific sequence.
Read Also: SRAM Brakes Too Spongy? Fix Lever Feel with Pad Advance
What I check before the first fluid moves
- Pad spacers or bleed blocks are installed.
- The wheel and rotor are out of the way if the manual calls for it.
- The lever and reservoir are positioned as the manufacturer specifies.
- The correct fluid is in the syringe or funnel, with no old fluid mixed in.
- The caliper and hose are clean enough that I can spot a leak immediately.
That sequence sounds simple, but it works only if you respect the high points and do not let the system inhale air again halfway through. The next section covers the mistakes that break that rule fastest.
Mistakes that put air straight back in
Most bad bleeds are not caused by bad equipment. They are caused by one careless move, repeated several times. The most common one is releasing the lever while the caliper bleed nipple is still open. Hope’s current instructions are blunt about this, and for good reason: that single mistake can drag air back into the line.
The next problem is letting the reservoir run low. Shimano’s manuals are very clear that the fluid level must be maintained so air is not drawn in through the funnel. If the top end empties, you are not finishing a bleed, you are starting again. A third mistake is forgetting the bleed block or pad spacer, which lets the pistons move too far and makes the caliper harder to purge properly.
- Do not use the wrong fluid just because it is on the shelf.
- Do not open a dirty bleed port and let grit fall into the system.
- Do not contaminate pads or rotors with oil, even a small amount.
- Do not assume a firmer lever means the job is finished if the bite point still wanders.
- Do not force pistons back with sharp tools that can scar the seals.
Once those errors are out of the way, the brand-specific details become much easier to follow. That is the part many riders skip, and it is exactly where the differences start to matter.
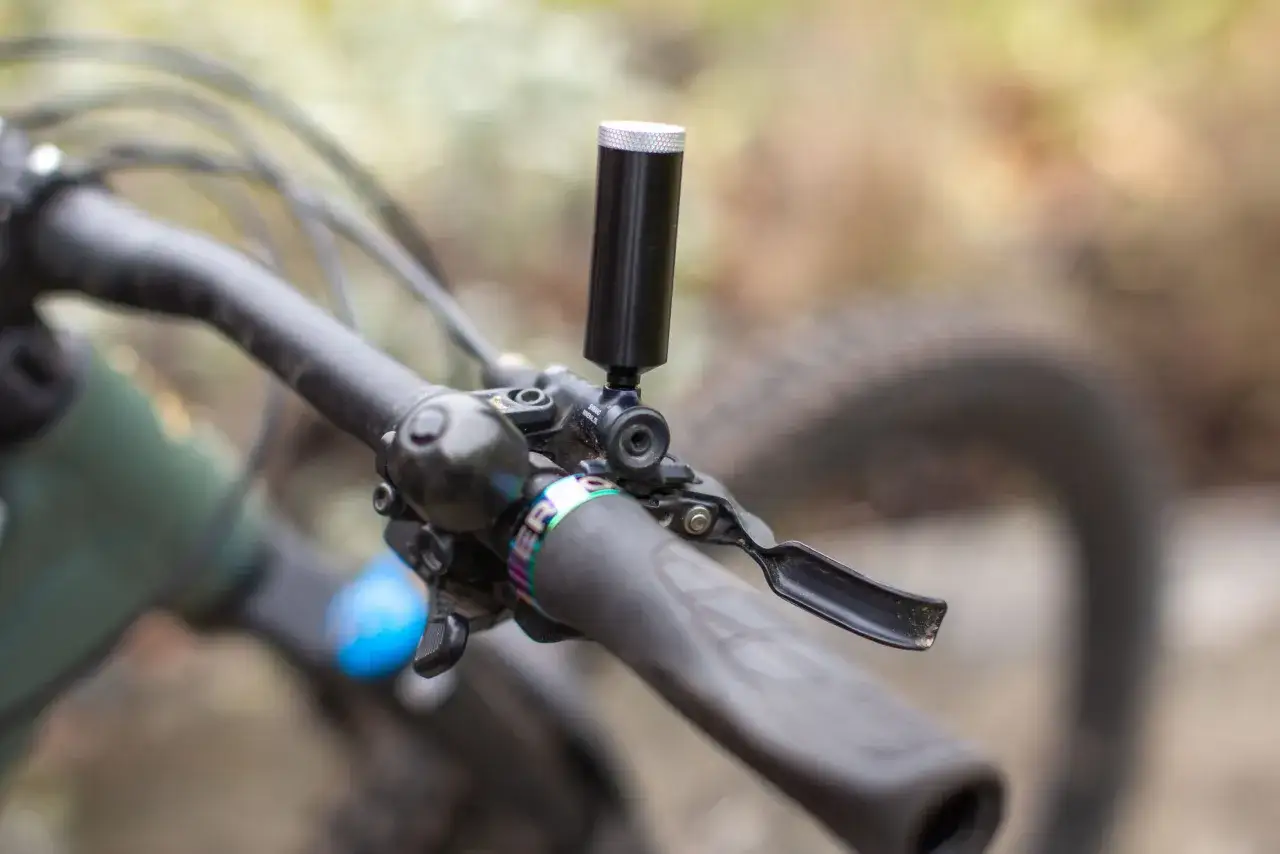
How the main MTB brands handle the process
There is no universal brake bleed order across Shimano, SRAM, Hope, and Magura systems. The brands solve the same problem in different ways, so copying a generic YouTube routine can leave you with a lever that feels okay in the stand and vague on the trail.
| Brand | Fluid | Bleed style | Practical note |
|---|---|---|---|
| Shimano | Mineral oil | Funnel at the lever, bleed screw at the caliper | Keep the lever level, then use the 0.5-second caliper releases and 30-degree tilts to chase out stubborn bubbles. |
| SRAM | Depends on brake family | Usually a syringe-and-reservoir style procedure | Check the exact model first, because SRAM sells both DOT and mineral-oil systems. |
| Hope | DOT 4 or DOT 5.1 | Open the caliper nipple, pull the lever, close, repeat | Do not release the lever while the nipple is open; Hope also recommends working each caliper individually. |
| Magura | Mineral oil only | EBT system with the lever aligned horizontally | Magura’s current manuals stress correct lever position and separate treatment for each brake. |
In practice, that means I trust the manual more than the forum rule of the week. If the brand wants the lever horizontal, I set it horizontal. If it wants the rear lever rotated, I rotate it. The cleanest bleed is the one that follows the hydraulic path the brake was designed around.
What I check before calling the bleed finished
Once the fluid is in and the air is out, I do not rush back onto the trail. I check the lever feel with the bike on the ground, spin each wheel to make sure the rotor is free, and confirm that the bite point is consistent after a few hard pulls. If I have touched the pads or rotors, I re-bed the brakes separately so front and rear build power evenly.
- Lever feels firm but not wooden.
- No seepage at the caliper, hose fitting, or lever body.
- Pads and rotors are clean and dry.
- Rotor runs true with no obvious drag.
- Front and rear brakes both pass a slow, controlled test stop before trail use.
If I still have a vague lever after all of that, I stop blaming the sequence and start looking for the real fault: a leaky olive, a worn seal, a poor hose cut, or contaminated pads. That is usually where the problem lives, and fixing it properly is what gives you a brake that feels sharp again, not just one that passes the workshop test.