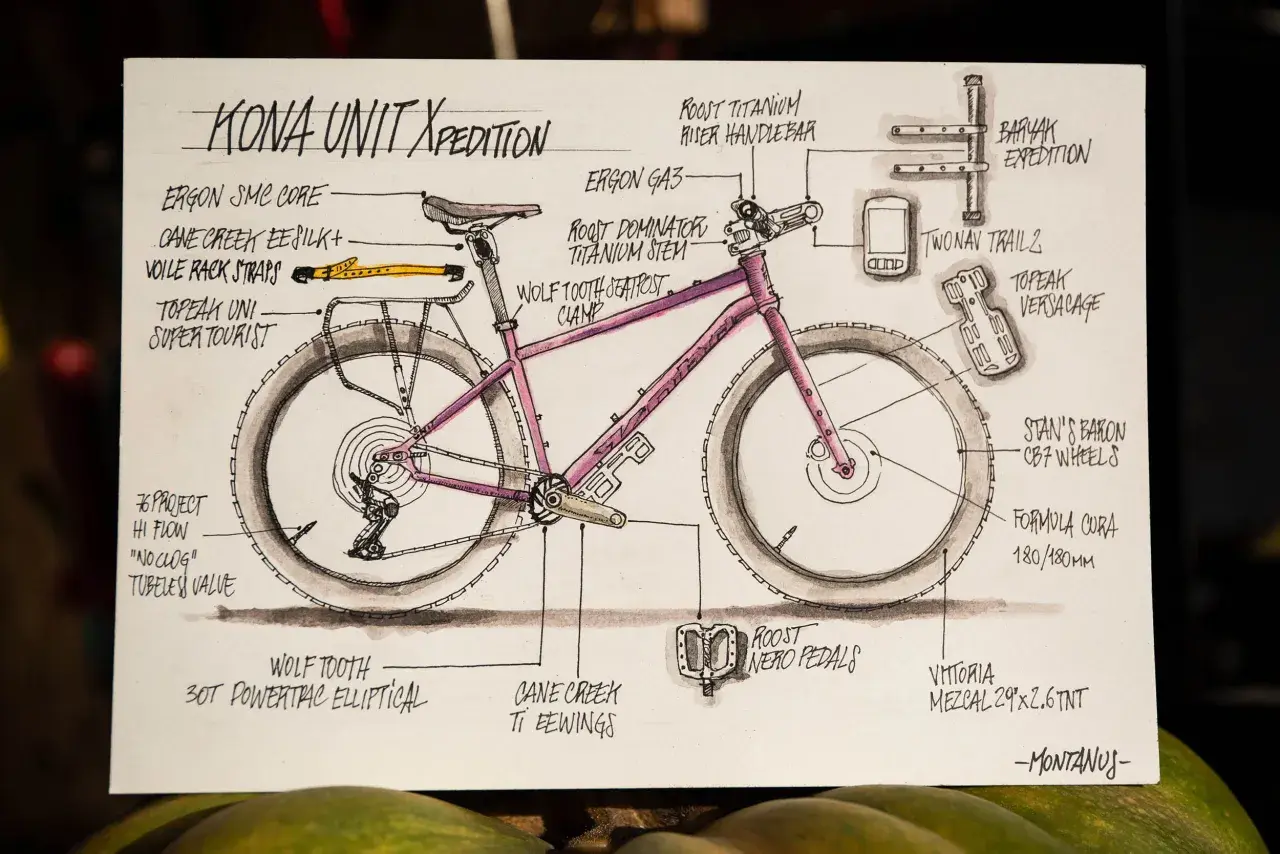
A clean bike build is mostly about sequence, fit, and torque discipline. When I explain how to build a bike from components, I start with the standards, then move through the frame, wheels, cockpit, and drivetrain in that order so nothing gets forced, cross-threaded, or adjusted twice. This guide covers the practical side of the job: what to check before you begin, which tools actually matter, how to assemble the key parts, and what to recheck after the first ride.
What matters most before the first ride
- Compatibility comes first - wheel size, axle standard, bottom bracket type, brake mount, and headset have to match the frame.
- A torque wrench is essential - especially on the cockpit, seatpost, rotor bolts, and any carbon contact point.
- The build order matters - frame and fork first, then wheels and brakes, then cockpit and drivetrain.
- Most first-build mistakes are avoidable - they usually come from guessing, over-tightening, or using the wrong grease or paste.
- The first ride is a shakedown - plan to recheck bolts, brakes, tyre pressure, and shifting afterwards.
- Some jobs are better left to a shop - press-fit bottom brackets, brake bleeding, and e-bike electrics can be fiddly and expensive to get wrong.
What building a bike from components really means
A bike build is not one single task; it is a sequence of small decisions that either support each other or create problems later. A bare-frame build starts with almost nothing installed, which means you are responsible for compatibility, bearing setup, cable routing, and final adjustment. A partial build is simpler, because the frame and major standards are already set, but it still demands careful finishing and safety checks.
I treat the process as three layers: the chassis, the rolling parts, and the finishing system. The chassis is the frame, fork, headset, and bottom bracket. The rolling parts are the wheels, tyres, brakes, and drivetrain. The finishing system is the cockpit, saddle, controls, and all the final adjustments that decide whether the bike feels sharp or vague on the trail.
That distinction matters because people often start with the wrong part of the bike. They buy a saddle before they know the seatpost diameter, or a crankset before checking the bottom bracket shell. Once you understand the build type you are dealing with, the next step is to make sure the parts actually fit the frame. That is where most headaches begin.
Check compatibility before you start
The easiest way to waste money on a bike build is to assume that “mountain bike parts” are interchangeable. They are not. Even within MTB and off-road bikes, standards vary enough that a wheel, crank, or brake can be completely wrong for the frame. I always verify compatibility before I tighten a single bolt, because that prevents half-finished builds and unnecessary returns.
| Part | What to verify | Why it matters |
|---|---|---|
| Frame size and fit | Reach, stack, standover, and intended riding style | A technically correct build can still feel wrong if the frame size is off |
| Wheel and axle standard | Quick release, 12 x 100, 15 x 110, 12 x 142, or 12 x 148 Boost | The wheel must seat correctly in the frame and fork |
| Bottom bracket | Threaded or press-fit shell, plus spindle standard | Cranks only work smoothly if the bearings and axle standard match |
| Headset and steerer | Straight or tapered steerer, integrated or external cable routing | Wrong headset parts can stop the fork from fitting at all |
| Brake mount and rotor size | Post Mount or flat mount, plus 160, 180, or 200 mm rotor compatibility | The caliper needs the right adapter and rotor diameter to line up |
| Seatpost | Diameter and minimum insertion line | A seatpost that is too small or too short is unsafe and usually noisy |
| Drivetrain | Chain speed, cassette range, derailleur hanger, and chainline | Shifting only feels good when the system is built around the same standard |
If you are unsure about any of those items, check the frame markings, the original spec sheet, or the manuals that came with the parts. That sounds obvious, but it is the step that saves the most time. Once the standards line up, the actual assembly becomes much more predictable.
With the fit sorted, I move on to the bench setup, because a clean build is much easier when the right tools are already in reach.
What you need on the bench before you touch a bolt
I keep the tool list deliberately short. You do not need a garage full of specialist kit to assemble a bike, but you do need the right basics. A torque wrench matters more than most people expect, because modern bikes use a lot of low-torque fasteners and many parts can be damaged by “good and tight” guesswork.
| Tool or material | What I use it for | Do you need it? |
|---|---|---|
| Hex keys and bit driver | Stem, bars, saddle, rotors, calipers, and accessories | Yes |
| Torque wrench | Final tightening to the figure printed on the part | Yes |
| Grease and carbon assembly paste | Grease for threads and metal contacts, paste for slippery carbon clamps | Yes |
| Pedal spanner | Pedals with flats or stubborn pedal threads | Usually |
| Cable cutters | Clean cuts on brake or shift housing | If you are running mechanical cables |
| Tyre levers and track pump | Fitting tyres and setting pressure | Yes |
| Shock pump | Fork and rear shock pressure on MTB and trail bikes | If the bike has air suspension |
| Chain tool and quick-link pliers | Chain length and chain installation | If the chain is not already cut and fitted |
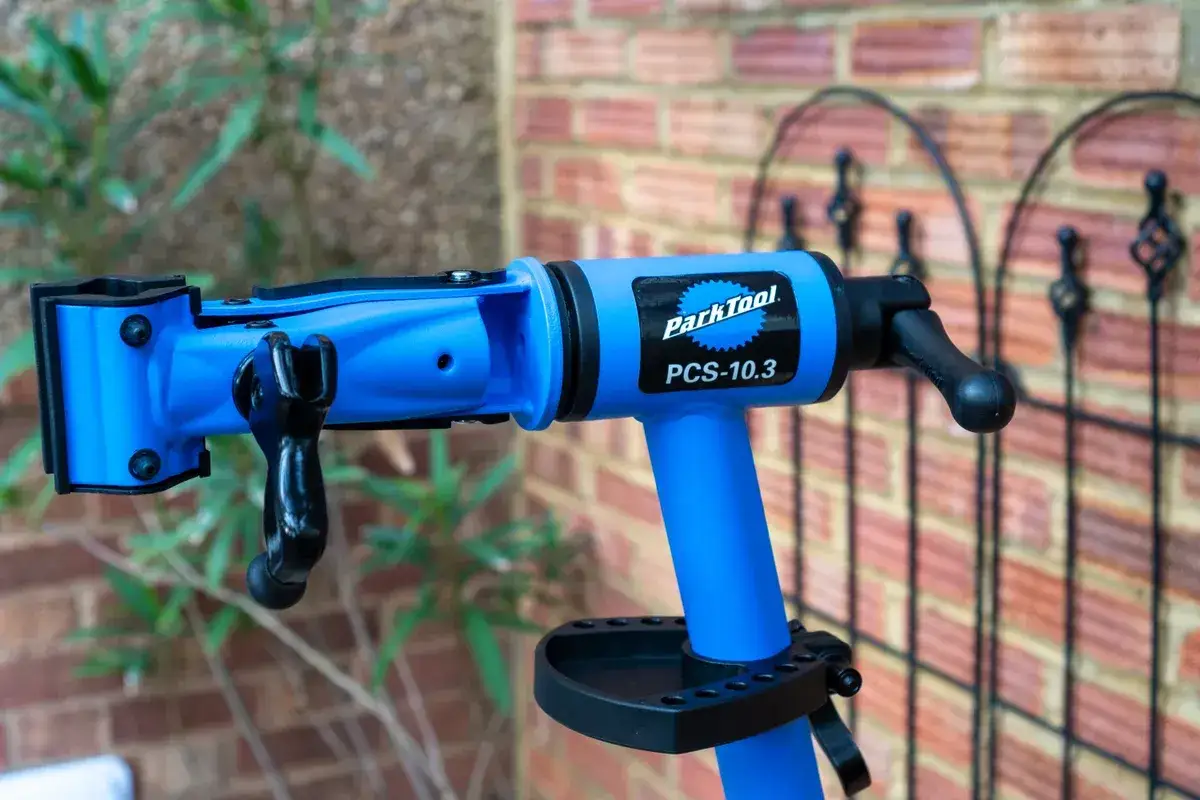
A workstand is helpful, but not essential. What matters more is a clean bench and a habit of keeping grit away from bearings, pads, and grease points. I also keep paper towels nearby, because a tidy build is usually a smoother build.
Once the bench is sorted, I start with the frame and fork, because everything else depends on that foundation.
Build the frame, fork and bottom bracket first
If I am starting from a bare frame, I begin with the parts that define the bike’s structure: the headset, the fork, the bottom bracket, and the seatpost. These parts control how the bike steers, how the cranks spin, and how the rider weight sits over the frame. If they are wrong, the rest of the build will never feel right.
- Inspect the frame and fork carefully for damage, dents, or cracked paint around the head tube, dropouts, seat stays, and bottom bracket area.
- Fit the headset components in the correct order, making sure the bearings sit properly and the steerer moves freely.
- Install the bottom bracket with the correct tool and the correct interface for the frame standard, whether that is threaded or press-fit.
- Apply grease to metal-on-metal contact points and use carbon assembly paste only where a carbon part needs extra grip under clamp pressure.
- Insert the fork and set headset preload, which is the light bearing tension that removes play without making the steering stiff.
- Set a rough saddle height and confirm the seatpost minimum insertion line is still hidden inside the frame.
Two details matter more than beginners expect. First, the top cap does not hold the stem in place; it only sets the headset preload. The stem bolts do the actual clamping. Second, press-fit bottom brackets need a cleaner, more precise install than threaded systems. If a press-fit shell is already tight or noisy before the bike is ridden, I stop and correct that rather than hoping it will “bed in” quietly later.
At this point the bike finally looks like a bike, which means it is time to add the rolling parts and make sure the stopping system is properly centred.
Fit wheels, tyres and brakes before you chase fine adjustments
The wheels and brakes are where the build starts to feel alive. I always install the wheels before fine cockpit adjustments, because axle fit, rotor alignment, and tyre choice can change the way the front end feels. On an MTB, this is also where traction and control begin to matter more than simple assembly.
Start by seating each wheel fully in the dropouts or axle interfaces and tightening the axle correctly. Then check that the rotor runs cleanly between the brake pads. A little rub during the first setup is normal, but heavy drag usually means the caliper needs centring or the wheel is not seated properly.
Tube or tubeless
For trail and cross-country bikes, tubeless is often worth the extra setup time. It lets you run lower tyre pressures, reduces pinch flats, and can save a ride after a small puncture. Tubes are still useful if you want a simpler, cheaper build or if you want roadside repairs to be as straightforward as possible.
| Option | Best for | Main trade-off |
|---|---|---|
| Tubes | Simple builds, budget setups, quick roadside fixes | Higher puncture risk and less flexibility on pressure |
| Tubeless | MTB grip, lower pressures, fewer pinch flats | More setup time and periodic sealant maintenance |
After the wheel is seated, I align the caliper and bed in the brakes. Bedding in means making a series of firm stops so pad material transfers evenly to the rotor. That gives the brakes more bite and more consistent feel. If the lever feels spongy, travels too far, or still rubs badly after alignment, I stop there and diagnose the problem instead of assuming it will sort itself out.
With the wheels and brakes working, the bike is structurally complete. The next job is to finish the cockpit and drivetrain so the bike rides like one coherent system rather than a pile of fitted parts.
Finish the cockpit and drivetrain in the right order
This is where a lot of almost-finished builds go wrong, because the cockpit and drivetrain affect each other more than people expect. Handlebar position changes brake lever reach. Brake lever angle changes wrist comfort. Cable routing changes steering feel. Chain length changes derailleur behaviour. If you rush this stage, the bike may still roll, but it will not feel settled.
Set the cockpit first
I centre the bar in the stem, set the lever angle so my wrists stay neutral, and tighten the faceplate bolts evenly in a cross pattern. The faceplate is the clamp that closes around the handlebar, so it should tighten evenly on both sides. If the bar is carbon, I am especially careful with paste and torque, because damage here is expensive and easy to miss.
Internal cable routing can make the front end look neat, but it also raises the stakes. Before final tightening, I turn the bars fully left and right to make sure nothing binds, pulls, or rubs against the frame. That small movement catches more problems than most people realise.
Read Also: How Much Brake Fluid to Bleed MTB Brakes? Find Out Now!
Then set the drivetrain
On a modern MTB, the rear derailleur usually matters more than the front end of the drivetrain, because many trail bikes now run 1x systems. I check hanger alignment, set the limit screws, tune cable tension or electronic pairing, and confirm that the chain runs smoothly across the cassette. If the chain is too short, the derailleur can be damaged in the biggest gear combination. If it is too long, shifting gets lazy and chain retention suffers.
Pedals go in by hand first, and the threads matter here: the right pedal tightens clockwise, the left pedal tightens anticlockwise. That one detail still catches people out, and cross-threaded pedals are a miserable way to end a build. Once the cockpit and drivetrain are both adjusted, the bike is ready for the checks that decide whether it is truly safe to ride.
The safety checks I never skip
Before I call any build complete, I do a proper pre-ride inspection. This is not a formality. It is the stage that tells you whether the bike is just assembled or genuinely ready for the trail. A bike can look perfect and still fail a simple check if one bolt was missed or one cable was routed badly.
- Check that the headset turns smoothly and has no play.
- Confirm that stem, handlebar, seatpost, calipers, and rotor bolts are tightened to the figure printed on the part.
- Make sure the wheels are fully seated and the axles are locked correctly.
- Squeeze each brake hard and confirm the lever feel is firm, not spongy.
- Verify that the tyres are at the right pressure for the rider’s weight and terrain.
- Shift through the full cassette range and listen for hesitation, skipping, or chain noise.
- Turn the bars left and right to make sure cables and hoses do not pull, rub, or bind.
- Look for fresh grease squeeze-out, unusual creaks, or anything that moved during tightening.
If something still feels wrong, I stop there. “Just a little tighter” is how carbon parts crack and threads strip. A safe build should feel calm in the hand, not merely acceptable on paper. Once it passes that inspection, the bike is ready for its first ride, but that is not the end of the job.
The next step is to recheck everything after the bike has had a chance to settle, because a new build often loosens or shifts slightly in the first few miles.
What to recheck after the first ride
The first ride is a shakedown, not a final exam. Fresh cables stretch a little, bolts settle, tyres lose a bit of pressure, and tubeless systems often reveal whether the bead is truly sealed. I plan to spend a few minutes back at the stand after the first outing, because that is when small issues are cheapest to fix.
Here is what I recheck first: stem bolts, handlebar alignment, saddle clamp, wheel axles, brake lever feel, and shifting across the full cassette. If the bike was built with tubeless tyres, I also check sealant loss and pressure stability. On a muddy or dusty ride, I clean the chain and relube it straight away instead of waiting for noise to appear.
If a creak keeps coming back from the bottom bracket or headset, I do not ignore it. Persistent noise usually means movement somewhere in the system, and that is easier to diagnose early than after the next hard ride. A good build gets quieter after the first ride, not louder, and that is the habit that keeps a new MTB reliable long after the tools are put away.