The quickest way to sort a bike brake problem
- Check the brake type first: rim, mechanical disc, or hydraulic disc.
- Weak braking is often caused by pad wear, cable stretch, contamination, or misalignment.
- Use small adjustments, usually quarter-turns on a barrel adjuster, instead of forcing the lever.
- Clean braking surfaces before replacing parts, but replace pads that are soaked with oil or badly glazed.
- If the lever feels spongy or hits the bar, a hydraulic bleed or a new cable may be needed.
- Stop and inspect for cracks, leaks, frayed cables, or a badly bent rotor before riding again.
Know which brake system you have
The first mistake I see is treating every brake like it works the same way. It does not. A rim brake, a mechanical disc brake, and a hydraulic disc brake can all feel "bad", but the fix is different, so I always identify the system before I touch a bolt.| Brake type | Typical fault | First fix to try | When to stop and inspect further |
|---|---|---|---|
| Rim brake | Pad too far from rim, dirty braking surface, stretched cable | Clean the rim, reset cable tension, check pad alignment | Cracked pads, bent arms, worn rim sidewalls |
| Mechanical disc brake | Caliper out of line, cable drag, rotor rub | Center the caliper, adjust pad clearance, clean the rotor | Frayed cable, badly bent rotor, sticky cable housing |
| Hydraulic disc brake | Contaminated pads, spongy lever, air in the system | Clean the rotor, check pad wear, re-center the caliper | Fluid leak, persistent softness, need for a bleed |
On many UK bikes, the front brake is on the right lever and the rear is on the left, but I always tell riders to confirm it by squeezing each lever while the bike is still. If the controls are reversed from what you expect, sort that out before you start testing hard stops. Once the system is identified, the next step is reading the symptom rather than guessing at the cause.
Diagnose the fault before you turn a bolt
I like to split brake faults into feel, noise, and alignment. That sounds simple, but it saves time, because the same annoying brake can come from very different causes. A weak lever, a squeal, and a wheel that will not spin freely are related problems, but they do not always share the same fix.
- Weak stopping power usually means pad wear, contamination, or too little cable tension.
- Brake rub usually means the caliper is off-centre, the wheel is not seated properly, or the rotor is slightly bent.
- Squeal or chatter often points to dirty braking surfaces, glazed pads, or pad alignment that needs a small toe-in.
- Lever pulls too close to the bar usually means cable stretch, worn pads, or air in a hydraulic system.
- One brake bites earlier than the other usually means uneven pad wear or uneven spring tension on a rim brake.
If you skip this stage, you tend to make three small changes and still not know what fixed the problem. A better approach is to check one thing at a time, then test again. That leads directly into the actual repair, because the cleanest fixes are usually very specific.
Fix the brake you actually have
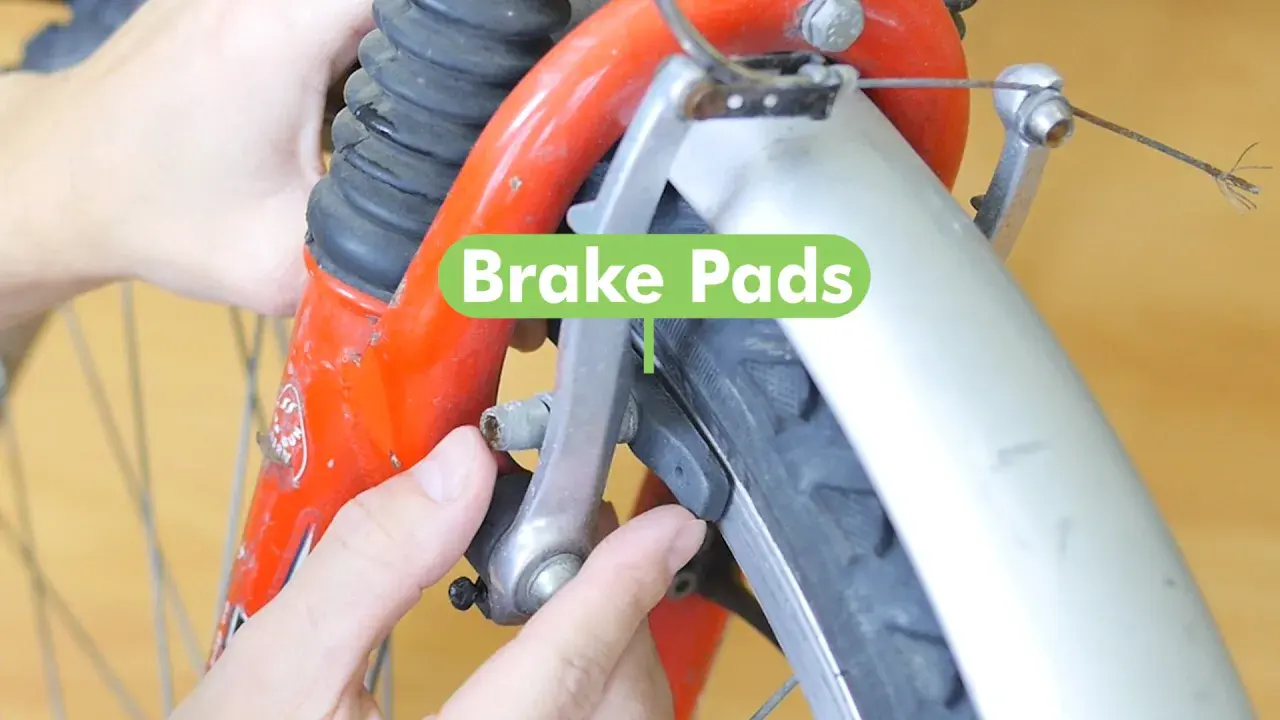
Rim brakes
- Inspect the pads first. If the rubber is cracked, glazed, or worn down so far that the wear line has disappeared, replace them.
- Clean the rim sidewalls with isopropyl alcohol and a lint-free cloth. Mud and chain lube on the rim will kill braking power fast.
- Loosen the cable anchor bolt, squeeze the brake arms against the rim, then retighten the cable so the pads sit close without dragging.
- Set the pads square to the rim and add a tiny amount of toe-in, so the front edge touches first. That usually reduces squeal.
- Use the spring tension screws, if fitted, to centre both arms so they open and close evenly.
Mechanical disc brakes
- Spin the wheel and listen for rub. If the rotor scrapes in one spot, the caliper is often slightly out of line or the rotor is bent.
- Loosen the caliper mounting bolts, squeeze the brake lever, and retighten the bolts while holding the lever. That usually centres the caliper.
- If the caliper has an inboard pad adjuster, bring the pad closer in small steps until the lever feels firm but the rotor still turns freely.
- Check the cable and housing for frayed strands, corrosion, or sharp bends. A sticky cable can feel like a weak brake even when the pads are fine.
- Clean the rotor with isopropyl alcohol. If it is slightly bent, true it gently in tiny movements rather than forcing it back in one go.
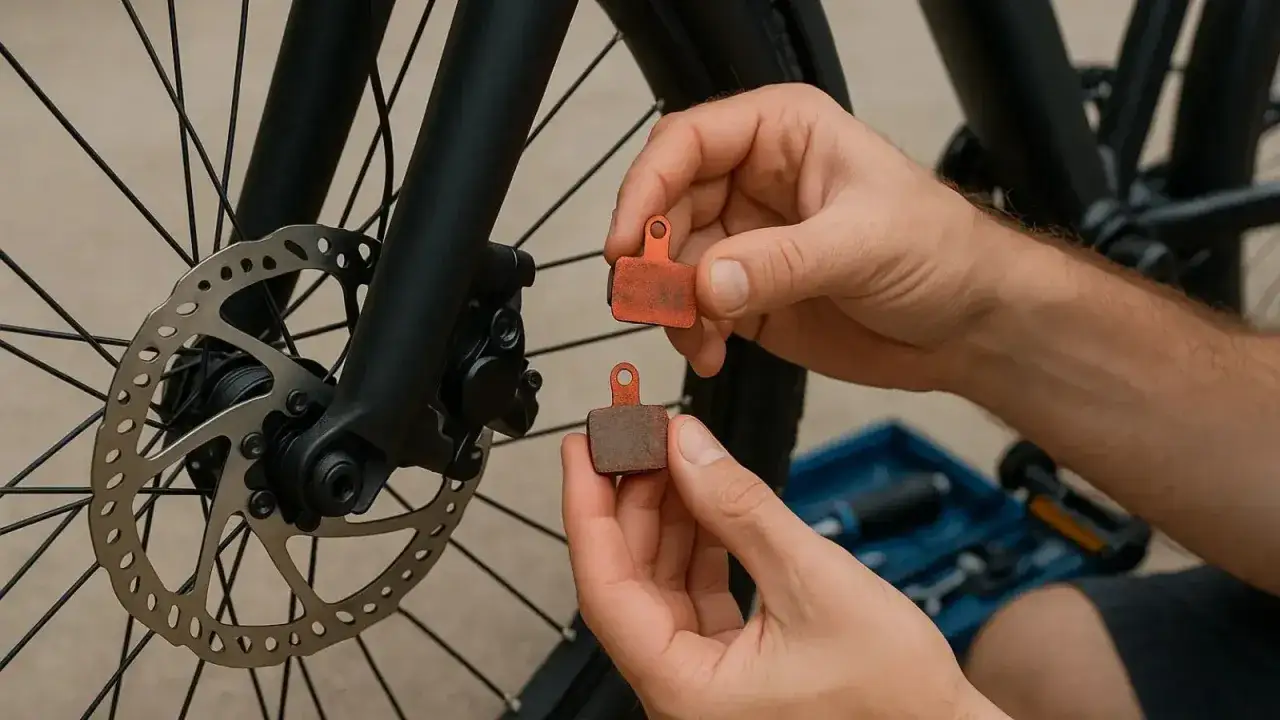
Hydraulic disc brakes
- Check pad wear and rotor condition first. If the pads are down to roughly 0.5 mm of friction material, replacement is due on many systems.
- Clean the rotor and the surrounding area. Never spray chain lube, polish, or degreaser near the brake.
- Loosen the caliper bolts, squeeze the lever, and retighten the caliper in the centred position.
- If the lever still feels spongy after the caliper is aligned and the pads are sound, the system may need a bleed rather than another adjustment.
- If the pads are contaminated with oil or brake fluid, replacement is usually more reliable than trying to rescue them.
The key idea here is restraint. I would rather make one clean adjustment than chase the brake around with random tweaks. If the core problem is still there after these steps, the next thing to refine is lever feel and pad clearance.
Fine-tune the lever feel and pad clearance
Once the brake is mechanically sound, the last bit is setting the feel. A good brake should bite early enough to feel confident, but not so aggressively that the wheel locks with the lightest touch. On a trail bike, that balance matters because you need control on wet roots, loose descents, and steep braking bumps.
- Use barrel adjusters for small changes only. Quarter-turns are easier to undo than dramatic turns, and they are usually enough.
- Keep pad clearance small and even. You want the wheel to spin freely, but not with a big dead zone at the lever.
- Adjust lever reach if your brake has it. This helps smaller hands, but it should not be used to hide worn pads or air in the system.
- Recheck rim brake springs. If one arm sits closer to the rim, spring tension is uneven and the brake can rub on one side.
- Do not use endless cable tension to mask a bad cable. If a cable feels gritty or needs constant re-adjustment, replace it.
As a rule, if I need more than one or two full turns on a barrel adjuster, I stop and look at the cable clamp and the pad wear instead. That is usually the point where a small tuning job becomes a parts problem, which is exactly what the next section covers.
Replace the worn parts instead of chasing adjustment forever
Some brake faults are not really adjustments at all. They are worn components pretending to be tune-up issues. If you keep tightening around a bad part, the brake may work for a day and fail again as soon as the cable settles or the pad heats up.
| Part | What tells me it is worn | Typical UK range | Why it matters |
|---|---|---|---|
| Rim brake pads | Cracked rubber, no wear groove, poor bite even after cleaning | GBP 5-15 per pair | Worn pads can damage the rim and reduce control in wet weather |
| Disc brake pads | Friction material close to gone, glazed surface, oil contamination | GBP 10-30 per wheel | Thin or contaminated pads are noisy, weak, and can overheat |
| Brake cable and housing | Frayed cable, rusty ends, sticky lever feel | GBP 5-20 | Old cable systems lose power and make adjustment unreliable |
| Rotor | Deep scoring, visible warp, cracks, or thickness below spec | GBP 15-50 | A damaged rotor causes rub, noise, and uneven braking |
| Hydraulic service | Spongy lever after alignment, fluid loss, inconsistent bite | GBP 25-60 per brake at a workshop | Air or degraded fluid will not be fixed by pad adjustment alone |
For disc brakes, pad replacement is usually the moment when the lever feel changes most noticeably. On many systems, 0.5 mm of friction material is already near the end of service life, so I would not wait for a dramatic failure. Once the hardware is healthy, the final job is proving that the repair works under real load.
Test the repair like you mean it
A brake that looks fine in the stand can still feel wrong on the trail. I always test the repair in stages, because a brake should work quietly, smoothly, and predictably before you trust it on a descent.
- Spin the wheel and make sure it turns without rub.
- Squeeze each lever several times and confirm the feel is consistent.
- Do 15 to 20 controlled stops from moderate speed if you have fitted new pads or rotors. That beds the pads in properly.
- Check the bolts again after a short ride, especially the caliper mounting bolts and any cable anchor bolts.
- On an MTB, test the brake on a short slope or rough path, not just on flat ground.
If the lever travel changes after a few hard squeezes, the cable or pad position is still settling. If the brake becomes quieter and stronger after bedding in, that is a good sign. If it gets worse, do not keep riding and hoping it sorts itself out.
Small habits that stop brake problems from coming back on muddy rides
The easiest brake fixes are the ones you never have to repeat. My post-ride routine is short: wipe the braking surfaces clean, inspect the pads, and look for any oil or fluid where it should not be. In the UK, where wet roads and muddy trails are part of normal riding, that habit saves more time than any fancy repair trick.
- Rinse mud off the rim or rotor before it dries on.
- Use a separate cloth for brakes, not the one you used on the drivetrain.
- Keep chain lube away from pads, rotors, and rims.
- Carry a spare set of pads on longer off-road rides.
- Check cables for fraying and hydraulic lines for weeping during regular cleaning.
If you keep those checks routine, most brake problems stay minor, and the next repair is usually a five-minute adjustment instead of a ride-ending fault.