
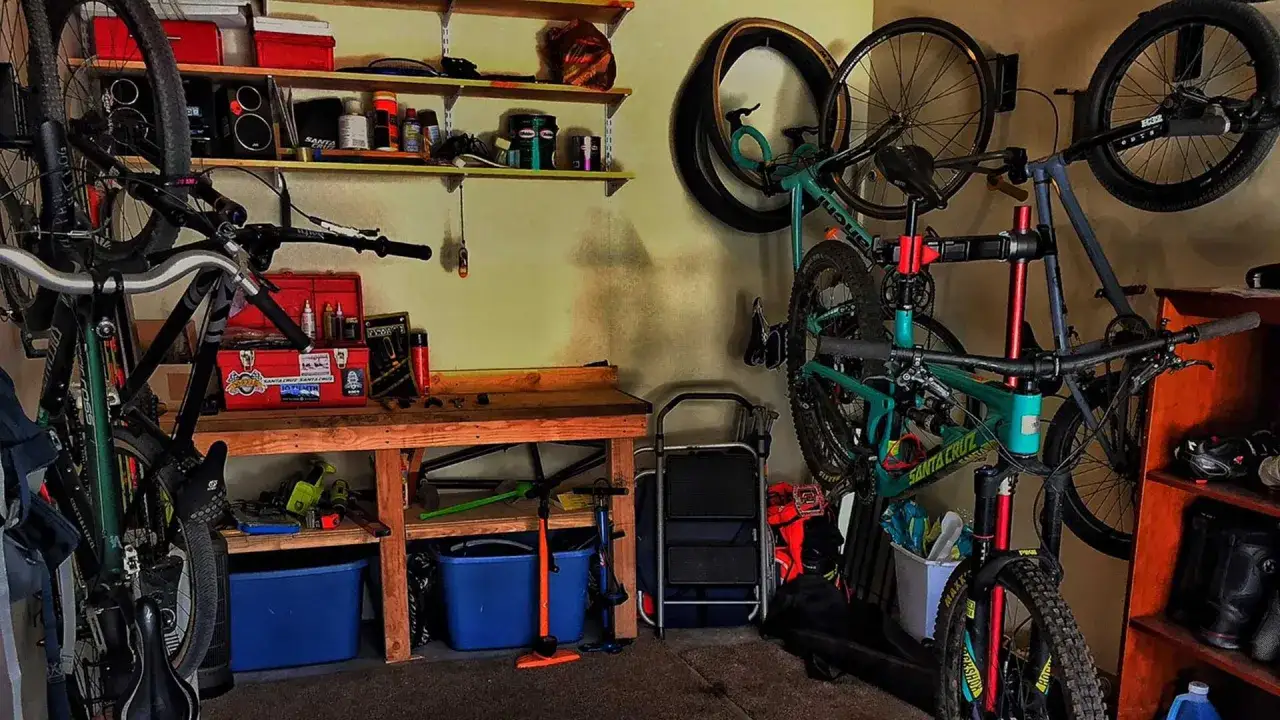
Building a mountain bike from a bare frame is not difficult, but it is unforgiving. If you are working out how to build a mountain bike, the job becomes manageable once you break it into compatibility, assembly order, setup and safety checks. This guide focuses on the parts that actually matter in the workshop: frame standards, tools, drivetrain, brakes, wheels, suspension and the final inspection before the first ride.
The essentials that make a fresh MTB build safe and rideable
- Check every frame and fork standard before tightening anything: bottom bracket, headset, axle spacing, brake mount and cable routing.
- Use the right tools, especially a torque wrench, cable cutters, bleed kit and tubeless tools.
- Build in a clean order: headset and fork first, then bottom bracket, drivetrain, brakes, wheels and cockpit.
- Set suspension sag and lever position after the bike is structurally complete, not before.
- Expect to recheck torque, brake alignment and wheel security after the first short ride.
Start by confirming the parts really fit the frame
I rarely start a build by tightening anything. I start by checking the standards written on the frame and fork, because that is where most expensive mistakes happen. A frame may look ready for any modern part, but the reality is much more specific: bottom bracket type, headset standard, rear axle spacing, brake mount style, freehub body and internal routing all have to line up.
If one of those items is wrong, the build stops. A 29-inch wheel will not fit if the fork or rear triangle is sized for something else. A cassette can be unusable if the freehub body does not match. A dropper post may fit the seat tube but fail at the head because the cable port is in the wrong place. Those are not small details; they decide whether the bike goes together at all.
| Part | What to confirm | Why it matters |
|---|---|---|
| Frame and fork | Wheel size, axle spacing, steerer length, brake mount, travel limits | Mismatch here can make the bike unsafe or impossible to complete |
| Bottom bracket and cranks | Threaded or press-fit standard, spindle diameter, chainline | The crankset must sit in the frame correctly and spin without drag |
| Wheels and cassette | Hub spacing, rotor interface, freehub body type | The cassette and rotor only fit if the hub standard is correct |
| Brakes | Post-mount or flat-mount, rotor size, hose length | Incorrect brake fit can cause rub, poor power or failure to mount |
| Cockpit and dropper | Handlebar clamp size, stem length, seat tube diameter, internal routing | The contact points have to match the frame and your riding position |
If you are starting from scratch in the UK, a sensible home toolkit usually lands around £150-£350. A decent torque wrench often costs £35-£120, cable cutters £15-£35, a bleed kit £25-£60, and tubeless tools plus sealant another £20-£50. That is why I only recommend a full DIY build if you plan to maintain the bike afterward; otherwise, paying for shop assembly can be cheaper than buying press tools and bleed gear for one project. Once the parts match the frame, the order of assembly stops being guesswork and becomes the next job.
Build the frame up in the right order
The cleanest build order is the one that keeps access open. I usually work from the frame outward: headset and fork first, bottom bracket and cranks next, then cockpit, brakes, drivetrain and wheels. That sequence avoids threading hoses and cables around finished parts, which is where a lot of fresh builds become scratched, cramped or simply annoying to finish.
Get the frame ready
Before any major part goes in, I clean the contact points and check for burrs, paint buildup or trapped debris. Threaded interfaces get the correct grease; carbon clamping surfaces get carbon assembly paste only if the manufacturer says so. This is not cosmetic. It prevents creaks, galling and seized parts later.
Fit the fork and headset
The headset is the bearing system that lets the fork turn smoothly, and it has to be set without play. I install the fork, set the stem and preload the bearings just enough to remove knocking, then align the bars and tighten the stem to the specified torque. If the steerer needs cutting, I do it only after I have confirmed stem height and spacer stack, because cutting it too short is a permanent mistake.
Install the bottom bracket and cranks
Threaded bottom brackets are straightforward if the threads are clean and greased. Press-fit systems are less forgiving and need the correct tool and technique. Once the bottom bracket is in place, I fit the crankset and check for smooth rotation and the correct chainline. Chainline is the straight path the chain should follow across the chainring and cassette; if it is off, shifting and wear both suffer.
Mount the cockpit and seatpost
I set the stem, handlebar, grips, brake levers and dropper post next. On a mountain bike, the cockpit is more than comfort. It affects front-end control on climbs, braking stability on steep ground and how quickly you can move your weight around the bike. I keep the handlebar loose enough for final rotation until I have sat on the bike and checked the natural wrist angle.
Once the rolling chassis is together, the next job is making the drivetrain and braking system work as one.
Fit the drivetrain and brakes with compatibility in mind
Drivetrain errors are easy to overlook because the parts will often bolt together even when the setup is not ideal. A modern MTB build usually runs a 1x setup, which keeps the bike simpler and reduces clutter on rough ground. For a first build, that is usually the smartest route unless you have a specific reason to run two chainrings.
Match the drivetrain to the freehub and chainline
The cassette has to match the freehub body on your rear wheel. That sounds obvious until a rider buys a large-range cassette and discovers the wheel hub is the wrong type. I check that first, then confirm rear derailleur capacity, chainring size and chain length. A chain that is too short can damage the derailleur or the hanger; a chain that is too long shifts badly and rattles under load.
Two details matter more than most beginners expect. The first is the rear derailleur hanger, which is the small replaceable hanger that keeps the derailleur aligned with the cassette. The second is B-tension, the adjustment that controls the gap between the top jockey wheel and the cassette. If that gap is wrong, shifting under load feels vague and noisy.
Install the brakes for power, not just looks
On modern trail and enduro bikes, hydraulic disc brakes are the default for a reason: they are strong, predictable and weather resistant. But they only feel good if the rotor size, caliper mount and hose length are right. Common rotor sizes are 160 mm, 180 mm and 200 mm. For many trail bikes, 180 mm front and 160-180 mm rear is a practical starting point; heavier riders, longer descents and more aggressive bikes often benefit from a 200 mm front rotor.
I always centre the caliper carefully before tightening it fully. Even a small offset can cause rubbing once the pads bed in. Bedding in means making a series of controlled stops to transfer a thin layer of pad material onto the rotor. Without that step, the brakes may feel wooden, noisy or weak even if the installation is perfect.
- Check that the rotor direction and bolt pattern are correct before the wheel goes in.
- Route the hose with enough slack for full bar rotation and full suspension travel.
- Leave extra hose length only if it will not foul the frame or rub the tyre.
- Bed the pads in with repeated firm stops before trusting the brakes on a trail.
Once the drivetrain shifts cleanly and the brakes are mounted square, the bike can finally become a complete rolling machine. The next step is to make the wheels and tyres work with the frame, not against it.
Install the wheels, tyres and tubeless setup properly
Wheel installation looks simple, but it is where a surprising number of first builds go sideways. The axle has to match the frame and fork spacing, the rotor has to sit true in the caliper and the cassette has to clear the derailleur without forcing the chain into a bad line. I check all of that with the bike in the stand before I even worry about tyre pressure.
Most modern mountain bikes run tubeless, which means the tyre seals directly to the rim without an inner tube. Tubeless reduces pinch flats and lets you run lower pressures with better grip, but it only works if the rim tape, valve and tyre bead are seated correctly. For typical MTB tyres, sealant usually lands around 100-120 ml per tyre, with wider or larger-volume tyres often needing the upper end of that range.
Get the tubeless system airtight
I tape the rim carefully, fit a proper tubeless valve, add sealant and seat the bead with enough air to pop it into place. If the bead will not seat, I stop and check the tape line, valve core and tyre bead rather than just forcing more pressure into it. That approach saves time and keeps the rim and tyre in better condition.
Start with sensible tyre pressures
Tyre pressure is one of the most personal parts of the build, but there are useful starting points. For a rider around 75-90 kg on 2.3-2.6 inch tubeless tyres, I often begin around 18-24 psi front and 20-28 psi rear, then adjust in 1-2 psi steps. Heavier riders, harder terrain or tyres with softer casings may need more. Too much pressure makes the bike skatey; too little can burp the tyre or dent a rim.
With the wheels on and the tyres sorted, the build starts looking like a bike instead of a frame with parts hanging off it. The last major job is to tune how it feels under a rider.
Set suspension, cockpit and ride position before the first trail
Suspension setup is where a lot of new builds either come alive or feel strangely dead. Sag is the amount of travel the suspension uses just from the rider sitting on the bike, and it is the first thing I set once the bike is assembled. For many trail bikes, a useful starting point is 20-30% sag at the fork and 25-30% at the rear shock, but the frame and shock may want a slightly different number.I always start with the manufacturer’s recommendation, then move in small steps. If the bike dives too much under braking or bottoms out too often, I add air or adjust the volume spacers if the suspension design supports them. Rebound is the speed at which the suspension returns after compression; too fast and the bike feels bouncy, too slow and it packs down over repeated hits.
Read Also: Brake Better - Master Bike Braking for Safety & Control
Make the cockpit match your body, not the garage floor
The bar and lever position matter more than they look. I set the brake levers so my wrists stay neutral when I am standing in an attack position, then I check that I can reach the levers with one finger without stretching. The saddle height should be good for pedalling, but if you use a dropper post, the real test is whether the bike lets you move freely between seated climbing and descending positions.
Internal cable routing can also affect feel. If the cables are too tight, the bars may not turn fully or the dropper may return slowly. If they are too loose, they slap the frame and become irritating on the first rough descent. I prefer a clean, quiet routing path even if it takes a few extra minutes at the bench.
When the bike is aligned, the suspension is at a sensible starting point and the controls feel natural in your hands, it is time to think like a mechanic again and catch the common mistakes before the first ride does.
Know the mistakes that slow a fresh build down
The biggest failures on a new mountain bike build are rarely dramatic. They are usually small and expensive: one bolt over-tightened, one hose cut too short, one bearing installed dry, one caliper slightly off-centre. Those mistakes do not always show up immediately, which is why the first ride should never be your only check.
| Mistake | What it causes | What I do instead |
|---|---|---|
| Over-torquing stem, crank or rotor bolts | Cracked parts, stripped threads, creaks | Use a torque wrench and work to the printed spec |
| Ignoring bearing and contact-point prep | Noise, corrosion, seized parts later | Grease or paste the interface that the manufacturer recommends |
| Cutting brake hoses or cables too short | Poor bar movement, expensive rework | Leave enough slack for full steering and suspension travel |
| Skipping brake bedding | Weak initial braking and noisy rotors | Bed the pads in before riding hard |
| Forgetting hanger and caliper alignment | Bad shifting, rotor rub, noisy drivetrain | Check alignment before blaming the component |
If you are unsure about a press-fit bottom bracket, a hydraulic bleed or a suspension damper service, I would stop there and use the right tools or a workshop. Those are the jobs that can turn a rewarding build into an expensive lesson. The final check is much simpler, and it is the one that decides whether the bike is ready to leave the driveway.
The first 20 kilometres decide whether the build stays quiet
Before the first proper ride, I run through a final checklist: stem bolts, bar clamp, crank bolts, pedal tightness, rotor bolts, caliper mounts, axle security, saddle clamp, derailleur hanger and headset preload. Then I lift each wheel and give it a spin, check for brake rub and bounce the suspension a few times to listen for creaks or hose slap. If anything sounds wrong in the stand, it will sound worse on trail.
After the first short ride, usually around 10-20 km, I recheck the same bolts and inspect the tyres for sealant leaks. That first recheck matters because some parts settle once they have been loaded. A new chain can bed in, a brake caliper can shift a fraction, and a cockpit clamp can reveal that it was not quite as secure as it looked. I also top up tyre pressure if the tubeless system has lost a little air overnight.
- Check torque on every major fastener before and after the first ride.
- Listen for headset play, rotor rub, chain noise and hose slap.
- Recheck tyre pressure and sealant loss within 24 hours.
- Clean and lube the chain after muddy or wet rides.
- Inspect brake pad wear and suspension settings once the bike has settled in.
A well-built mountain bike feels quiet before it feels fast. If the bike shifts cleanly, brakes without rub, tracks straight and holds its sag, the build is done properly; from there, maintenance is mostly about keeping the same standards in place rather than chasing random tweaks.