
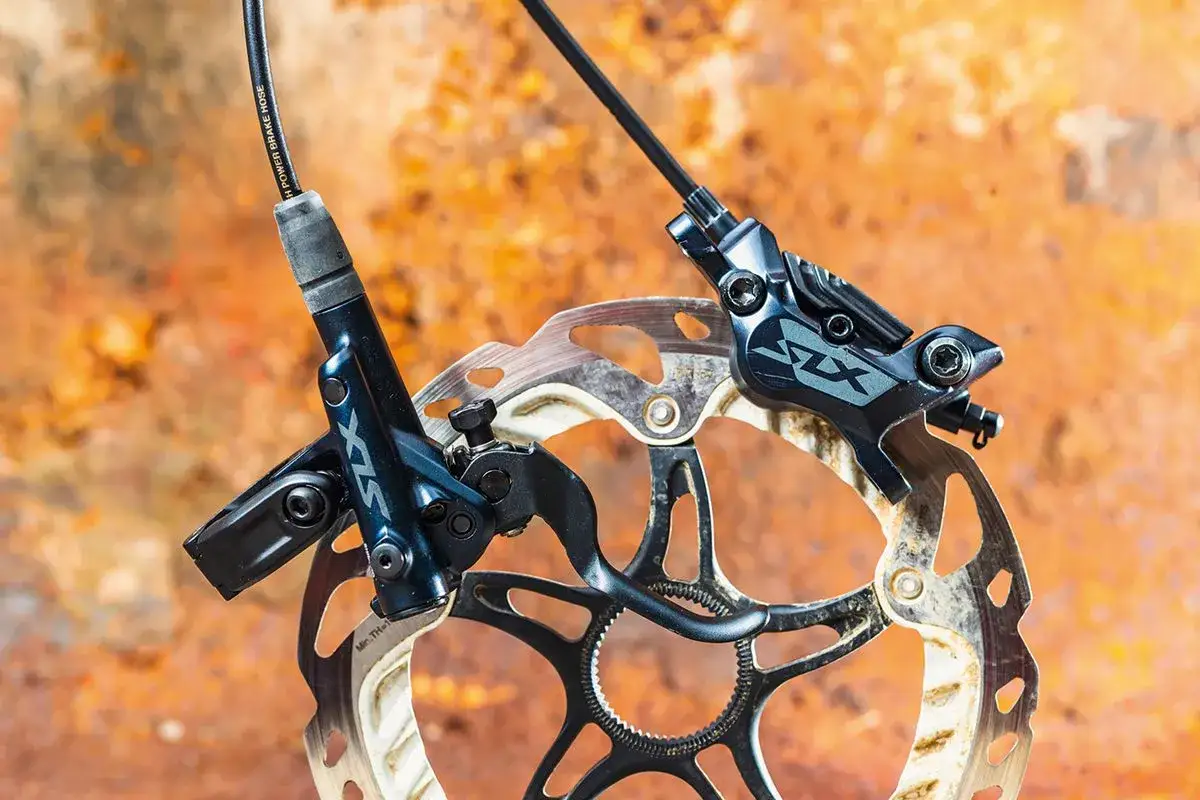
The Shimano SLX M7120 is Shimano’s four-piston trail caliper for riders who want stronger, calmer braking without jumping into a high-end race brake. I’m going to break down what it actually changes on the trail, which levers, rotors and pads make sense with it, and where it sits against Deore and XT. For UK riding, the details matter: rotor size, hose routing and pad choice can change the feel more than the badge on the caliper.
The main things to know before buying or fitting it
- It is a 4-piston hydraulic caliper, so the real advantage is control and heat management, not just raw bite.
- Shimano highlights quicker piston retraction, quieter braking and a claimed 10% power gain over M7000.
- The cleanest match is the BL-M7100 lever, with a SM-BH90-SBM hose and a post-mount chassis.
- Pad choice matters: finned metal pads suit long descents, while resin pads stay quieter and feel softer.
- In the UK, the caliper alone usually sits around £60-£100; complete bled sets are often closer to £170-£220.
- I would not plan around a 140 mm rotor for this class of brake; 180 mm or 203 mm is the more realistic trail starting point.
What this caliper is designed to do on real trails
I see this caliper as the point where SLX stops feeling like a compromise and starts feeling like proper trail kit. The four-piston layout gives the pads more support and more contact area, so the brake stays calmer when the rotor gets hot or the terrain gets rough. That matters on long, wet or bumpy descents, where a smaller two-piston caliper can still stop the bike but often feels busier and less settled.
Shimano positions the M7120 as a stable, versatile high-performance brake, and that description is fair. It is not the lightest option in the SLX family, and it is not the cheapest four-piston caliper either. What you buy here is more margin: more confidence on steep entries, more consistency when the trail turns ugly, and less of that “I need to drag the lever harder than I want to” feeling.
Compatibility that saves you money and headaches
The caliper is only half of the system, and this is where a lot of upgrades go wrong. Shimano lists the BL-M7100 lever as a compatible partner for BR-M7120, which is why the standard SLX trail build feels coherent when it is assembled as a set. The caliper also uses an SM-BH90-SBM hose kit, a banjo-type hose joint and inside hose routing, so hose angle and routing are easier to clean up than on some older brakes.
| Part | What I would pair with it | Why it matters |
|---|---|---|
| Lever | BL-M7100 | Shimano lists it directly as compatible, so the feel and bite point are easier to predict. |
| Hose | SM-BH90-SBM | The banjo fitting makes routing neater and reduces awkward hose bend angles. |
| Mount | Post-mount frame or fork, with adapter where required | International-standard mounts need the right adapter, so measure before you buy. |
| Rotors | 180 mm or 203 mm for most trail bikes | That gives you a safer heat buffer on steep or long descents. |
| Pads | Finned metal, finned resin, or the no-fin equivalents | Pad choice changes noise, heat control and bite more than most riders expect. |
If your current setup is already under-braked, the caliper upgrade only works well when the rest of the system is in the same league. A tired hose, a badly aligned adapter or a rotor that is too small will hide a lot of the benefit.
What Shimano changed compared with older SLX brake hardware
Shimano’s own wording points to three important upgrades here: quicker piston retraction, reduced rotor wobble noise and more braking power than the older M7000 caliper. In practical terms, that means better pad clearance, a calmer-feeling rotor under load and a brake that feels less nervous when the wheel flexes or the rotor heats up.
| Feature | What it means on the trail |
|---|---|
| Quicker piston retraction | Less rub and cleaner release after each lever pull. |
| Dual-diameter opposed pistons | More even pressure across the rotor and less wobble noise. |
| Four-piston layout | More heat capacity and a broader, more confident contact patch. |
| ICE TECHNOLOGIES support | Better heat management when the caliper is matched with the right rotor and pad. |
| Banjo hose connection | Easier to route neatly on modern frames without awkward hose stress. |
Shimano also claims a 10% increase in braking power over M7000, and that is believable in the context of the whole system. The important part is that the brake is not just trying to hit harder; it is trying to stay consistent when the descent goes on longer than your confidence does. That is the bit riders feel after the first five minutes, not on the test stand.
How I would install and align it without introducing problems
I would use only Shimano mineral oil here, and I would treat the bleed as part of the install rather than an optional extra. Shimano’s dealer manual is aimed at trained mechanics for a reason: a four-piston hydraulic brake is not hard to fit, but it does reward clean technique. One careless hose cut or a poor rotor alignment can turn a strong caliper into a noisy one very quickly.
- Fit the correct rotor and adapter before touching the caliper bolts.
- Install the pads and the yellow bleed spacer if you are working on an open system.
- Mount the caliper loosely, squeeze the lever, then tighten the caliper bolts to 6-8 N·m.
- Check hose routing and banjo orientation, then bleed if the hose has been shortened or opened.
- Bed the pads in with 10-20 firm stops from moderate speed, not a lazy drag around the car park.
Shimano lists 1-1.5 N·m for the pad axle on BR-M7100/BR-M7120, so the small hardware deserves as much care as the mounting bolts. If you are not already comfortable bleeding hydraulics, let a shop do the final assembly. The brake is safety-critical, and the installation is one place where “good enough” is not a useful standard.
Which pads and rotors make the biggest difference
This is the part many riders underestimate. The caliper is important, but the pad compound and rotor size shape the braking feel more than the brand logo on the body. Shimano’s replacement list for the caliper includes metal and resin options, with and without fins, and each one changes the personality of the brake in a real way.
| Pad option | What it gives you | When I would choose it |
|---|---|---|
| BP-N04C-MF metal with fin | Best heat control and strong durability. | Steep descents, wet conditions and heavier riders. |
| BP-D02S-MX metal without fin | Strong bite with a simpler pad package. | Mixed trail use when you want metal-pad durability without fins. |
| BP-N03A-RF resin with fin | Quieter, smoother feel with cooling help. | Trail riding where noise matters and you still want a bit more heat margin. |
| BP-D03S-RX resin without fin | The quietest and usually softest-feeling option. | Lighter riders, calmer terrain and riders who dislike metallic pad noise. |
I would spend rotor money before I spent on a higher-tier caliper. A fresh 203 mm front rotor and a 180 mm rear rotor usually do more for confidence than a small component swap elsewhere. Shimano’s compatibility chart also makes it clear that 140 mm is not the default answer for this caliper family, so I would not build around the smallest option unless the bike and rider are genuinely light.
On UK trails, I usually lean toward metal pads for winter, mixed-grip conditions and longer descents, then resin for quieter summer riding if the bike is not being pushed too hard. That is a better decision than chasing the fanciest pad every time, because the right compound depends on whether you care more about silence, longevity or fade resistance.
How it compares with Deore and XT
The cleanest way to think about this part of Shimano’s lineup is that all three calipers are built for the same broad trail role, but they target slightly different budgets and finishing levels. In my view, the biggest real-world jump is from a two-piston brake to a four-piston brake. The move from SLX to XT is much smaller than the price gap once everything is bled properly and paired with the same rotor size.
| Model | What changes in practice | My take |
|---|---|---|
| BR-M6120 | Cheaper four-piston entry point with the same broad trail use case. | Best budget choice if every pound matters. |
| BR-M7120 | More refined SLX trail caliper with a very coherent lever match. | The best value for most riders. |
| BR-M8120 | XT-tier option with a more premium package and finishing. | Worth it if you want the higher-end build or find a good deal. |
Shimano’s current compatibility tables also line up BL-M7100 with BR-M7120, which is why the SLX package feels tidy when it is assembled as intended. If you already own a compatible Deore or XT lever, that can make the caliper-only route sensible. If you are building from scratch, a full matched set usually gives you fewer headaches and a cleaner result.
What you should expect to pay in the UK
Prices move around a lot, so I treat them as a range rather than a fixed figure. Right now, the caliper alone tends to land around £59.99 to £99.95 in UK retail channels, while complete bled brake sets are often closer to £169.99 to £220.77. That spread is big enough that the buying decision depends on whether you already have a compatible lever and hose.
| Option | Typical UK price | Best for |
|---|---|---|
| Caliper only | £59.99-£99.95 | Upgrading an existing setup with a working lever and hose. |
| Bled brake set | £169.99-£220.77 | Replacing the full system or starting fresh. |
If the listing does not clearly say what is included, I would assume nothing. Check for pads, hose length, olives and barbs, because those small parts can turn a cheap-looking deal into a more expensive workshop job. If you are starting from scratch, a complete set often ends up being the cleaner value because you are not piecing together the missing parts later.
Where it earns its keep on real trails
I would choose this caliper for a bike that sees wet UK trail centres, steep natural descents, long braking zones or a rider who simply wants more confidence on the lever. It is especially sensible if your current brake fades, chatters or feels underpowered once the trail gets rough. That is where the extra piston and the better heat management actually pay off.
- Choose it if your current brake is technically adequate but emotionally annoying on descents.
- Choose it if you want one-finger braking without feeling like you are overworking the system.
- Skip it if your real problem is a weak bleed, worn pads or a rotor that is too small.
- Spend on rotor size and pad choice before paying extra for a higher-tier caliper.
If I were building a UK trail bike today, I would start with the BR-M7120, a BL-M7100 lever, fresh mineral oil and the largest sensible rotor size for the frame. That gives you the biggest real-world gain per pound spent, and it keeps the whole brake system working as one piece instead of a collection of good parts that do not quite match.