
A single-ring MTB setup is popular for a reason: it simplifies shifting, keeps the front of the bike cleaner, and gives you a wide enough gear spread for most trail riding when it is built correctly. In this article, I look at how the system works, which parts matter most, how it compares with a double chainring, and how to choose gearing that actually suits British off-road terrain.
What matters most when choosing a single-ring setup
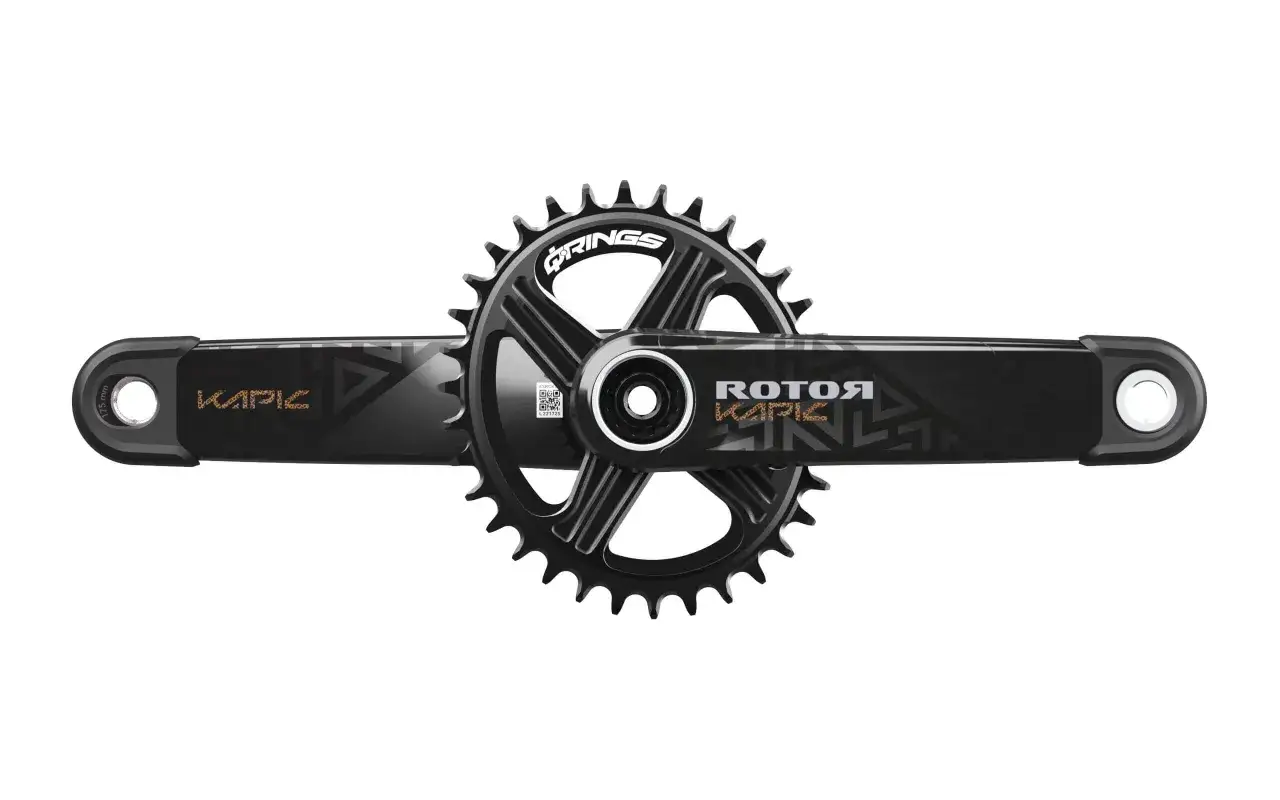
- The system relies on one chainring up front, a wide-range cassette at the rear, and a rear derailleur that controls chain tension.
- Most modern trail and XC bikes use a 30T, 32T, or 34T ring with a 10-51 or 10-52 cassette.
- It shines in mud, rough ground, and technical riding because there is no front derailleur to clog or mis-shift.
- The main trade-off is bigger jumps between gears, which matters on fast, mixed terrain.
- Setup quality matters more than people think: chain length, chainline, and derailleur adjustment decide whether it feels crisp or sloppy.
- For many UK riders, the best starting point is a 30T or 32T ring and a properly set-up clutch derailleur.
How the single-ring system actually works
A modern single-ring drivetrain uses one chainring at the crank, a wide-range cassette at the rear, and a rear derailleur to move the chain across the cogs. The shifter changes gear by pulling or releasing cable, or by sending a wireless signal on electronic systems, and the derailleur handles the chain take-up so you do not need a front mech at all.
What makes the setup work off-road is not just the missing front derailleur. It is the combination of narrow-wide chainring teeth, a clutch derailleur, and a cassette with enough spread to cover steep climbs and faster fire-road sections. The narrow-wide profile grips the chain more securely, while the clutch adds resistance to derailleur movement so the chain stays calmer over roots and rocks.
That combination is why the system feels so clean on the trail, and it also explains why setup and component choice matter so much. Once you understand the moving parts, it becomes much easier to judge whether the system suits your riding, which is where the next question comes in.
Why trail and XC riders favour it
I see the appeal most clearly on rough, wet, stop-start rides. Removing the front derailleur cuts down on clutter, reduces the places where mud can collect, and removes one of the most common sources of awkward shifting under load. When the trail turns greasy and technical, that simplicity is a real advantage rather than a marketing line.
There is also a quieter, more direct feel to the bike. You shift one lever, the chain moves one place, and the bike keeps its rhythm. That sounds minor, but on a long ride it reduces mental load. You spend less time thinking about chainrings and more time choosing a line.
For many riders, the weight saving is welcome too, but I would not oversell it. The bigger gain is usually reliability and ease of use. British winter conditions make that even more relevant, because fewer exposed parts generally means fewer chances for grit and mud to interfere with the drivetrain. That said, the system is not automatically better for everyone, which is why the trade-offs deserve a section of their own.
Where it gives up ground to a double chainring
The main compromise is gear spacing. With one ring up front, the cassette has to do all the work, so the jumps between gears are bigger than on a 2x setup. On smooth gradients you may notice that you cannot always find the exact cadence you want, especially if you ride varied terrain or like to sit in a very specific rhythm.
Range is the other issue. A wide cassette helps a lot, but a single ring still forces you to choose where you want the balance to sit. If you pick a smaller ring for climbing, you may spin out sooner on fast sections. If you go bigger for speed, steep climbs become more punishing. That is the real decision point.
| Riding priority | Single-ring setup | Double-ring setup | My take |
|---|---|---|---|
| Steep, technical climbs | Excellent with a small ring and wide cassette | Very good | Single-ring usually wins on simplicity and chain security |
| Fast, mixed terrain | Good, but with bigger gear jumps | Better cadence control | 2x can still make sense if you hate cadence gaps |
| Mud and rough conditions | Cleaner and less prone to front-end issues | More exposed parts to manage | Single-ring is usually the more practical choice |
| Mechanical simplicity | High | Lower | Single-ring is easier to live with and maintain |
That is why I would not present one option as universally superior. A double chainring still has a place for riders who value fine cadence control on long, mixed rides. Once you know which compromise you are willing to accept, choosing the actual gearing becomes much easier.
How to choose the right ring and cassette range
Most mountain bikes with this layout are built around a 30T, 32T, or 34T chainring. In practice, 32T is the common middle ground, while 30T makes climbs easier and 34T gives you a harder gear for faster riding. Current wide-range MTB cassettes commonly run to 10-51 or 10-52 teeth, which gives enough spread for most trail and XC use.
| Terrain or rider profile | Good starting ring size | Why it works |
|---|---|---|
| Very steep, muddy, technical UK trails | 28T to 30T | Gives a lower bailout gear and keeps seated climbing manageable |
| General trail riding | 32T | Best all-round balance for climbing and speed |
| Fast XC racing or flatter terrain | 34T | Helps prevent spinning out on smoother, faster sections |
| Riders unsure what to pick | 30T or 32T | Safe starting point before fine-tuning after a few rides |
If you want a simple rule, I would use this: start smaller if your local climbs are brutal, start larger if you regularly run out of top-end speed. On a lot of UK trail bikes, a 30T or 32T ring paired with a 10-51 or 10-52 cassette is the sweet spot. It is also worth checking freehub compatibility before buying, because Shimano 12-speed MTB cassettes typically need Micro Spline while SRAM wide-range cassettes often use XD. That compatibility detail is easy to miss and annoying to fix later, which is why the setup stage deserves careful attention.
Setup details that decide whether it feels crisp or clunky
The best gearing in the world still rides badly if the setup is wrong. Chain length is the first thing I check. Shimano’s published method starts by routing the chain around the largest sprocket and setting length from there, because a chain that is too short can strain the system and a chain that is too long will feel vague and sloppy on rough ground.
Chainline matters as well. If the ring sits too far in or out for the frame and crank combination, the chain will run at awkward angles in the middle of the cassette and shift quality suffers. This is one reason why you should not treat crank, ring, and bottom bracket choice as separate shopping decisions.
For aggressive trail, enduro, or e-MTB use, I also like to see a clutch derailleur and, in some cases, a chain guide. Modern narrow-wide chainrings and clutch mechs do most of the retention work, but a guide adds another layer of security when the terrain gets violent. It is not mandatory for every bike, but on rough ground it can be cheap insurance.
- Too short a chain can damage the derailleur or limit full suspension travel.
- Too long a chain increases slap and can make shifting feel untidy.
- Poor chainline usually shows up as noise and weak shifting at the edges of the cassette.
- Skipping derailleur adjustment is the fastest way to make a good drivetrain feel average.
- Ignoring wear means the chain and cassette will degrade together, which gets expensive.
Once the setup is right, the drivetrain feels far more refined than people expect from something that looks so simple. From there, the remaining decision is whether you want to keep it as lean as possible or add extra security for harder riding.
What I would add for UK trail riding and why
If I were building or refreshing a bike for UK off-road use, I would prioritise a quality chain, a clutch derailleur, and the correct ring size before chasing any exotic upgrade. Those three choices do more for real trail performance than a slightly lighter cassette or a flashy finish.
On hard-ridden bikes, a chain guide is worth considering if you regularly ride rocky descents, bike-park lines, or long full-suspension laps where chain retention matters. It is not about making the bike look more serious; it is about avoiding the kind of dropped chain that can ruin a descent or force you to stop in the wet.
I would also keep the bike easy to maintain. Clean the chain often, inspect the chainring teeth for wear, and replace the chain before the cassette gets chewed up. A single-ring drivetrain rewards that discipline because the system is simple enough to stay quiet for a long time when you look after it properly.
The build choices that usually pay off the most
The strongest version of this setup is not the fanciest one. It is the one matched to the terrain, the rider, and the conditions. For most trail and XC riders, that means a sensible ring size, a wide-range cassette, and a derailleur setup that is dialled in rather than merely installed.
That is why I usually recommend starting with the simplest workable build and then adjusting after a few rides. If climbing feels too hard, go smaller on the ring. If you are spinning out too early, go up a size. If the chain feels noisy or unstable, fix the setup before spending money on new parts. A well-chosen single-ring drivetrain should feel invisible on the trail, and that is usually the best sign that it is doing its job.