
Getting the pressure right changes the whole ride: grip in wet roots, comfort on rocky descents, rolling speed on smoother sections, and how often you clout the rim on a hidden edge. There is no single number that works for every bike, because tyre width, rider weight, rim width, casing, terrain, and whether you run tubes or tubeless all shift the target. In this guide I’ll give you practical starting ranges, show you how to tune them for UK trails, and explain the trade-offs so you can stop guessing.
The short version you can use before your next ride
- There is no one perfect pressure; start with the tyre maker’s range and tune from there.
- For MTB tubeless setups, a realistic starting band is roughly 15-35 psi, with XC lower and enduro or bike-park tyres higher.
- The rear tyre usually needs a little more pressure than the front because it carries more load.
- Lower pressure improves grip and comfort, but too little pressure causes squirm, rim strikes, or tubeless burps.
- Higher pressure protects the rim and can feel faster on smooth ground, but it usually reduces traction on roots, rocks, and loose corners.
- Check pressure with a decent gauge before every ride; small changes of 1-2 psi can matter more than most riders expect.
The practical answer for most bikes
For off-road riding, I treat tyre pressure as a starting band rather than a fixed rule. Maxxis’ MTB tech chart, for example, places tubeless XC racing tyres around 15-30 psi, light trail tyres around 20-35 psi, all-mountain and enduro tyres around 20-35 psi, and downhill or bike-park tyres around 20-30 psi. Those ranges are wide on purpose, because the “right” number depends on how hard you ride and how much load the tyre is carrying.
My own starting points, built around those manufacturer bands, look like this. I use psi here because it is still the most familiar workshop unit, but for UK riders it helps to remember that 1 bar is roughly 14.5 psi.
| Ride type | Start here | What it usually suits |
|---|---|---|
| XC or fast trail | 15-22 psi / 1.0-1.5 bar | Light riders, smoother hardpack, efficient climbing |
| General trail | 20-28 psi / 1.4-1.9 bar | Most UK trail riding, mixed roots and rocks |
| Enduro or rough trail | 24-32 psi / 1.7-2.2 bar | Heavier riders, harder hits, more support |
| Bike park or downhill | 24-30 psi / 1.7-2.1 bar | Impacts, speed, rim protection |
If you want a simple rule, start in the middle of the range, then bias the rear tyre a little firmer than the front. That is not a law of physics; it is a practical adjustment because the rear wheel carries more weight and usually takes more abuse. From here, the real job is understanding what pushes the number up or down.
What changes the right pressure
The main variables are easy to name but easy to ignore when you are rushing to get out the door. Rider and bike weight matter first: the more load the tyre has to support, the more air it usually needs. Tyre width matters next, because a wider tyre holds more air volume and can carry the same load at lower pressure. Rim width also matters, since a wider rim supports the sidewalls better and can let you run a little softer without the tyre feeling vague.
Terrain is the other big piece. Smooth lanes and hardpack reward a firmer tyre because you are not constantly smashing into edges or compressing into holes. Rough UK trail centres, wet roots, loose rock, and natural singletrack are different: a slightly softer tyre usually tracks the ground better and holds traction when the surface is broken up. That is why a pressure that feels great on a dry bridleway can feel sketchy on a rooty descent a week later.
There is also a real difference between a tyre with a tube and a tubeless setup. Tubeless usually lets you run lower pressure because you are not trying to protect an inner tube from pinch flats, and you get a more compliant ride in exchange. The important point is that you should not reuse the same number blindly when you change setup. Tubes, tubeless, casing strength, and even tyre construction all change the amount of support you need.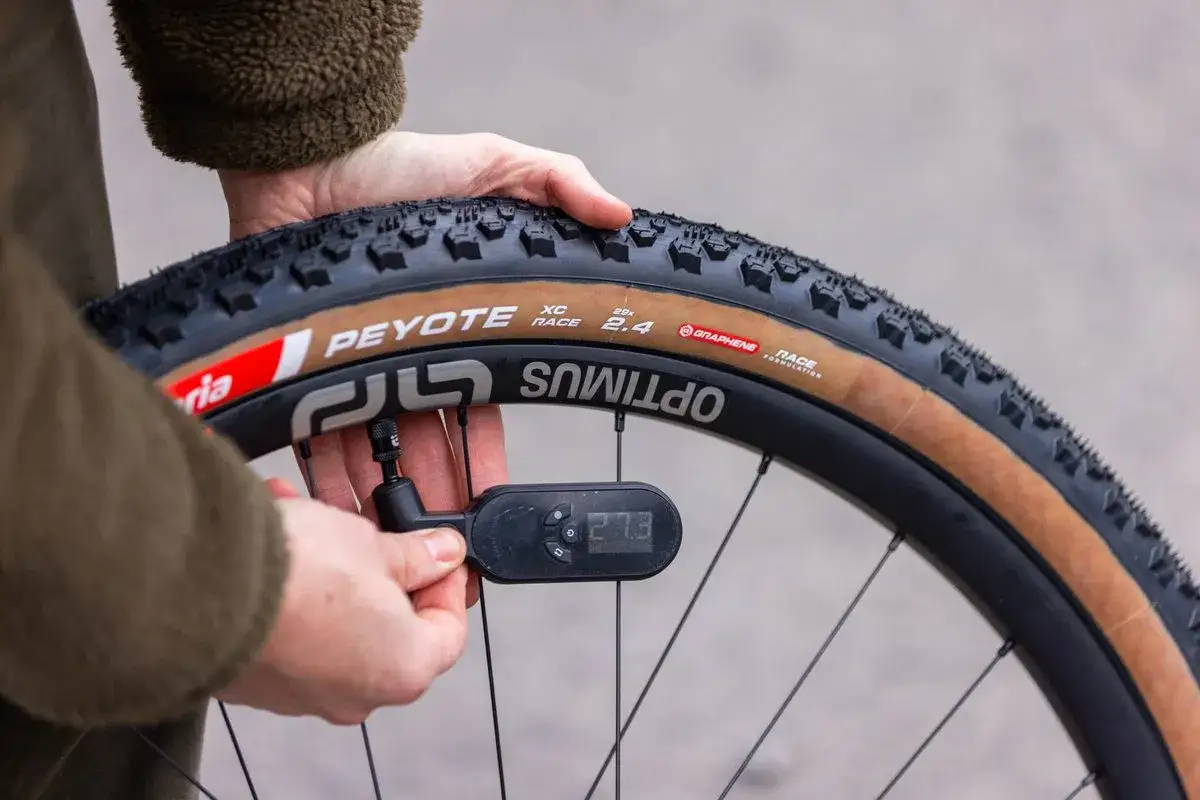
How to dial it in on the trail
I do not try to guess the perfect number at the workbench and hope it survives the ride. I set a sensible starting point, ride a familiar loop, and adjust in tiny steps. A 1-2 psi change is often enough to reveal whether the tyre is supporting the bike properly or hanging on by a thread. Bigger jumps are usually too blunt, and they hide the sweet spot rather than finding it.
- Start from the middle of the correct range for your tyre and riding style.
- Set the rear tyre 1-2 psi higher than the front if you are unsure where to begin.
- Ride a short test loop that includes corners, braking, roots, and one rough section.
- Change pressure in small increments only, then repeat the same loop.
- Recheck before the next ride, especially if temperature has dropped or the bike has sat unused.
That last point matters more than many riders think. A cheap pump gauge can be off enough to blur the difference between “works brilliantly” and “feels dead,” so a reliable gauge is worth it. I also like to keep notes on my phone: dry trail centre, wet woodland, rough local loop, and the pressures that felt right on each. Once you do that for a few rides, the pattern becomes obvious.
| What you feel | What it usually means | Try this |
|---|---|---|
| Tyre feels harsh on roots and rocks | Pressure is probably too high | Drop 1 psi and test again |
| Front wheel feels vague in corners | Front pressure may be too low | Add 1 psi to the front |
| Rim hits or harsh bottom-outs | Pressure is too low for the load or hit size | Add 2 psi or use a tougher casing |
| Tubeless tyre burps air in corners | Usually too little pressure, weak bead support, or both | Add 1-2 psi and check bead seating |
One useful detail for UK riders: wet roots often punish overinflated tyres more than loose climbs do. If the bike is skating across shiny roots, I usually soften the front first before touching the rear. That gives back grip where you need it most without making the whole bike feel sleepy.
Tubeless, tubes, and why the setup changes the number
Tubeless is the reason modern MTB pressure ranges moved down so far. SRAM notes that riders switching to tubeless typically reduce pressure compared with tube-type setups, because the absence of a tube removes the main pinch-flat risk and lets the tyre work more freely. On MTB, the exact gap is not a fixed number, but the direction is consistent: tubeless normally means less pressure for the same trail.
That does not mean “lower is always better.” Too little pressure can make the tyre squirm in hard corners, burp air when the bead is stressed, or let the rim take the hit on sharp compressions. If you run inserts, you may be able to go a touch lower again, but only if the tyre still feels stable and the rim protection actually matches the terrain you ride.
Tubes push you in the other direction. Because the tube can pinch between the rim and an impact, I would start a little higher than I would on the same tubeless setup and work down carefully. The exact amount depends on tyre volume and casing, but if you move from tubeless to tubes and keep the same pressure, you are usually taking an unnecessary risk on rough trails. There is one more rule I never ignore: always respect the lower of the tyre-sidewall max, the rim maker’s limit, and any hookless compatibility limit if your wheel uses that system. Old habits from high-pressure tyres do not belong on modern trail wheels.Common mistakes that waste grip or damage rims
Most pressure problems come from the same handful of habits. The good news is that they are easy to fix once you spot them.
- Copying another rider’s pressure without adjusting for your weight, tyre size, or casing.
- Using the same number front and rear even though the rear wheel carries more load.
- Changing pressure in big jumps, which hides the real sweet spot.
- Trusting only the number on a cheap floor pump instead of a proper gauge.
- Running road-style pressures on an MTB tyre, then blaming the tyre when it skips and chatters.
- Forgetting that wet roots, rough rock, and dry hardpack all want different support.
In practice, the biggest mistake is usually being too high, not too low. Riders often inflate until the bike feels safe on the car park, then wonder why it has no grip on the first technical climb. The tyre should feel controlled, not rock-hard. If it is bouncing off everything, you are probably carrying more air than you need.
The pressure routine I trust on UK trails
My default approach is simple. For a typical UK trail ride, I start in the middle of the right range, keep the front slightly softer than the rear, and make only small adjustments when the bike gives me a clear reason. On a wet day with roots and broken ground, I will usually favour grip over outright speed. On a dry, faster loop with fewer sharp hits, I will add a little pressure back in for support and efficiency.
If you remember only one thing, make it this: the best pressure is the lowest one that still keeps the tyre stable in corners, supportive on compressions, and safe from rim strikes. That is the real answer behind a good bike tyre setup, and it is the setting that makes the rest of the ride feel sorted rather than fought against.