Using road tires on gravel bike builds can turn one machine into a fast, efficient road tool without buying a second bike. The trick is knowing when the swap works, when it becomes a bad compromise, and what the frame, rims, and tyre pressure will allow. I’ll walk through the fit checks, the handling changes, and the setups that make sense for mixed UK riding.
What matters before you swap to slick tyres
- Frame clearance comes first. A tyre that fits the rim can still rub the fork or stays.
- Rim width changes the real tyre size. A labelled 28 mm tyre can measure wider on a modern gravel rim.
- Hookless wheels are the biggest compatibility trap. Many of them have pressure limits and approved tyre lists.
- Pressure should follow the wheel and tyre maker, not guesswork. Too much pressure makes the bike harsher and can break hookless rules.
- Road tyres improve speed most on tarmac and hardpack. On loose gravel, they trade grip for efficiency.
When the swap makes sense
I treat slick road rubber as a way to give a gravel bike a second personality. If most of your mileage is on tarmac, cycle paths, winter training loops, or a commute with only a few compact gravel shortcuts, the swap makes sense. The bike will feel quieter, quicker to accelerate, and less draggy on the road.
Where it stops making sense is when the gravel is loose, sharp, or muddy. A pure road tyre can still roll through firm dirt, but once the surface stops supporting the tread, grip and puncture resistance drop fast. For me, that line usually appears long before the brochure photos suggest it will.
So the real decision is not whether you can do it, but whether the bike is still suited to the terrain you actually ride. Once that is clear, the compatibility check becomes much easier.
The fit checks that decide compatibility
There are three things I check before I even think about pressure: wheel diameter, frame clearance, and rim compatibility.Wheel size and bead seat diameter
Road and gravel wheels usually share either 700c or 650b sizing, and the bead seat diameter must match the tyre exactly. That is what ETRTO refers to: the standard that keeps tyre and rim diameters aligned. A 700 x 28 road tyre will not fit a 650b rim, even if the bike itself looks roomy enough.
If your gravel bike uses 650b wheels, I would be more cautious with ultra-narrow road tyres. The fit may be legal, but the smaller wheel usually makes the bike feel less road-fast than a 700c setup would.
Frame and fork clearance
The rim may accept the tyre, but the frame still has the final say. I look at the fork crown, the seatstays, the chainstays, and any mudguard space if the bike runs guards in winter. On a gravel frame, I like a few millimetres of daylight at the tightest point, because flex, wheel wobble, and grit can quickly erase a fit that seems fine on the stand.
Read Also: DT Swiss 350 Hub - Which Version is Best for Your MTB?
Rim internal width and hookless rules
Wide gravel rims often make a labelled 28 mm tyre measure wider in real life, and that can be useful or annoying depending on your clearance. This is also where hookless rims matter. Hookless systems can be excellent, but they are less forgiving: many require tubeless-ready tyres, some have a minimum tyre width, and the common pressure ceiling is 5 bar, or 72.5 psi. If the rim maker and tyre maker disagree, I follow the stricter limit.
If you run inner tubes on a hooked rim, the rules are usually simpler, but the tyre width still needs to suit the rim width. When in doubt, the wheel maker’s chart wins. Once that fit is real, the next question is what the bike actually gives up and gains on the road.
What changes on the road
Compared with a gravel tread, a good road tyre gives the biggest gains on smooth surfaces and the most obvious losses off them. The bike accelerates more easily, corners with less squirm, and feels more planted on tarmac. You also get less noise and often better long-ride efficiency because the casing is doing less work against the surface.
The downside is not just grip. A narrower, harder tyre can feel twitchy on broken lane surfaces, painted lines, wet metal covers, and coarse chipseal. That is why a slightly wider slick can sometimes feel faster in the real world than a very narrow race tyre: it loses less energy to vibration. On rough UK roads, that difference is easy to feel within the first hour.
- Speed: biggest gain on asphalt and smooth hardpack.
- Comfort: improves when width is sensible, not when pressure is excessive.
- Grip: drops as the surface gets looser, wetter, or sharper.
- Puncture risk: rises if you go too narrow or too light for flint and broken edges.
Those trade-offs are why I pay so much attention to tyre type, not just tyre width, which is the next part worth getting right.
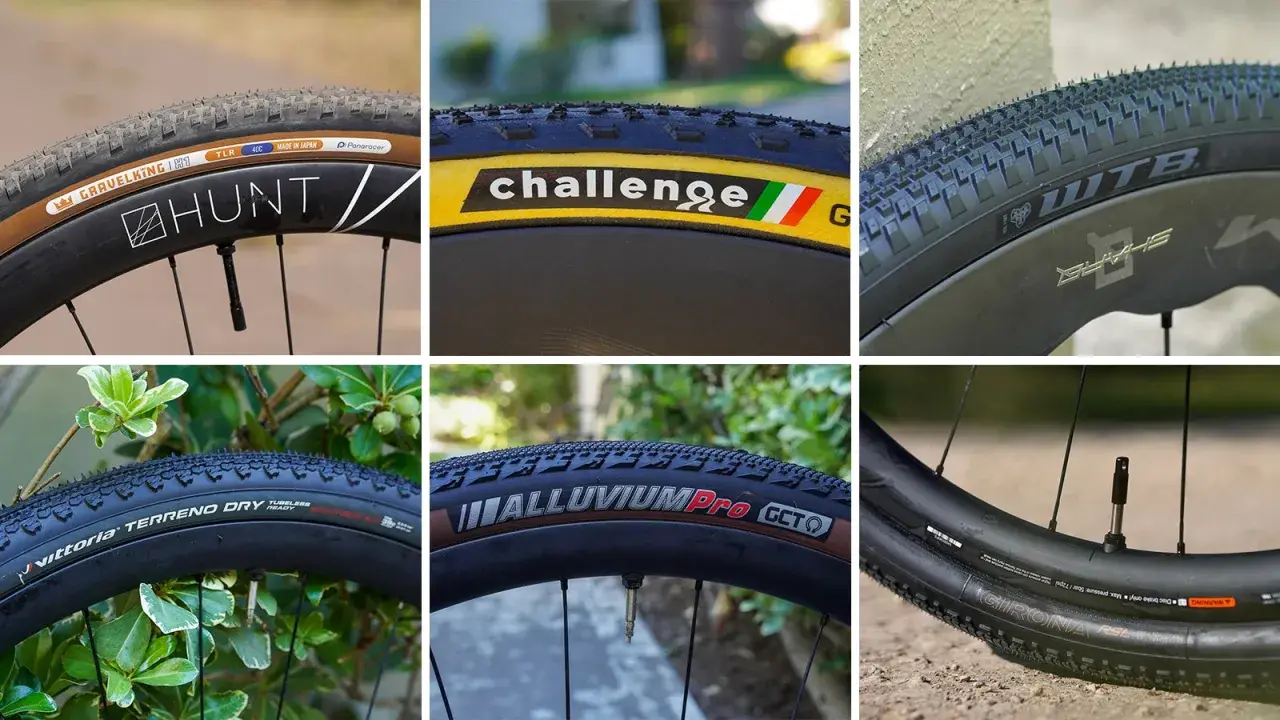
Which road-style tyre I would choose
When I choose a road-friendly tyre for a gravel bike, I usually sort it into four groups. Casing matters almost as much as tread: a supple race tyre feels quick, but a tougher endurance casing survives flint and debris better, which is why I would not blindly choose the lightest option available.
| Tyre type | Typical width | Best use | Main trade-off |
|---|---|---|---|
| Fast race slick | 28-30 mm | Pure road speed, training, group rides | Least comfort and the smallest puncture margin |
| Endurance road tyre | 30-32 mm | Winter road use, commuting, rough tarmac | Heavier and a little slower than race rubber |
| All-road slick or file tread | 32-38 mm | Mixed road, hardpack, light gravel | Not as quick as a pure slick on smooth asphalt |
| Semi-slick gravel tyre | 35-45 mm | Road plus proper gravel and occasional mud | More drag and noise on the road |
If you want one setup that feels sensible rather than forced, I think 30-32 mm is the sweet spot for most gravel bikes that spend most of their time on road. Push toward 35 mm if the lanes are broken, gritty, or wet. Stay closer to 28-30 mm only if the bike is really being used as a road machine and the frame still has proper clearance.
That is the point where pressure starts to matter as much as tyre choice itself.
Pressure, rim width, and hookless limits
Tyre pressure is where a lot of otherwise good setups go wrong. Too much pressure makes the bike harsh, skittish, and more prone to bouncing off rough surfaces. Too little pressure can make the tyre vague in corners and invite rim strikes or burping on tubeless systems.
As a rough starting point on hooked rims, I often see these ranges work for average riders, but I would still check the manufacturer chart first:
- 28 mm slicks: roughly 55-80 psi
- 30-32 mm slicks: roughly 45-70 psi
- 35 mm tyres: roughly 35-60 psi
Go lower for tubeless, a bit higher for tubes, and lower again if the road surface is rough rather than glass-smooth. On hookless rims, do not treat those ranges as optional: the tyre and wheel approval list, plus the 5 bar limit, come first. The same tyre family can be approved in one size and rejected in another, so I check the exact size printed on the sidewall.
I also re-check fit after inflation. A tyre that looks perfect in the garage can measure wider on the rim once it is seated, which can steal the last few millimetres of clearance at the chainstays or fork legs. Once the numbers are right, the final choice comes down to where you actually ride and how much compromise you are willing to carry.
What I would run for UK road and mixed-surface riding
For UK conditions, I usually lean a little wider than a pure road rider would. Wet grit, flint, broken lane edges, and surprise potholes punish overly narrow tyres. If the bike is mostly a winter road machine, I would start with a 30-32 mm endurance slick or a lightly treaded all-road tyre, preferably tubeless if the wheelset is approved.
- Mostly tarmac: 28-30 mm fast slick
- Tarmac with rough lanes: 30-32 mm endurance road tyre
- Road plus short gravel detours: 32-35 mm slick or file tread
- Frequent gravel or flinty lanes: keep a proper gravel tyre and avoid over-narrowing the bike
If you have the budget, a second wheelset is cleaner than trying to make one tyre do every job. That is especially true if you want a road-quick setup for winter training and a proper gravel setup for weekends.
The setup I would run on a road-heavy gravel bike
My default choice for a road-heavy gravel bike is simple: a 700c wheelset, 30-32 mm slick or lightly treaded tyres, tubeless only if the rims are approved, and a pressure setting that leaves the bike calm rather than rock-hard. I would not force a very narrow race tyre onto a wide or hookless wheel just to chase a road-bike feel, because the compatibility penalty is rarely worth it.
If your rides are mostly paved with occasional hardpack, that setup gives you the best mix of speed, comfort, and safety. If your rides regularly drift into loose gravel, start wider instead of trying to rescue the bike with pressure alone. The right answer is the one that matches the ground under your wheels, not the one that looks fastest on paper.