
Getting MTB tyre pressure right is one of the easiest ways to change how a bike feels on the trail. The real question behind what should mountain bike tire pressure be is not just speed, but how much grip, support, and puncture protection you want from your setup. I usually start with a sensible range, then tune it for tyre width, rider weight, terrain, and whether the bike is tubeless or still running tubes.
The quick answer most riders can start with
- For a typical UK trail bike on 2.4in tubeless tyres, I would start around 21 psi front and 23 psi rear.
- Wider tyres can usually run lower pressure; narrower tyres usually need more air.
- If you run inner tubes, add about 5 psi to reduce pinch-flat risk.
- The rear tyre usually needs 2-3 psi more than the front.
- Use the tyre sidewall as a safety limit, not as something to ignore.
- Make changes in small steps and test them on the same trail loop.
The best starting pressure for most trail riders
For most riders on modern trail bikes, I think the sweet spot sits in the low 20s if the bike is tubeless and the tyres are 2.3-2.5in wide. A practical baseline is 21-23 psi in the front and 23-26 psi in the rear for an average rider on mixed UK trails. If you ride a 2.6in tyre, that baseline usually drops a touch; if you are on narrower rubber, it climbs.
| Setup | Starting pressure | What it suits |
|---|---|---|
| 80kg rider, 2.2in tyre, 25mm rim | 24 psi front / 26 psi rear | Narrower XC and faster trail setups |
| 80kg rider, 2.4in tyre, 30mm rim | 21 psi front / 23 psi rear | A strong all-round trail baseline |
| 80kg rider, 2.6in tyre, 30mm rim | 19 psi front / 21 psi rear | More tyre volume, more grip, more comfort |
| Running inner tubes | Add about 5 psi | Helps protect against pinch flats |
| Trail e-MTB | 25-35 psi | Heavier bikes and higher loads need more support |
Those numbers are starting points, not rules. The useful part is the pattern: more volume usually means less air, and more load usually means more air. Once that clicks, the rest of the tuning process becomes much easier.
What actually changes the number
Tyre pressure is not decided by one single factor. I look at the whole setup, because the right PSI for one bike can feel wrong on another even if the rider is the same.
- Rider weight matters because the tyre has to carry your body, kit, and bike load without folding over in corners.
- Tyre width matters because a wider tyre holds more air and usually supports lower pressure better than a narrow one.
- Rim width changes the tyre shape. A tyre on a wider rim tends to feel more supported, while a narrow rim can make the same tyre feel squirmier.
- Casing strength matters because a tougher carcass can tolerate lower pressure without collapsing as easily in hard cornering.
- Terrain matters because wet roots, off-camber turns, loose stone, and sharp rocks all ask for slightly different behaviour.
- Bike type matters because a hardtail and a full-suspension bike do not load the tyres in exactly the same way.
- Tubeless versus tubes matters because a tube adds pinch-flat risk, which usually pushes the safe pressure upward.
In UK conditions, the biggest practical difference is often between a damp rooty trail and a faster rocky descent. The first rewards a little more conformity from the tyre, while the second often needs a bit more support. Once you understand those trade-offs, the front and rear pressures make a lot more sense.
Front and rear pressure should not be identical
I rarely set both tyres to the same PSI. The rear tyre carries more load, deals with more impacts from the rider’s weight, and usually needs a little extra air to stay composed. In practice, that often means 2-3 psi more in the rear than in the front.
| Condition | Front | Rear | Why it works |
|---|---|---|---|
| 80kg rider, 2.4in tubeless tyre | 21 psi | 23 psi | Balanced grip, support, and rolling speed |
| 80kg rider, 2.6in tubeless tyre | 19 psi | 21 psi | More volume allows a little more compliance |
| Rocky trail on a hardtail | 23 psi | 25 psi | Extra support helps protect the rims and keeps the bike stable |
| Rocky trail on full suspension | 25 psi | 27 psi | Suspension absorbs some of the hit, so the tyre can still stay firm |
That gap does not have to be huge. A difference of 2 psi can be enough to change steering feel at the front without making the rear too harsh. If you corner aggressively or burp tyres often, I would lean a little higher; if the front end feels nervous on wet roots, I would back it off slightly. The next step is learning how to test those changes properly.
How I would dial it in on a real trail loop
The biggest mistake I see is changing pressure and then judging it on a car park roll or a short road spin. That does not tell you much. I want a pressure test to include roots, corners, braking bumps, and at least one section where the tyre gets loaded hard.
- Start slightly firmer than you think you need.
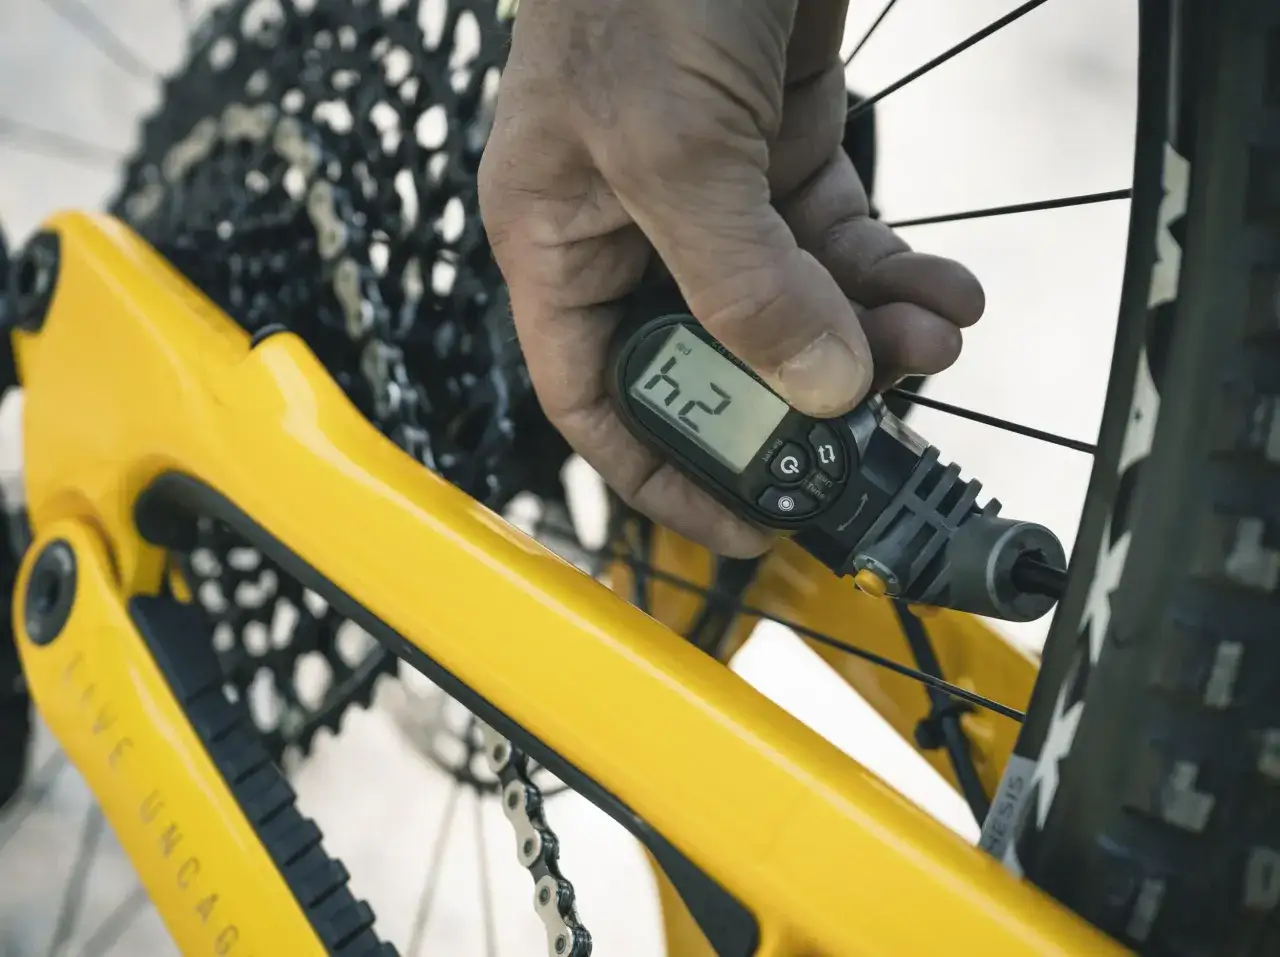
- Check the pressure with a digital gauge before you ride, not after you have already deflated the tyre a bit by trail-side fiddling.
- Ride one loop that includes the kind of terrain you normally see.
- If the tyre feels vague, rolls over in corners, or smacks the rim, add air in small steps.
- If the tyre skips across roots, loses grip on off-camber turns, or feels harsh everywhere, take a little air out.
- Change one thing at a time and keep notes, because tiny changes matter more than most riders expect.
I usually treat 1-2 psi as a meaningful adjustment, especially on wider tyres. The feel change can be subtle, but it is still enough to move a bike from nervous to planted. Once you know what your trails are asking for, the signs of too much or too little pressure become obvious.
How to tell when you have gone too high or too low
You do not need lab equipment to spot a bad setup. The tyre tells you pretty quickly if it is unhappy, and the feedback is usually consistent.
| What you feel | Likely problem | What to do |
|---|---|---|
| The tyre pings off rocks and roots, or slides instead of sticking | Pressure is too high | Drop 1-2 psi and test again |
| The ride feels harsh and chatters over rough ground | Pressure is too high | Lower the pressure slightly for more compliance |
| The rim hits obstacles or you hear hard knocks through the wheel | Pressure is too low | Add 1-2 psi to improve support |
| The tyre feels vague in corners or squashes too much under load | Pressure is too low | Increase pressure, especially at the rear |
| A tubeless tyre loses air suddenly on hard impacts | Too little support or too soft a casing | Add pressure, or consider a stronger casing or insert |
One useful rule: if the bike feels fast but uncontrolled, the pressure is probably too high; if it feels plush but sloppy, it is probably too low. The sweet spot is the point where the tyre still conforms to the trail without folding under you. That balance changes again once you factor in tubeless systems, tubes, and inserts.
Tubeless, tubes, and inserts change the whole balance
Whether you are running tubeless or inner tubes has a real effect on tyre pressure. Tubeless systems let you go lower because there is no inner tube to pinch between the rim and tyre, and the sealant gives you a bit of extra puncture security. With tubes, I would not chase the same low numbers.
- Tubeless usually allows lower pressure, better grip, and a smoother ride.
- Inner tubes are simpler and cheaper, but they need more air to stay safe from pinch flats.
- Tyre inserts can give you more confidence at lower pressure, but they are not a substitute for the right casing or the right tyre width.
If you switch from tubeless to tubes, I would start by adding about 5 psi and then fine-tune from there. That is often enough to stop pinch flats without making the bike feel dead. Inserts can help as well, especially on rougher trails, but I still treat them as support equipment rather than an excuse to run an obviously wrong pressure. That brings me to the baseline I would actually use for a normal UK trail bike.
The setup I would start with on a UK trail bike
If I had to give one honest starting point for a modern UK trail bike, it would be this: 21 psi front and 23 psi rear on a tubeless setup with 2.4in tyres. That is low enough to get grip on wet roots and loose corners, but firm enough to keep the bike composed for most riders. From there, I would move up if I was hitting rims or riding faster, rougher terrain, and I would move down if I wanted more bite on technical climbs or slippery off-camber turns.
For narrower tyres or a more XC-oriented setup, I would start a little higher. For wider tyres, I would start lower. And if you are still on tubes, I would not be shy about running the tyre a bit firmer, because a pinch flat ruins a ride much faster than a tyre that feels one psi too hard.
My practical rule is simple: start in the low 20s, test on real trails, and adjust in small steps until the bike feels supportive without becoming harsh. That method is slower than copying a random number from a forum, but it is far more likely to give you a pressure that actually suits your bike, your weight, and the ground you ride on.