Rear shock length looks simple on paper, but the wrong combination of eye-to-eye, stroke, and mount type can make a bike ride badly or not fit at all. This guide breaks down the measurements behind a shock length chart, shows which sizes are common on modern MTB frames, and explains how I decide whether a shock is a true match or just a number that looks close enough. The focus is practical: fit, compatibility, ride feel, and the mistakes that cost time and money.
What matters most when matching a rear shock
- Eye-to-eye is the fully extended length; stroke is how far the shock compresses.
- The frame’s approved size matters more than any “close enough” alternative.
- Metric shocks usually follow 20 mm eye-to-eye steps and 5 mm stroke steps.
- Trunnion and standard mounts are not interchangeable without checking the frame.
- Hardware width, bolt diameter, and bushing style are part of the fit.
How to read a shock sizing chart
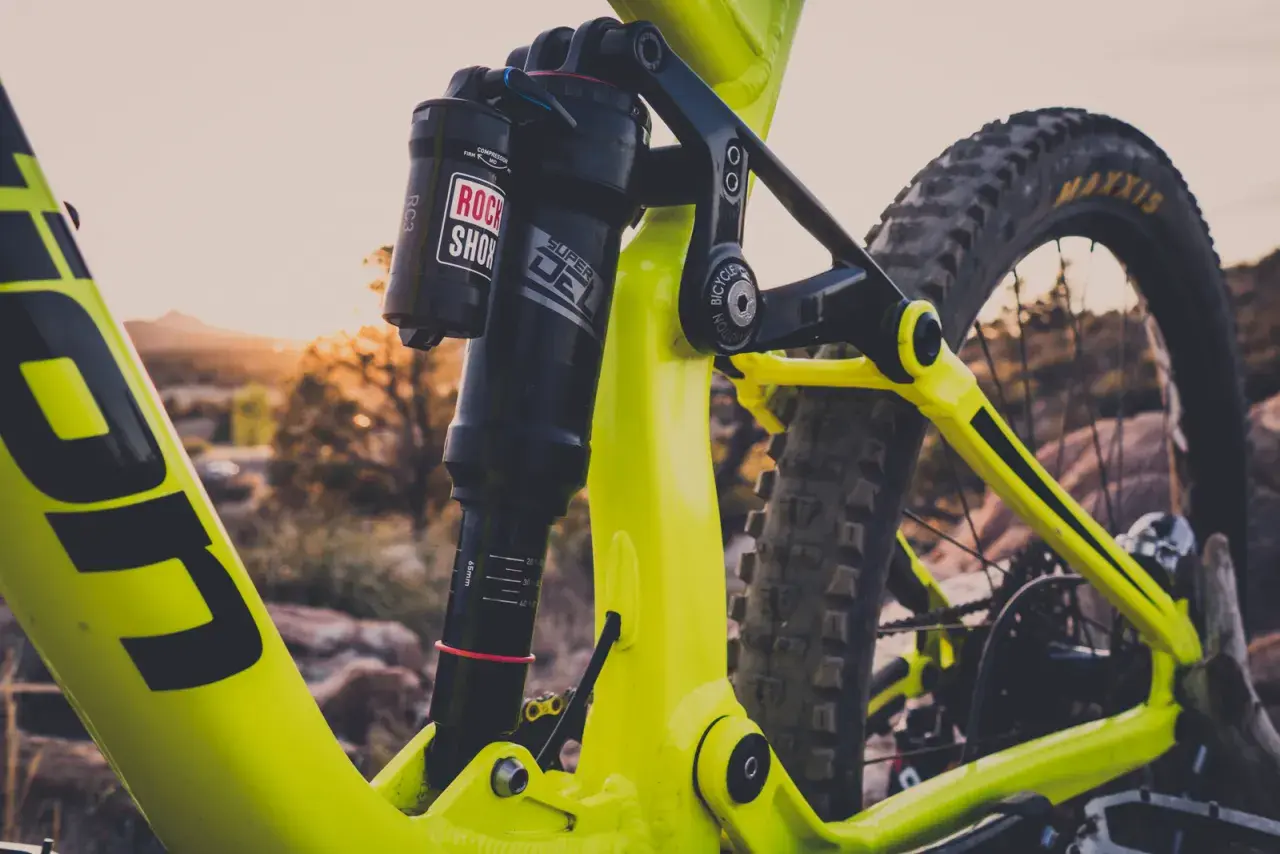
The first thing I look at is the size format. A number such as 210 x 55 mm means the shock is 210 mm eye-to-eye when fully extended and has 55 mm of stroke. Eye-to-eye is the distance between the mounting centres, while stroke is the amount the shaft can move during compression.
That distinction matters because two shocks can share the same eye-to-eye length and still be wrong for the same frame. SRAM’s fitment guidance makes this point clearly: metric shocks often share an eye-to-eye length but differ in stroke, so the frame’s exact spec is the real filter. I treat the chart as a compatibility map, not a shopping list.
| Measurement | What it means | Why it matters | Common mistake |
|---|---|---|---|
| Eye-to-eye | Full extended length between the mounting centres | Controls basic frame fit and geometry | Assuming the same length guarantees the same shock fit |
| Stroke | How far the shock compresses from full extension | Influences rear wheel travel and bottom-out behaviour | Mixing up shock stroke with rear wheel travel |
| Mount type | Standard eyelet or trunnion mount | Changes the physical package and compatible sizes | Buying the right dimensions with the wrong mount |
| Hardware | Bushing width, bolt diameter, reducers, and spacers | Ensures the shock actually bolts into the frame | Ignoring the hardware and only checking the body size |
Once those four pieces make sense, the chart becomes much easier to use, and the next step is comparing the sizes you are most likely to see on modern trail and enduro bikes.
Common lengths and the bikes they usually suit
A useful length chart is less about ranking shocks and more about matching frame packaging to real-world riding. In the UK market, most modern MTB shocks are metric, and the sizes below are the ones I see most often on current XC, trail, and enduro frames.
| Shock size | Where it often appears | What it usually means on trail |
|---|---|---|
| 165 x 38 mm | XC and short-travel downcountry bikes | Efficient pedalling, compact packaging, limited rear travel |
| 165 x 42.5 mm | Short-travel trail and downcountry frames | A little more compliance without moving into big-travel territory |
| 190 x 40 mm | XC and lightweight trail bikes | Compact frame packaging with a firm, efficient feel |
| 190 x 45 mm | Trail and downcountry bikes | A very common balance of support, traction, and usable travel |
| 200 x 50 mm | Trail and all-mountain frames | More stroke for more rear-wheel movement, but still fairly compact |
| 210 x 50 mm | Trail and all-mountain bikes | Popular on mid-travel bikes that need good support and packaging |
| 210 x 55 mm | Aggressive trail and enduro frames | Extra stroke for more travel potential, with tighter clearance checks |
| 230 x 60 mm | Long-travel enduro and park-oriented bikes | Big travel, bigger packaging demands, and fewer frame options |
Older bikes may still use imperial sizes such as 7.5 x 2.0 or 8.5 x 2.5. I treat those as legacy fitments and check the frame manual before I convert anything in my head, because the closest-looking metric shock is not always the correct replacement. That is where a lot of bad purchases start.
From here, the interesting part is not just which size is common, but why two shocks with similar numbers can behave very differently once they are on the bike.
Why the same length can ride very differently
Shock length is only one part of the story. The frame’s linkage determines how that shock feels, how much rear wheel travel it creates, and how easy it is to live with on the trail. A 55 mm stroke on one frame can feel calm and supportive, while the same stroke on another can feel deep, soft, or hard to control.
Leverage ratio and wheel travel
The linkage turns shock stroke into rear wheel travel. In simple terms, a frame with a roughly 3:1 average leverage ratio will turn 50 mm of shock stroke into about 150 mm of rear travel, but the real curve is never perfectly flat. As the suspension moves, the leverage ratio usually changes, which is why the same shock can feel more progressive on one bike and more linear on another.
I care about this because travel is not the same thing as fit. A bike can use the same shock size as another frame and still ride with a very different feel under braking, cornering, and hard hits. That is where kinematics, not the size label, does the heavy lifting.
Mount style and packaging
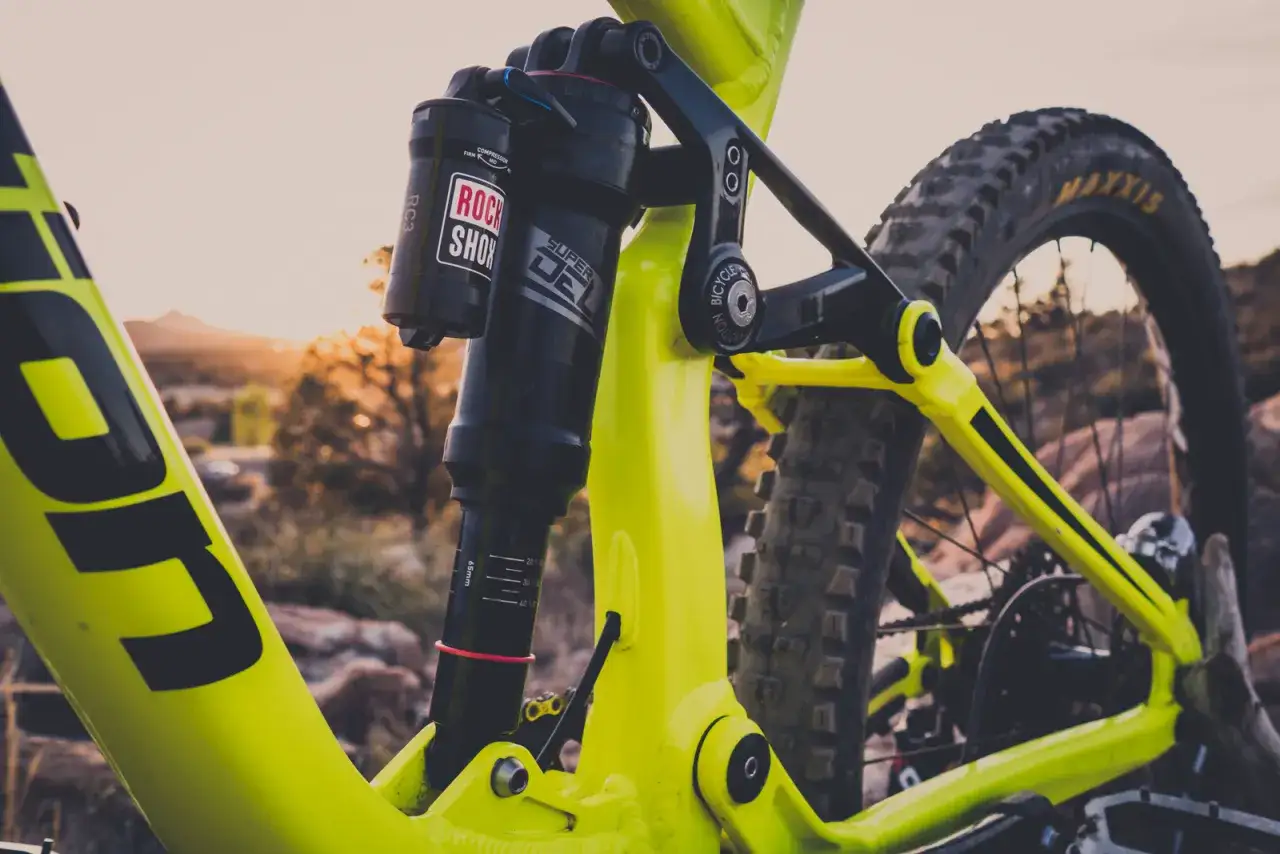
Standard eyelet shocks and trunnion shocks are built differently. A trunnion mount bolts the shock body directly into the frame, which shortens the overall package and gives frame designers more room to work with. That can be a real advantage on compact frames, but it also narrows the list of compatible shocks very quickly.
In practice, this is why I never buy by length alone. The frame might accept 210 x 55 mm, but only in a trunnion layout, or only with a specific hardware width. If the mount style is wrong, the size on the sticker becomes irrelevant.
Read Also: MTB Suspension Setup - Dial Your Ride for UK Trails
Sag, spring curve, and damping
Even when the fit is correct, ride feel still depends on sag and the spring curve. Sag is the amount the bike settles under rider weight, and it usually sits around 25-30% for trail riding and a touch higher for more aggressive enduro setups, depending on the frame. Air shocks tend to ramp up more as they compress, while coil shocks feel more linear and rely on the spring rate for support.
Damping matters too. Rebound controls how fast the shock returns after compression, and compression damping helps shape support through the stroke. That means a good length match can still feel poor if the spring curve or damping range does not suit the frame. Once I understand that, choosing the right size becomes a process rather than a guess.
How I choose the right shock for a frame
My order of operations is boring, but it saves mistakes. I start with the frame spec, then I confirm the physical dimensions, and only then do I think about ride feel. That is the safest way to buy a rear shock in 2026, especially when the market is full of near-matches that look interchangeable on paper.
- Check the frame manual first. If the manufacturer lists 210 x 55 mm, I treat that as the baseline, not a suggestion.
- Confirm the mount type. Standard eyelet and trunnion shocks are not the same thing, even when the size numbers look familiar.
- Measure the hardware. Eyelet width, reducer size, and bolt diameter have to match the frame.
- Check clearance at full compression. I look at tyre clearance, linkage clearance, seat tube area, and bottle space, especially on muddy UK trail bikes.
- Set sag before judging the shock. A shock that is under-sprung or over-pressurised will give a false impression of the size choice.
On some air shocks, travel-reduction spacers can shorten stroke in small steps, often 2.5 mm at a time, but I only use that option when the frame maker allows it and the clearance checks still pass. If the frame wants a shorter stroke, that is one thing; if I am trying to force extra stroke into a tight chassis, that is a bad trade. The chart should help me fit the bike, not fight it.
Mistakes that make a good shock fit badly
The most expensive error is usually the simplest one. Riders see a number that is close, assume the rest will work itself out, and only discover the problem when the shock is on the bike and something contacts under compression. I have seen the same pattern enough times to call it predictable.
- Confusing stroke with rear wheel travel. They are related, but they are not the same number.
- Buying by eye-to-eye only. A shock can share the same length and still have the wrong stroke.
- Ignoring the mount style. Trunnion and standard shocks do not mix.
- Assuming more stroke is always better. Extra stroke can create clearance problems or change geometry in a bad way.
- Forgetting the hardware. The best shock in the world is useless if the reducers and bolt sizes do not match the frame.
These are not subtle problems. They either show up immediately during installation or they appear the first time the suspension fully compresses on the trail. That is why the chart is useful only when it is paired with a proper fit check.
The checks I never skip before buying one
When I buy a rear shock, I use three filters and nothing less. First, I confirm the exact frame spec. Second, I verify the physical fit, including hardware and mount style. Third, I think about tuning range, because a correctly sized shock that cannot be tuned for the rider is still a poor choice.
- Frame approval comes first, because it protects geometry and clearance.
- Physical fit comes second, because hardware and mounting can stop a purchase before it starts.
- Tune range comes third, because air pressure, volume spacers, damping, or spring rate are what make the shock work well once installed.
If I want a bike to feel more supportive, I usually start with setup changes before I start changing shock length. That keeps the frame within its intended range and gives me a better chance of getting the ride I want without forcing a near-match into service. A good shock length chart is not about picking the biggest number; it is about choosing the size that the frame was built to use.