A Fox Float DPS Factory sits in the sweet spot between XC efficiency and trail-bike control, which is why it still matters if you care about how the rear end of the bike actually behaves on real trails. In this guide I break down what the shock does, how the three-position DPS lever changes the ride, how to set it up properly, and where it makes sense to spend the extra money on the Factory trim. I also cover the fitment checks that save you from buying the wrong shock in the first place.
What matters most before you buy one
- The DPS damper uses Open, Medium, and Firm modes, so it is built for efficiency first, not endless adjustment.
- The EVOL air sleeve and Dual Piston valve design are there to improve small-bump sensitivity and pedalling support.
- Fox lists the Factory version at a 221 g starting weight for one 6.5 x 1.5 configuration and a $499 regular price on its US product page.
- This shock fits best on XC, downcountry, and light trail bikes, especially where weight and pedalling matter more than long, hard descents.
- A sensible starting point is about 25% sag, then a small amount of rebound and volume-spacer tuning to match the frame.
- Before ordering, check eye-to-eye, stroke, hardware width, bolt diameter, and mount type, because the name alone does not guarantee fit.
What the Factory DPS is really built for
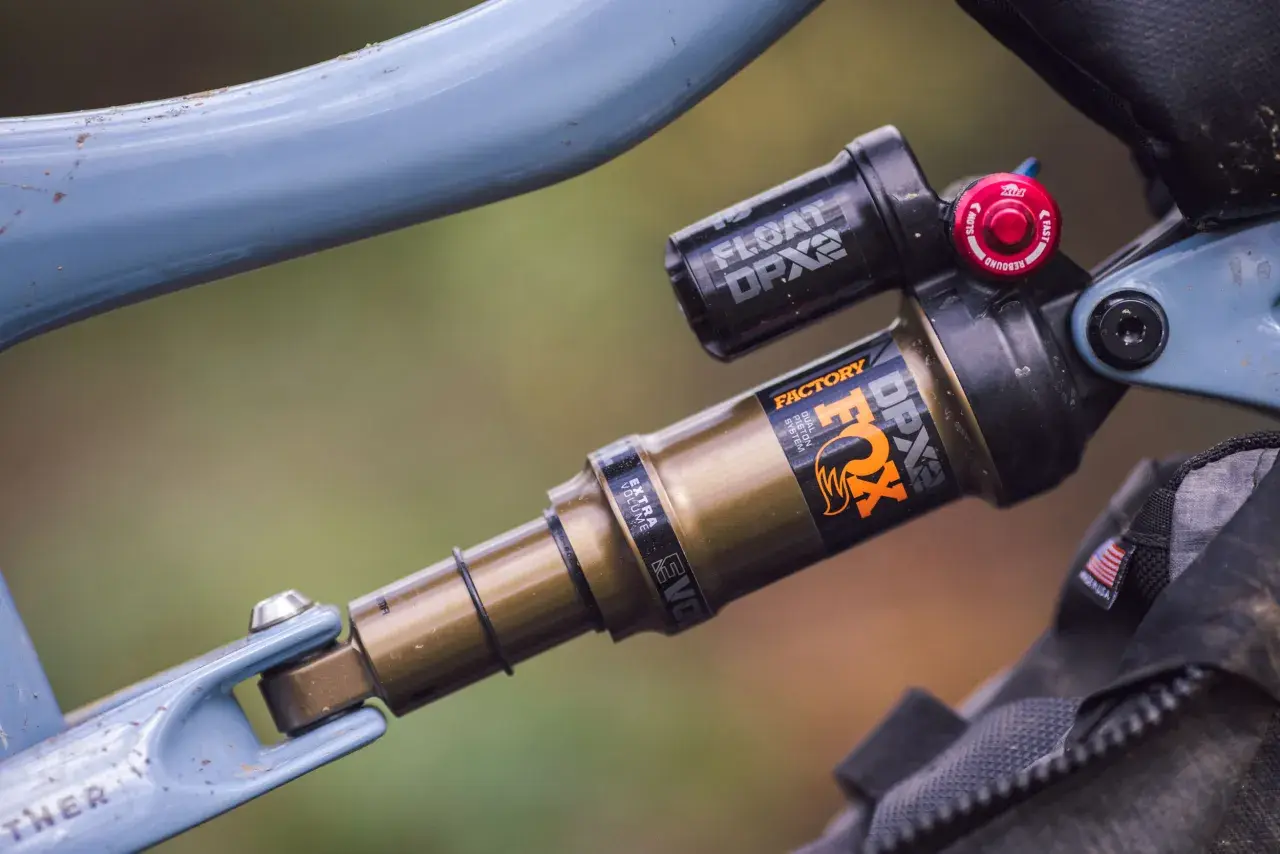
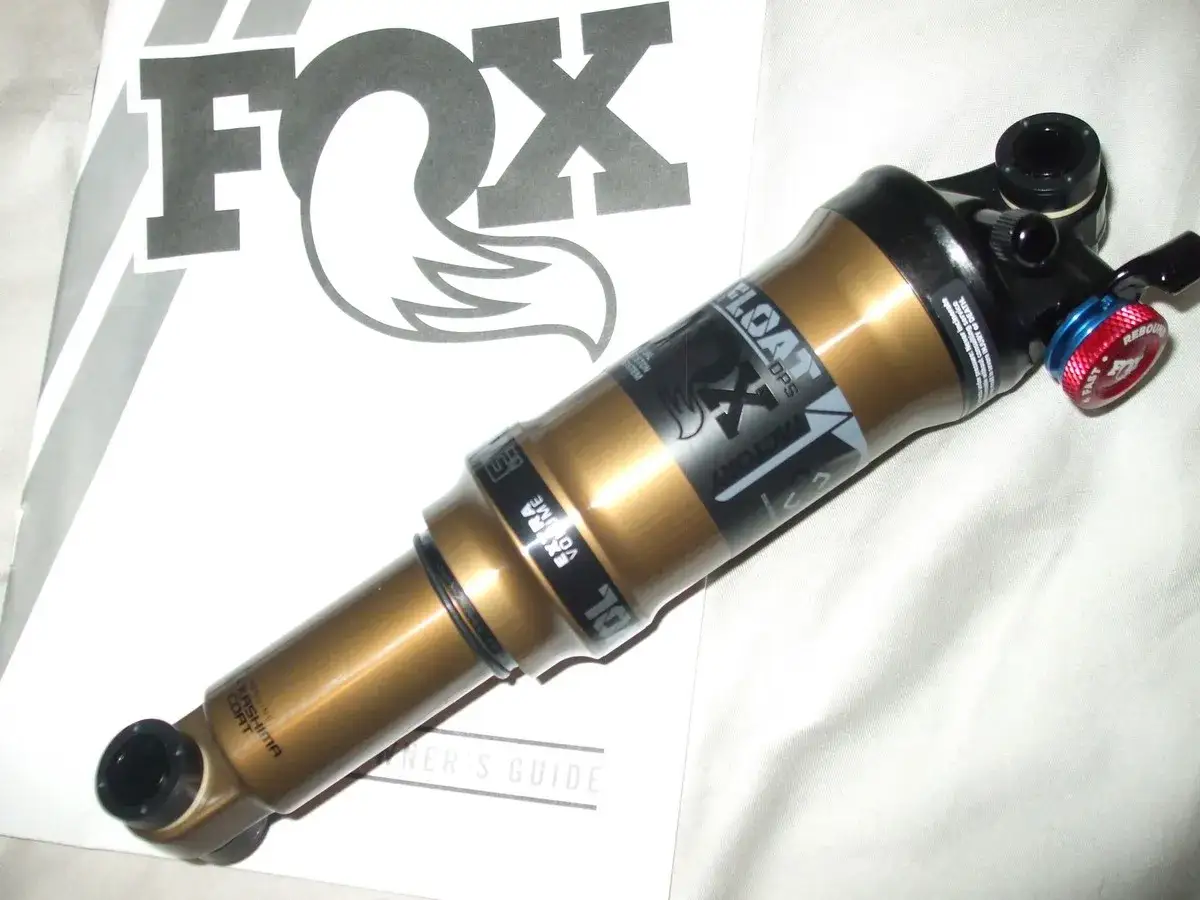
The easiest way to understand this shock is to stop thinking of it as a general-purpose rear unit and start thinking of it as a light, efficient air shock with enough adjustment to suit modern short-travel bikes. DPS stands for Dual Piston System, and the current Factory version pairs that damper with Fox’s EVOL air sleeve and Kashima-coated Factory trim.In plain terms, that means the shock is designed to keep the rear wheel active without turning every pedal stroke into wasted motion. The three positions matter more than the badge on the body: Open for traction and descending, Medium for mixed terrain, and Firm for smoother climbs or sprint sections. I see it as a deliberately simple system that gives you useful control without forcing you to micromanage damping every few minutes.
The Factory finish is worth a quick word too. Kashima is not magic, but it is part of why this sits in the premium bracket. In use, the whole package is meant for riders who want a lively rear end, predictable support, and a shock that does not feel bulky or overbuilt under a lighter bike.How it behaves on the trail
On trail, the DPS Factory makes the most sense when the bike has to do two jobs at once: climb efficiently and still stay composed over chatter. On smoother climbs, Firm can feel neat and tidy. On rolling trails, Medium is usually the mode I would leave it in for long stretches because it keeps the bike supportive without making it harsh. Open is where the shock earns its keep on roots, braking bumps, and off-camber UK singletrack.
What I like about this character is that it does not feel lazy or vague. The EVOL air sleeve helps the initial part of the stroke feel supple, so the shock settles into its travel quickly instead of perching on top of it. That usually translates into better grip on wet roots, more confidence in loose corners, and less of that nervous rear-wheel chatter you get from a shock that is tuned too stiff.
The trade-off is just as important. If your rides are dominated by long, rough descents, repeated hard hits, or a frame with a very aggressive leverage curve, a DPS can run out of breath sooner than a more aggressive damper. It is not a weakness if you buy it for the right bike. It is a limitation if you expect enduro-shock behaviour from a lightweight XC/trail platform.
How I would set it up from day one
The setup process is not complicated, but it does reward a bit of discipline. I would start with the lever in Open, then set sag before touching anything else. Fox’s own guidance puts rear-shock sag around 25% as a starting point, and many setups live comfortably in the 25-30% range depending on the frame, the leverage curve, and how much support you want from the mid-stroke.
For a clean first setup, I would work in this order:
- Set the shock to Open.
- Add air in small steps and cycle the shock through a portion of its travel so the positive and negative chambers equalise.
- Measure sag with your normal riding kit on, not in trainers and shorts because it is convenient.
- Adjust rebound one step at a time until the rear wheel returns fast enough to recover between hits, but not so fast that it kicks back.
- Ride a familiar loop before changing anything else.
One practical note matters in 2026 as much as ever: Fox lists a 350 psi maximum for current DPS EVOL shocks, while non-EVOL versions are lower. I would still treat that as a ceiling, not a target. If you are getting near the limit, the answer is usually a different tune, a different spacer setup, or sometimes a different shock altogether.
Fitment is the part people get wrong most often
The label on the shock is only half the story. What actually decides whether it works on your bike is the combination of eye-to-eye length, stroke, hardware width, bolt diameter, and mount type. That is especially important with frame-specific bikes, where two shocks can look similar but need different travel or a different trunnion layout.
I always check these points before I buy:
| Fitment check | Why it matters | What I look for |
|---|---|---|
| Eye-to-eye length | Confirms the shock matches the frame’s mounting distance | The exact measurement listed by the frame or shock spec sheet |
| Stroke | Controls rear-wheel travel and prevents over-travel | The stroke the frame is designed for, not the closest available size |
| Mount type | Determines whether you need standard, metric, trunnion, or remote hardware | The exact interface used by the frame |
| Hardware width and bolt diameter | Stops sloppy or unsafe installation | The reducer and bolt dimensions for the frame’s yokes or eyelets |
| Frame clearance | Prevents the reservoir, air can, or linkage from contacting the frame | Room at full compression, not just at the garage stand |
Fox’s tech center shows exactly why these measurements matter, and I would rather spend five minutes checking them than deal with a return, a wrong fit, or a rear triangle that contacts the shock under load. If you are buying for a UK-built or UK-sold bike, this matters even more because spec changes can happen across the same model line, especially on frame-only builds and older stock.
Where it sits against a more aggressive Fox shock
The cleanest comparison is usually with the Float X Factory, because that is the point where Fox starts giving you more adjustment and more descending composure. The DPS Factory is the lighter, simpler option. The Float X is the heavier, more capable one when terrain gets rougher and you want more control from the damper itself.
| Shock | Best for | Adjustment style | My take |
|---|---|---|---|
| DPS Factory | XC, downcountry, light trail, efficient all-round bikes | 3-position lever with a straightforward setup | Fast, light, and tidy; best when pedalling efficiency matters most |
| Float X Factory | Aggressive trail, rougher descents, more supportive rear ends | 2-position lever plus low-speed compression and rebound adjustment | More adjustable and more composed, but heavier and less minimalist |
Fox lists a 221 g starting weight for one DPS Factory configuration, while a Factory Float X is listed at 459 g on a 190 x 45 size. That is not a perfect apples-to-apples comparison because shock sizes differ, but the direction is clear: the DPS is the lighter platform, and the Float X is the one I would choose when support and composure matter more than saving grams.
If your bike is a short-travel machine that climbs a lot and sees mixed terrain, the DPS Factory is usually the better value even if it is the pricier trim. If your riding is heading toward rougher trail centres, repeated braking bumps, or more aggressive descending, I would step up rather than trying to force the DPS to behave like a bigger shock.
What ownership looks like in the UK
UK conditions change the maintenance conversation. Wet grit, winter mud, and long stretches of damp riding are not kind to any rear shock, especially a premium air shock with an exposed shaft and seals. The simplest habit still matters most: clean the shock after every ride or race, use mild soapy water only, and avoid blasting the seal junction with a pressure washer.
Fox’s service guidance for rear shocks is very clear about the intervals: set sag and damping as needed every ride, clean the exterior after each ride, inspect bushings and reducers around every 30 hours, and plan a suspension fluid service at every 100 hours or annually, with that service done by Fox or an authorised service centre. In rough weather, I would shorten those intervals rather than stretching them.
If you like budgeting ahead, Fox’s UK service portal currently shows shock-service estimates around £149-£159 GBP, depending on the exact job. That is not a tiny ownership cost, but it is also realistic for a high-end shock that is expected to stay smooth and consistent rather than just survive until it feels rough.
The decision that keeps this shock in its lane
My short version is simple: buy the DPS Factory when you want a light, efficient rear shock that still gives you real trail control, not when you want maximum descending support. It makes the most sense on bikes where climbing efficiency, traction, and low weight matter every ride. It makes less sense if your trails are steep, repeated, and rough enough that a more advanced damper would let you ride harder with less compromise.
The smartest way to approach it is to match the shock to the frame first, then set sag, then ride a few times before making tuning changes. That order saves money, saves time, and usually gives a better result than chasing settings before the shock is even bolted into the bike.