The practical answer to hydraulic brakes vs disc brakes is that the comparison is a little misnamed: disc brakes are the system, while hydraulic or cable actuation is what drives them. For mountain bikes, gravel bikes, and winter commuters, the real decision is about braking power, lever feel, maintenance, and how often you ride in wet, muddy conditions. In this guide I break down how the two setups differ, what they cost to live with, and which one makes the most sense for UK off-road riding.
The short version is that the brake format matters less than the way it is actuated
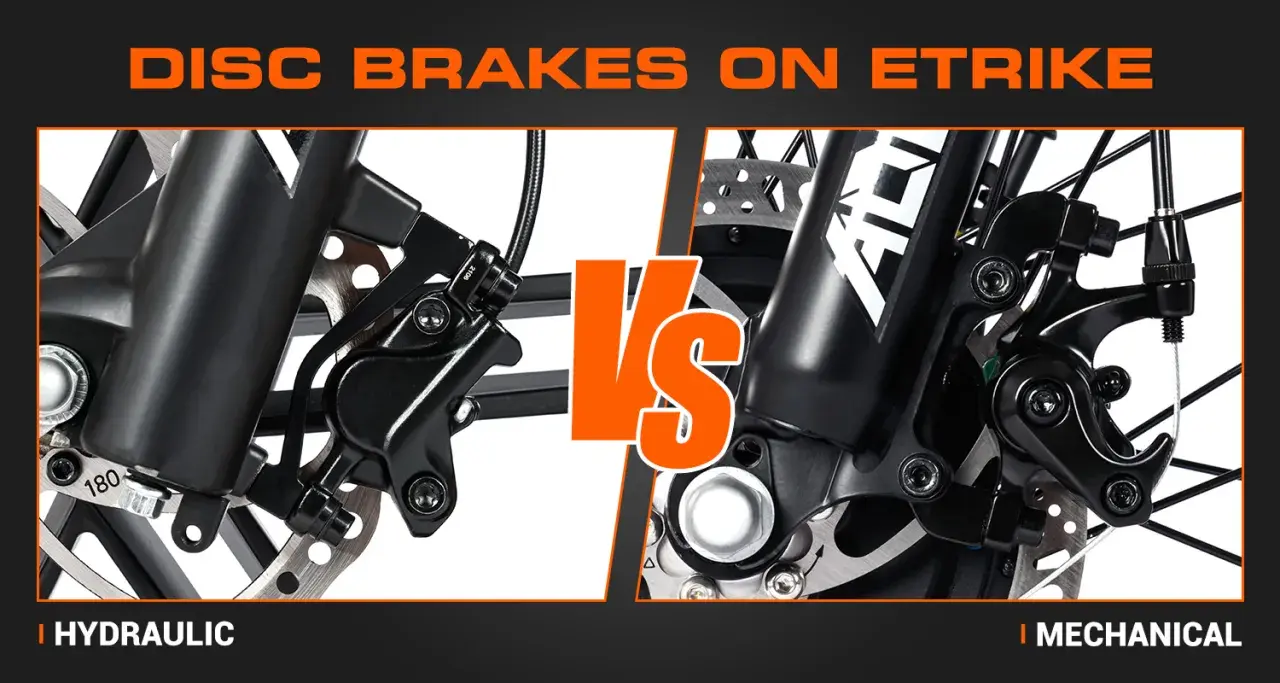
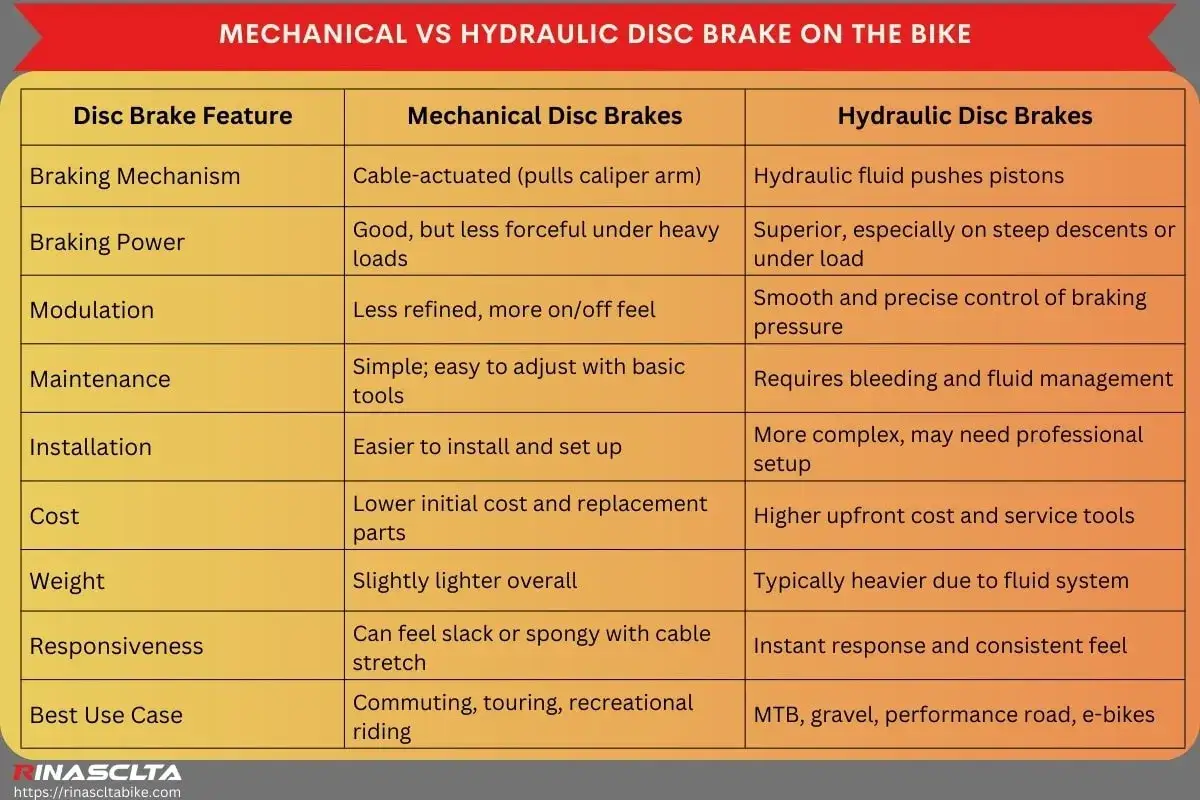
- Hydraulic disc brakes use fluid pressure to move the caliper pistons, which usually gives more power and better modulation.
- Mechanical disc brakes use a cable, so they are cheaper, simpler, and easier to service at home.
- For wet British trails, hydraulics usually deliver the better all-round control, especially on long descents.
- Mechanical systems still make sense for tight budgets, basic bikes, and riders who want the simplest roadside repair.
- Rotor size, pad compound, and setup quality can change the feel as much as the lever type.
What you are actually comparing
When people talk about disc brakes as if they are one thing, they usually skip over the part that matters most: how the caliper is activated. A hydraulic disc brake uses fluid in a sealed hose; a mechanical disc brake uses a cable and housing. Both clamp pads onto a rotor, but they get there in different ways, and that difference affects power, consistency, and service work.
That distinction matters because a good mechanical setup can feel better than a badly maintained hydraulic one, and a badly set-up hydraulic brake can feel oddly poor. I always tell riders to look at the whole system, not just the label on the lever.
| Term | What it means | Why it matters |
|---|---|---|
| Disc brake | Pads squeeze a rotor mounted to the hub | Better heat management and wet-weather performance than old rim brakes |
| Hydraulic disc brake | Lever force moves brake fluid to the caliper pistons | Usually stronger, smoother, and easier to modulate |
| Mechanical disc brake | Lever force pulls a cable that moves the caliper arm | Cheaper and easier to repair with basic tools |
| Rotor | The steel disc the pads squeeze | Rotor size changes power and heat capacity |
Once you separate those terms, the comparison becomes much clearer: the question is not whether to use disc brakes, but which way of powering them suits the bike and the rider. From there, the real differences show up very quickly on trail.
How hydraulic and mechanical disc brakes work on the trail
A hydraulic lever moves fluid through a sealed hose, and that pressure pushes pistons in the calliper. The pads then clamp the rotor with very little wasted movement, which is why hydraulics tend to feel light at the lever and strong at the wheel. In practical terms, modulation means how finely you can control braking force, and hydraulics usually give more of it.
Hydraulic disc brakes
Hydraulic systems are built for smooth force transfer. Because the fluid does the work, there is no cable stretch in the normal sense, and there is less drag from housing bends, contamination, or corroded cables. That sealed design is one reason hydraulics hold their feel better on rough rides and in bad weather.
Mechanical disc brakes
Mechanical brakes still rely on the same pad-to-rotor friction, but the lever action is carried by a steel cable. Over time, that cable can fray, housing can compress, and friction in the run can make the lever feel heavy or vague. On a clean, well-adjusted setup they work fine, but they are more sensitive to setup quality than hydraulics.
Rotor size adds another layer. Common disc sizes are 140 mm, 160 mm, 180 mm, and 203 mm. Smaller rotors save weight, while larger rotors give more leverage and better heat capacity, which is why aggressive trail, enduro, and downhill bikes often move up in size. The brake type matters, but the rotor choice can change the experience just as much.
That leads naturally to the part most riders care about first: how the two systems actually feel when the trail turns steep, wet, and technical.
How they feel when the trail turns rough
If I had to reduce the difference to one sentence, I would say this: hydraulics feel calmer, mechanicals feel more direct but more mechanical. On a long descent, that calm matters. You can feather a hydraulic brake with less hand effort, so fatigue builds more slowly and your grip stays more relaxed when the terrain gets choppy.
Mechanical discs can still be perfectly usable, especially on XC loops, commuting bikes, and lighter trail riding. The issue is not that they cannot stop a bike. It is that they usually need more lever force, more frequent adjustment, and better housing condition to feel as clean as a hydraulic system.
| Riding situation | Hydraulic discs | Mechanical discs |
|---|---|---|
| Long, steep descent | Less hand fatigue and stronger repeatability | Can work well, but usually needs more squeeze and attention |
| Wet roots and mud | More consistent feel, especially with the right pads | Works, but cable drag and housing contamination can hurt feel |
| Technical trail speed control | Easy to feather with precision | Often feels more on/off unless the setup is excellent |
| Emergency stop | Usually stronger with less hand effort | Can be strong, but tends to ask more from the rider |
Pad compound also changes the feel. Sintered pads, which are made from metallic material, usually last longer in mud and wet grit, while organic or resin pads are quieter and often give a smoother initial bite. In a UK winter, that choice can be as important as the brake brand itself.
So the real advantage is not just raw power. It is consistency, control, and how much effort you have to spend to keep the brake feeling the same from the first mile to the last.
Maintenance is where the systems really separate
This is the part people tend to underestimate. A hydraulic brake is usually less fiddly day to day, but when service is needed it is more specialised. A mechanical brake is easier to understand and repair with simple tools, but it often needs more frequent attention to keep the lever feel crisp.
What hydraulic maintenance looks like
Hydraulic systems need clean pads, clean rotors, and a healthy hose-and-fluid circuit. If the lever starts to feel spongy, the bite point moves, or the brake loses power after long descents, the system may need bleeding. SRAM recommends bleeding brakes once a year to purge air or moisture from the system, which is a useful benchmark even if your own riding means you do it more or less often.
There is also contamination to think about. If oil or grease gets onto the pad or rotor, braking can become noisy, weak, or unpredictable. That is why I am strict about keeping chain lube, degreaser, and aerosol sprays away from the braking surfaces.
Read Also: SRAM Brakes Too Spongy? Fix Lever Feel with Pad Advance
What mechanical maintenance looks like
Mechanical discs usually ask for cable and housing checks, pad alignment, and occasional barrel-adjuster tweaks. If the lever pull gets heavier, the brake returns slowly, or the power drops off, the first suspects are often cable friction and housing wear. In winter, especially on salty UK roads and muddy trails, rusty or frayed cables are common enough to treat them as consumables rather than permanent parts.
That simplicity is the main selling point. You do not need a bleed kit, but you do need to stay on top of cable condition and caliper alignment if you want the brake to feel sharp.
| Symptom | Hydraulic likely cause | Mechanical likely cause | First thing to check |
|---|---|---|---|
| Spongy lever feel | Air in the system or fluid service due | Rare, but usually cable/housing drag | Bleed or inspect cable run |
| Weak braking power | Contaminated pads, worn pads, or poor bed-in | Old cable, poor adjustment, contamination | Pad condition and rotor cleanliness |
| Rubbing noise | Calliper misalignment or sticky pistons | Calliper misalignment or poor cable return | Centre the calliper and inspect rotor straightness |
| Long lever travel | System needs a bleed or pad wear is high | Cable stretch or housing compression | Check pad wear and adjustment |
For home mechanics, that is the real trade-off: hydraulics reduce day-to-day nuisance, but mechanical systems are easier to open up and understand. Once you know which kind of maintenance you are willing to do, the buying decision gets much easier.
Which setup makes sense for your riding style
For most UK mountain bikers, I would lean hydraulic unless the bike is a strict budget build or you specifically want the simplest possible roadside repair. The wet climate, muddy trails, and stop-start descents make consistency more valuable than saving a few pounds on the initial purchase.
- XC and marathon riders usually benefit from hydraulic brakes because low hand fatigue matters on long rides and repeated braking.
- Trail and enduro riders get the clearest advantage from hydraulics, especially when descents are steep or technical.
- Budget hardtail owners can do well with mechanical discs if the system is well set up and the rotors are sized sensibly.
- Winter commuters and bikepackers may prefer mechanical brakes if field repair and cheap replacement parts are top priorities.
- Riders who descend hard in mud and rain should put pad choice and rotor size high on the list, then choose hydraulic if the budget allows.
There is one scenario where mechanical brakes are often judged unfairly: a rider buys a cheap hydraulic setup with undersized rotors, poor pads, or badly bled lines, then compares it to a well-tuned mechanical brake. In that case, the mechanical brake may feel better simply because it was maintained properly. I have seen that more than once, and it is a reminder that the whole system matters.
If your aim is simply to make a bike safer and more predictable, the best upgrade is often not the brake type itself but the full package around it: correct rotor size, pads suited to the weather, and clean, aligned callipers.
The mistakes that make a good brake feel bad
A lot of brake complaints are actually setup complaints. Before blaming hydraulic or mechanical design, I look for the same few issues again and again: poor bedding-in, contaminated pads, warped rotors, loose caliper alignment, and the wrong pad compound for the conditions.
- Skipping bed-in means the pad and rotor never transfer material properly, so the brake feels weak or uneven.
- Using the wrong pad compound can make a brake noisy in dry conditions or short-lived in wet mud.
- Ignoring rotor size leaves power on the table, especially for heavier riders or steep trails.
- Leaving old cables in place makes a mechanical brake feel vague long before the pads are finished.
- Putting lubricant near the rotor can ruin pad bite almost instantly.
- Assuming rub means failure can waste time, when the issue may just be a slightly bent rotor or poor calliper centring.
The useful mindset is simple: fix the system before you replace the system. A clean rotor, fresh pads, and correct alignment can transform either brake type, and in many cases that gives you a bigger gain than a brand change.
The setup I would choose for wet British trails in 2026
If I were building a new UK mountain bike for year-round riding, I would choose hydraulic disc brakes without hesitation. I would also avoid undersizing the rotors, because more power is only useful when it is paired with heat control and a lever feel that stays consistent once the trail gets long and messy.
If the budget was tight, I would rather run a modest mechanical setup that is maintained properly than a poorly chosen hydraulic one. But once the riding gets steeper, wetter, and more technical, hydraulics become the smarter long-term choice for control, confidence, and hand comfort. That is the decision I would make first, and then I would spend the remaining budget on rotors, pads, and proper setup instead of chasing a label.