What matters before you bleed a hydraulic brake
- Not every bike needs regular bleeding. A healthy hydraulic system can stay untouched for a long time.
- Bleeding is usually needed after hose work. If the line has been opened, shortened, or replaced, air is the main concern.
- Spongy feel is the classic warning sign. A lever that pulls too far or improves after pumping points to air or fluid loss.
- Bleeding will not fix everything. Contaminated pads, glazed rotors, and bent calipers are separate problems.
- UK workshop pricing is often reasonable. A single-brake bleed commonly sits around £17.50 to £25, while DIY kits range from basic budget options to premium tooling.
The short answer is no, not as routine maintenance
I would not bleed a healthy brake just because the calendar says it has been a while. Hydraulic systems are closed loops: if the line has not been opened and the lever still feels firm, there is usually nothing to “top up” and nothing to gain from disturbing it. That is why I treat bleeding as a condition-based job, not a ritual.
Shimano frames annual brake bleeding as a sensible refresh for keeping performance consistent, and I think that makes sense for hard-used trail bikes, winter bikes, or anything that sees long descents and wet grit. I would still read that as a sensible service interval, not a rule that every rider must follow blindly. If the brake feels clean and predictable, leave it alone and spend your time on pads, rotors, and caliper alignment instead. That brings us to the situations that really do call for a bleed.
Bleed the line when air, leaks, or hose work change the system
The easiest way to think about this is simple: if the hydraulic circuit has been opened, air may be inside it. If the lever feel has changed, fluid may have moved, leaked, or become aerated. Here is the quick diagnostic I use.
| Situation | What it usually means | What I would do |
|---|---|---|
| Hose shortened or replaced | Air has entered the line during the job | Bleed before riding hard |
| Lever or caliper leak | Fluid loss and possible air ingress | Fix the leak, then bleed |
| Lever feels spongy | Air bubbles in the system | Bleed and inspect fittings |
| Lever improves after pumping | Compressible air is still present | Bleed soon |
| Pad swap only | Usually not a bleed issue | Re-centre the caliper and bed in the pads |
| Long descent causes fade | Could be heat, old fluid, or air | Inspect the system and bleed if the feel has changed |
If you have just routed a hose through an internally routed frame, swapped a lever, or replaced a caliper, I would assume a bleed is needed unless the manufacturer says otherwise. SRAM’s service manuals are very direct about this: once the hose is cut or the system is opened, a fresh bleed is part of the job. That rule matters because it is the difference between a proper repair and a brake that feels okay in the stand but goes vague on the first descent.
Once you know the trigger, the next useful question is what bleeding can actually fix and what is really a different problem.
What a bleed fixes and what it does not
A proper bleed removes air, restores lever consistency, and refreshes the fluid in the system. That matters because air compresses and brake fluid does not, so even small bubbles can make the lever feel vague, delayed, or inconsistent. On mountain bikes, that difference shows up fastest on long, steep, repetitive braking where heat and vibration expose any weakness in the system.
| A bleed can fix | A bleed will not fix |
|---|---|
| Spongy lever feel | Oil-soaked pads |
| Excess lever travel after hose work | Bent or badly scored rotors |
| Softness from air bubbles | Misaligned calipers |
| Old or aerated fluid | Sticky pistons or worn seals |
This is where riders sometimes chase the wrong fix. If the lever is firm but the brake lacks power, I do not start with the bleed. I start with the pads, rotor condition, and contamination checks. A bleed is a hydraulic repair, not a magic reset button. It also matters that you use the correct fluid for the brake family in front of you: Shimano systems use mineral oil, while SRAM and other DOT-based systems use DOT fluid. I never mix them, and I never guess. A wrong-fluid mistake can turn a service job into a parts replacement bill very quickly. With that cleared up, the practical process becomes a lot less mysterious.
The next step is understanding how a bleed is actually done on a trail bike, because the method changes slightly from brand to brand even though the logic stays the same.
How the bleed process usually works on mountain bikes
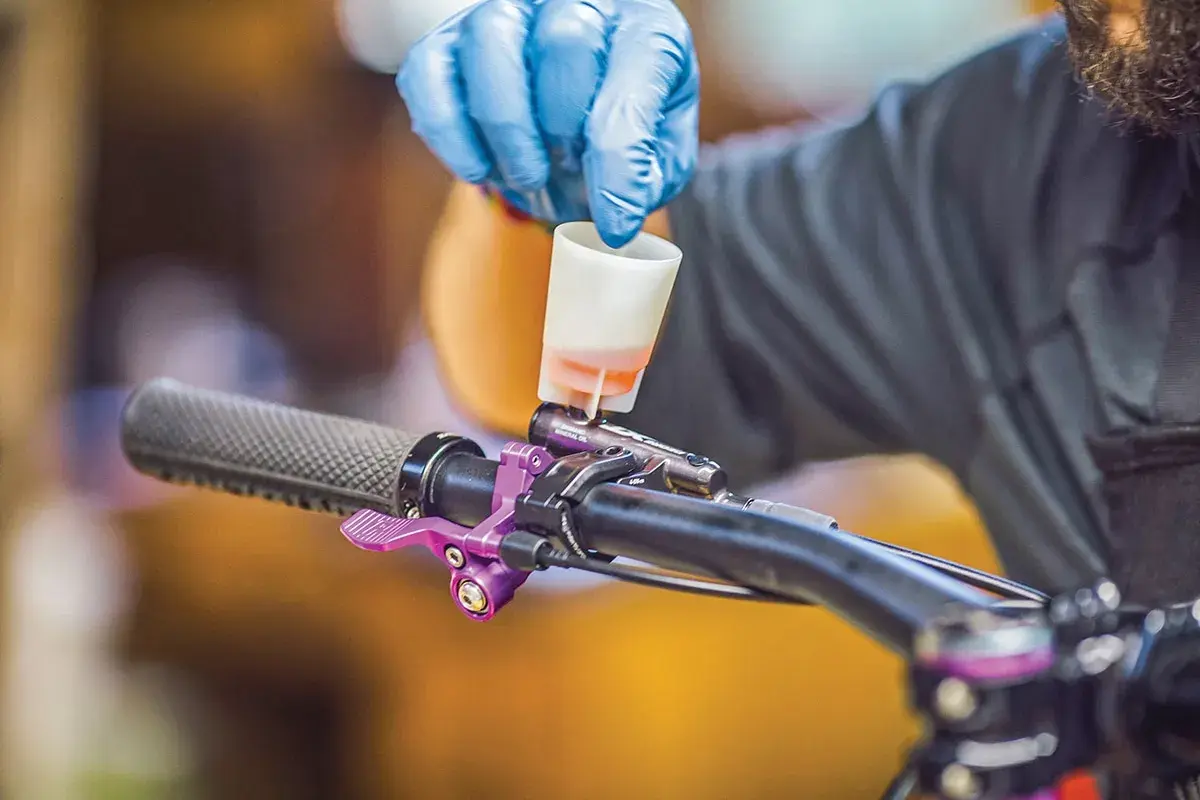
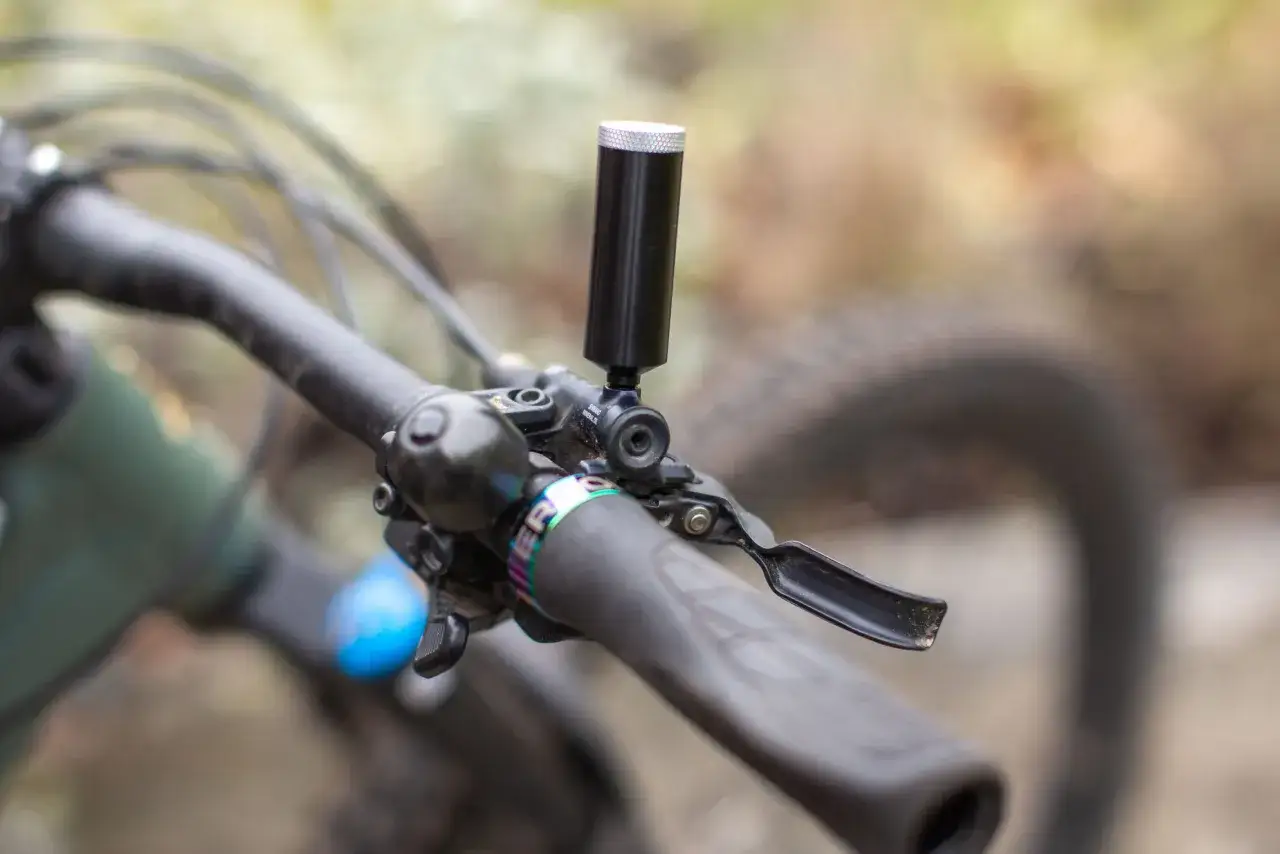
The exact hardware changes from brand to brand, but the job follows the same logic: keep the pads out of the way, move clean fluid through the system, and give trapped air a route out. On Shimano-style brakes that often means a funnel at the lever; on SRAM-style systems it usually means syringes and specific fittings. The method changes, the goal does not.
- Identify the brake model and confirm the correct fluid before opening anything.
- Remove the wheel and pads, then fit the correct bleed block or pad spacer so the pistons cannot over-extend.
- Attach the bleed kit at the lever, caliper, or both ends, depending on the system.
- Move fluid slowly and tap the hose, caliper, and lever body to free small bubbles that cling to the walls.
- Close the ports carefully, then clean every trace of fluid from the brake, rotor, and frame.
- Reinstall the pads and wheel, then check the bite point and bed the brakes in again if needed.
The detail most riders miss is simple: air hides in bends, fittings, and the caliper body. A rushed bleed can leave that air behind, which is why a lever may feel fine in the work stand and still soften on the first long descent. If the brake still feels wrong after a careful bleed, I start looking for leaks, damaged seals, or contamination rather than repeating the same job blindly. That is also where the cost of doing it yourself versus paying a workshop starts to matter.
What it costs in the UK and when I would pay a workshop
For a single brake, the UK pricing I checked lands in a pretty sensible range. Independent workshop bleeds commonly sit around £17.50 to £25 per brake, which is hard to beat if you only need the job done once. On the DIY side, basic Shimano-style kits can be found around £14.99 to £17.49, a more complete Shimano kit is often around £31.99, and premium SRAM kits can climb to roughly £93 to £103. Small bottles of fluid usually add another £7.99 to £10.95, depending on brand and size.
| Option | Typical UK cost | Best for | Trade-off |
|---|---|---|---|
| Workshop bleed | £17.50-£25 per brake | One-off jobs and riders who do not want to buy tools | Bike downtime and labour cost |
| Basic DIY kit | About £14.99-£17.49, plus fluid | Occasional home servicing | Cheap only if you already know your brake model |
| Mid-range DIY kit | About £31.99 | Riders who want a proper branded setup | Higher upfront cost |
| Premium pro kit | About £93-£103 | Multiple bikes or frequent servicing | Expensive for a single bike |
My rule is straightforward: if I am bleeding one brake once a year, the workshop often makes better financial sense. If I maintain two or more bikes, or I know I will be shortening hoses and swapping cockpit parts, a decent kit pays for itself quickly. The only real trap is buying the wrong kit for the wrong fluid. Once you avoid that, the remaining maintenance is mostly about good habits.
Those habits are what keep you from needing unnecessary bleeds in the first place, which is worth more than most riders think.
Simple habits that keep hydraulic brakes firm for longer
I have found that most bad brake feel comes from neglect, contamination, or rushed maintenance rather than from “old age” alone. A few small habits prevent a lot of future work.
- Use only the correct fluid for the brake brand and keep the containers sealed.
- Keep bleed ports and hose fittings clean before you open them.
- Do not pull the lever with pads out unless the pistons are restrained by the proper spacer.
- Clean rotors with isopropyl alcohol, not oily sprays or general-purpose degreasers.
- Check hose fittings after a crash, bar swap, or internal routing job.
- Replace contaminated pads rather than trying to rescue them with more lever feel.
These habits do not stop every bleed, but they cut out the avoidable ones. On a wet UK trail bike, that matters because dirty conditions make contamination and seal grime more likely, and they make problems show up sooner. Once you keep the system clean and closed, the remaining question is really just when to act and when to leave it alone.
The rule I use on trail bikes when the lever starts to change
If the hydraulic system has been opened, shortened, or repaired, I bleed it. If the lever feels soft, inconsistent, or gradually travels further than it used to, I bleed it after checking for leaks. If the lever is firm but braking power is weak, I start with pads, rotors, and caliper alignment instead of touching the fluid.
That order saves time, avoids contamination mistakes, and keeps you from turning a healthy brake into an unnecessary workshop job. For MTB and off-road riding, especially in UK conditions where weather and grit punish components fast, that practical approach is usually better than bleeding on a fixed schedule just because it feels proactive. If the line is sealed and the lever is happy, leave it alone; if the system has been opened or the feel has changed, treat the bleed as a repair, not a habit.