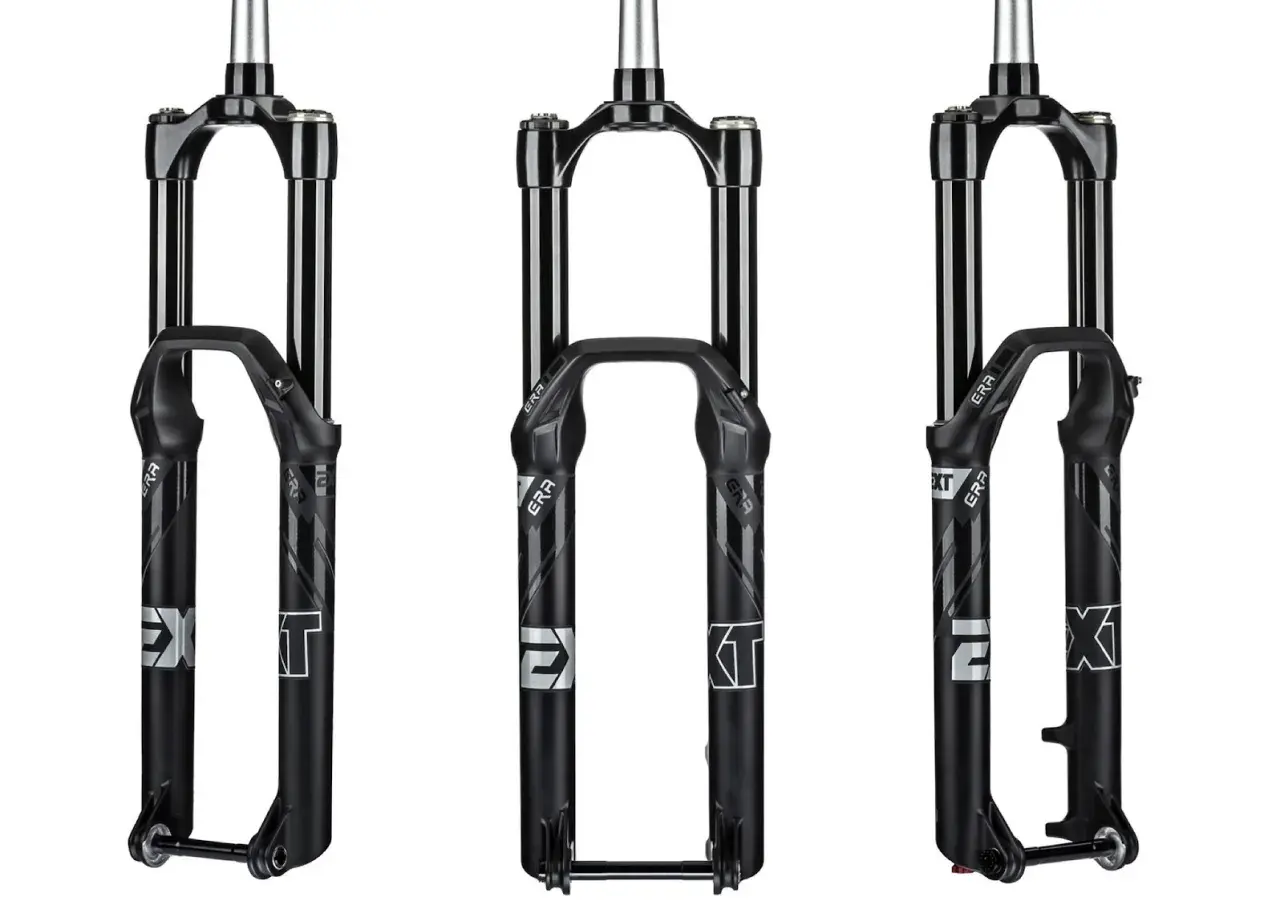
The EXT Era is a premium air fork for riders who care about front-end grip, chassis stiffness, and real tuning range rather than just ticking a travel box. In practical terms, it sits in the aggressive trail and enduro space, and the reason it gets attention is simple: it tries to feel controlled on rough terrain without giving up small-bump sensitivity. This article breaks down what the fork is, how the two versions differ, how the air spring behaves, and what I would check before fitting one to a bike in the UK.
The fork is a premium air fork built for aggressive trail and enduro riding
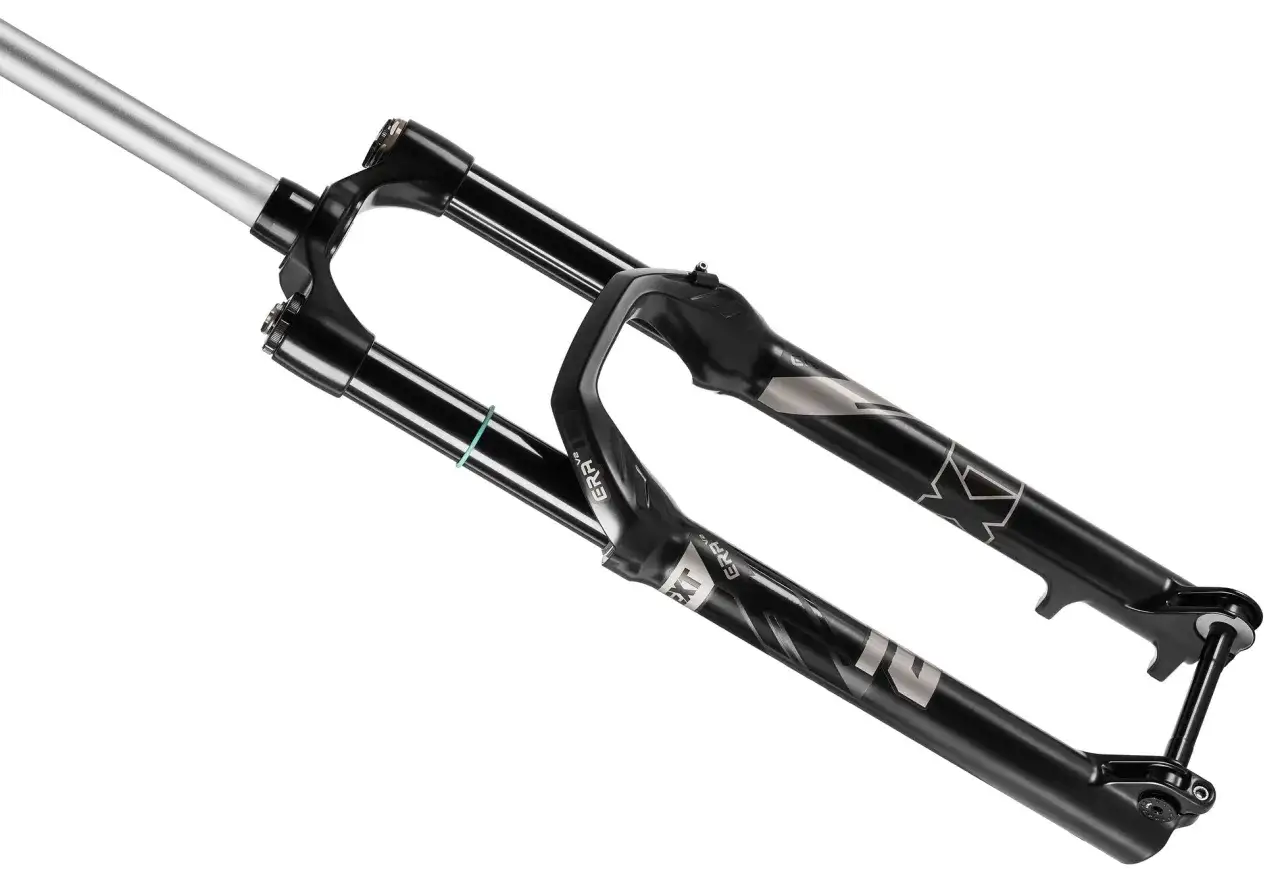
- It uses a 36 mm chassis, so it is aimed at support and precision rather than ultralight XC use.
- The current range splits into a 130 to 170 mm version and a 180 to 190 mm long-travel version.
- HS3 is the key idea: two positive air chambers and a large self-adjusting negative chamber.
- The fork rewards deliberate setup, especially sag, rebound, and compression balance.
- It makes the most sense on bikes and trails that actually need stiffness, traction, and control together.
What this fork is built to solve
Most riders who end up looking at a fork like this are trying to fix the same problem: a front end that feels either too soft and vague or too firm and nervous. I see the Era as a fork that tries to sit in the narrow middle ground where a bike stays supportive under braking and pushing hard into corners, but still tracks roots, rock edges, and broken ground without feeling harsh.
That matters in the UK more than people sometimes admit. Wet roots, sharp trail-centre braking bumps, and short steep descents will expose a fork that is too linear or too flexy very quickly. A 36 mm chassis is not about chasing downhill-bike stiffness at any cost; it is about keeping the front wheel honest when the terrain wants to deflect it. That is why this fork is aimed at aggressive trail and enduro riders rather than casual riders who just want more travel.
Once you look at it through that lens, the range makes more sense. The shorter version is the more versatile one, while the longer-travel model is clearly the harder-charging option. That split matters because it changes how you should think about fit, setup, and the sort of bike it belongs on.
How the two versions differ on paper and on trail
| Version | Travel | What it is trying to do | Best fit |
|---|---|---|---|
| Era V2.1 | 130, 140, 150, 160, 170 mm | Versatile aggressive trail and enduro fork with the same premium feel in a slightly shorter package | Bikes that still need climbing manners, quick handling, and enough support for rough descents |
| Era V2 LT | 180, 190 mm | Long-travel enduro and e-bike fork with a more burly stance and a chassis tuned for harder hits | Heavier bikes, steeper terrain, and riders who prioritize stability over all-day lightness |
| Shared idea | 36 mm stanchions, HS3 hybrid air spring | Support, sensitivity, and a lot more tunability than a basic OEM fork | Riders who want a fork that can be set up properly instead of just ridden at stock pressure |
The practical difference is not just travel. The shorter model is the one I would call the more balanced option, because it can suit a wider spread of trail and enduro bikes without making the front end feel oversized. The LT is a different proposition altogether: it is for bikes that already expect serious front-end load, and it is the one I would lean toward if the riding is steep, fast, and repeatedly rough.
If you only remember one thing here, remember this: the travel number tells you the category, but the chassis and spring system tell you the character. That leads straight into the part that matters most when the fork is actually on the trail.
Why the HS3 air spring changes the feel
EXT's HS3 air spring is the part that makes the fork interesting. Instead of treating air as a simple spring volume, it uses two positive air chambers and a large self-adjusting negative chamber. In plain English, that means the fork can be made sensitive at the top of the stroke while still building support deeper into the travel.
The negative chamber is the part riders feel first. It helps the fork start moving more easily, which reduces breakaway force. That is the sticky, reluctant feeling some forks have right off the top. On rough ground, especially on wet roots or chatter, that small difference can be huge because the tyre stays in contact with the trail instead of skipping across it.
The positive chambers matter because they shape support and progression. A progressive fork gets firmer as it moves deeper into its travel, which helps resist bottom-out without forcing you to run silly pressure. That is a cleaner solution than simply making the fork stiff everywhere. In practice, it usually means better mid-stroke hold-up, better braking support, and less of that wallowy feel that makes the front end dive under load.
- More initial sensitivity means better traction on roots, rocks, and loose-over-hard surfaces.
- More mid-stroke support means less brake dive and a more planted feeling in steep sections.
- More progression means the fork is less likely to collapse through its travel on drops or repeated hard hits.
The downside is that a fork like this will not reward lazy setup. It is more sensitive to pressure changes and damping changes than a basic fork, so if you rush the setup you lose the very advantages you paid for. That is why the next step is setup, not just bolting it on and hoping for the best.
How I would set it up for real riding
I would start with the manufacturer’s spring guidance or fitting tools, then treat the first ride as a test loop rather than a final verdict. That is especially true on a fork in this class, because tiny changes in air pressure and rebound can make a big difference to feel. My baseline would be simple: set sag first, then rebound, then compression, and only after that start making fine adjustments.- Set sag to a sensible starting point. For an aggressive air fork, I would usually begin around 15 to 20 percent and then refine from there.
- Set rebound so the fork returns quickly enough to recover between hits, but not so fast that the front wheel feels springy or unsettled.
- Open low-speed compression enough that the fork can move under braking and through slow-speed trail chatter, then add support only if it dives too much.
- Use high-speed compression to deal with square edges, drops, and bigger impacts, not to mask an air-pressure problem.
- Make one change at a time and ride the same section again before touching another dial.
The biggest setup mistake I see on premium forks is overcomplication. Riders change three things at once, ride one descent, and then blame the fork for a result they cannot actually isolate. If you want the Era to feel good, keep the process boring: pressure first, rebound second, damping last. That approach also makes it much easier to tell whether the fork matches the terrain you ride most often.
Where it makes sense on UK trails
On UK terrain, this fork makes the most sense when the trail is rough enough that front-end control is a real problem, not just a nice-to-have. On wet roots, the sensitive initial stroke helps the tyre stay loaded. On long braking bumps, the more supportive chassis keeps the front end from getting blown through its travel. On steeper natural trails, the fork's combination of stiffness and progression helps the bike stay composed when you are deliberately hard on the brakes or pushing into compressions.
| Trail situation | What the fork helps with | Why it matters |
|---|---|---|
| Wet roots and slick rocks | Better initial sensitivity and tracking | The front wheel stays connected instead of bouncing off the surface |
| Braking bumps and rough bike-park lines | More support through repeated hits | The fork feels calmer when the trail starts to fatigue your hands |
| Steep natural descents | More mid-stroke hold-up and progression | Less dive, less surprise, and more confidence when the slope pitches down |
| Light trail riding or mixed commuting | More fork than you probably need | The cost and complexity are harder to justify if the terrain is tame |
That last row is important. I would not recommend this fork just because it is expensive or well made. If your riding is mostly moderate trail centre loops or you value low fuss over maximum front-end control, a simpler fork may honestly be the better buy. The Era earns its place when the terrain is demanding enough to expose weak suspension.
What to check before buying and servicing it
Before I would spend this kind of money, I would verify fitment, not just travel. Fork choice is about more than wheel size and offset. You need the right steerer length, the right axle standard, the right brake mount, enough crown-to-tyre clearance, and a travel figure that keeps your frame geometry in the zone you actually want.
- Check whether your frame was designed for the travel you plan to run.
- Confirm axle, wheel, and brake compatibility before ordering.
- Use the correct offset for the way your bike is meant to steer.
- Think about service access, not just purchase price.
- Be realistic about riding conditions, because muddy winter use will need more attention than dry summer laps.
This is also where ownership cost matters. A premium fork only stays premium if it is serviced properly. If you ride through a lot of grit and wet weather, I would treat regular inspection as part of the deal, not an optional extra. That is true of any high-end suspension, but especially one with this level of adjustability and a chassis meant to be pushed hard.
For riders in the UK, dealer support and turnaround time are worth thinking about as much as the hardware itself. A fork like this is best bought with a clear plan for setup, future service, and frame compatibility, because the wrong assumption at the point of purchase is expensive to fix later.
What I would take away before choosing one now
If I were matching this fork to a bike today, I would make the decision on three questions: do I need 130 to 170 mm or 180 to 190 mm, am I regularly riding rough terrain that justifies a premium chassis, and am I willing to spend time on setup and service? If the answer is yes to all three, the Era is a serious front-end upgrade. If not, a simpler fork will probably give you a better return on money and effort.
For the right rider, though, this is exactly the kind of fork that changes a bike from merely capable to genuinely confidence-inspiring. It is not a generic upgrade, and I would not treat it like one. The payoff comes when the frame, the travel, and the terrain all ask the same thing from the front end: control first, comfort second, and no vague compromises in between.