The RockShox SID SL is a pure XC fork: light, quick to respond, and built to keep the front wheel composed without adding unnecessary weight. I’m focusing here on what that means in practice, how it differs from the bigger SID, and how to set it up so it feels alive on real trails rather than merely impressive on a spec sheet. If you ride cross-country or marathon routes in the UK, those details matter more than the logo on the crown.
The essentials that matter most
- The current SID SL is a 29-inch XC fork with 100 mm or 110 mm travel and a 32 mm chassis.
- It is designed for speed, steering precision, and low fatigue, not for the roughest end of trail riding.
- The main setup job is simple in theory: set sag first, then rebound, then compression.
- On UK trails, a slightly plusher setup often works better than chasing a race-hard front end.
- Regular maintenance matters: plan a 50 ride-hour lower-leg service and follow the deeper service schedule for your exact model year.
What the SID SL is built to do on the trail
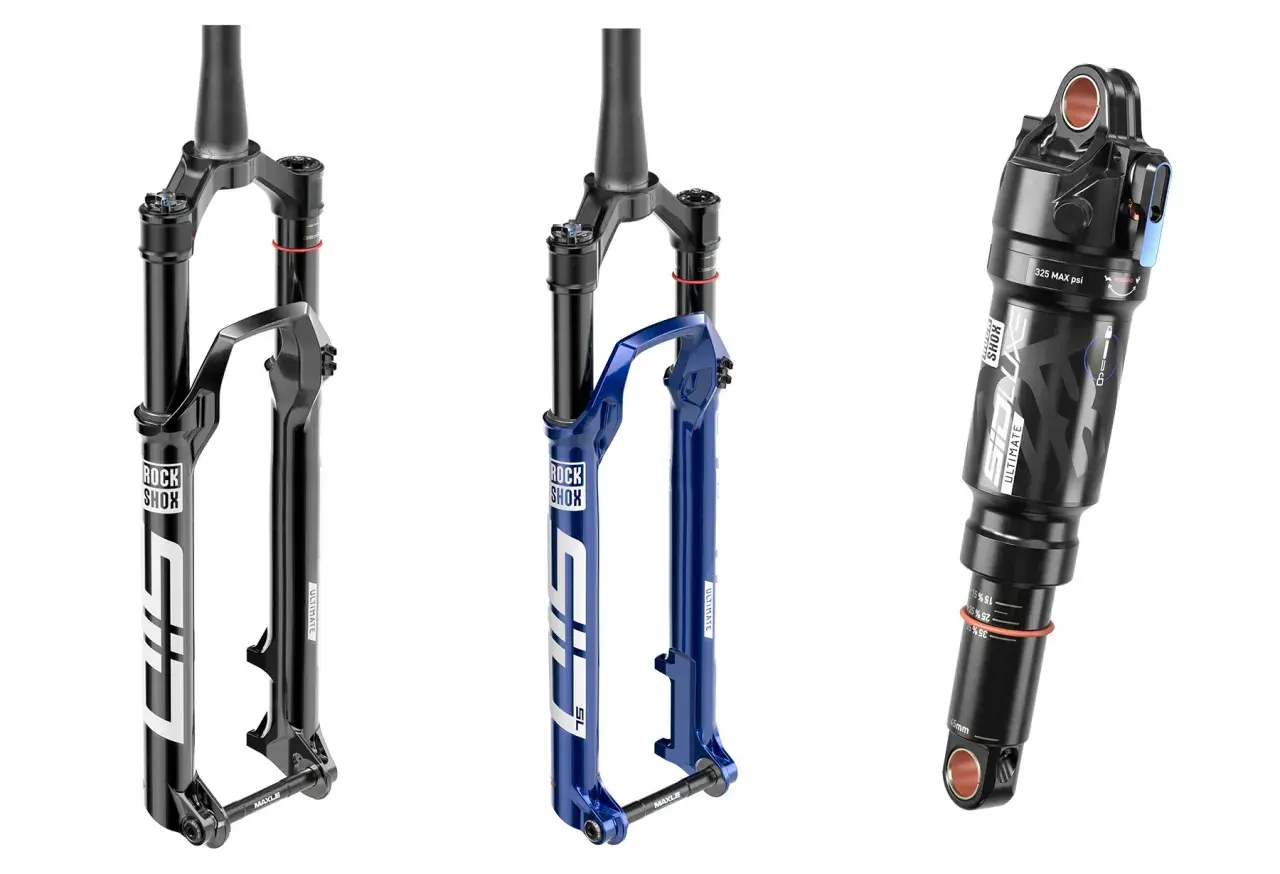
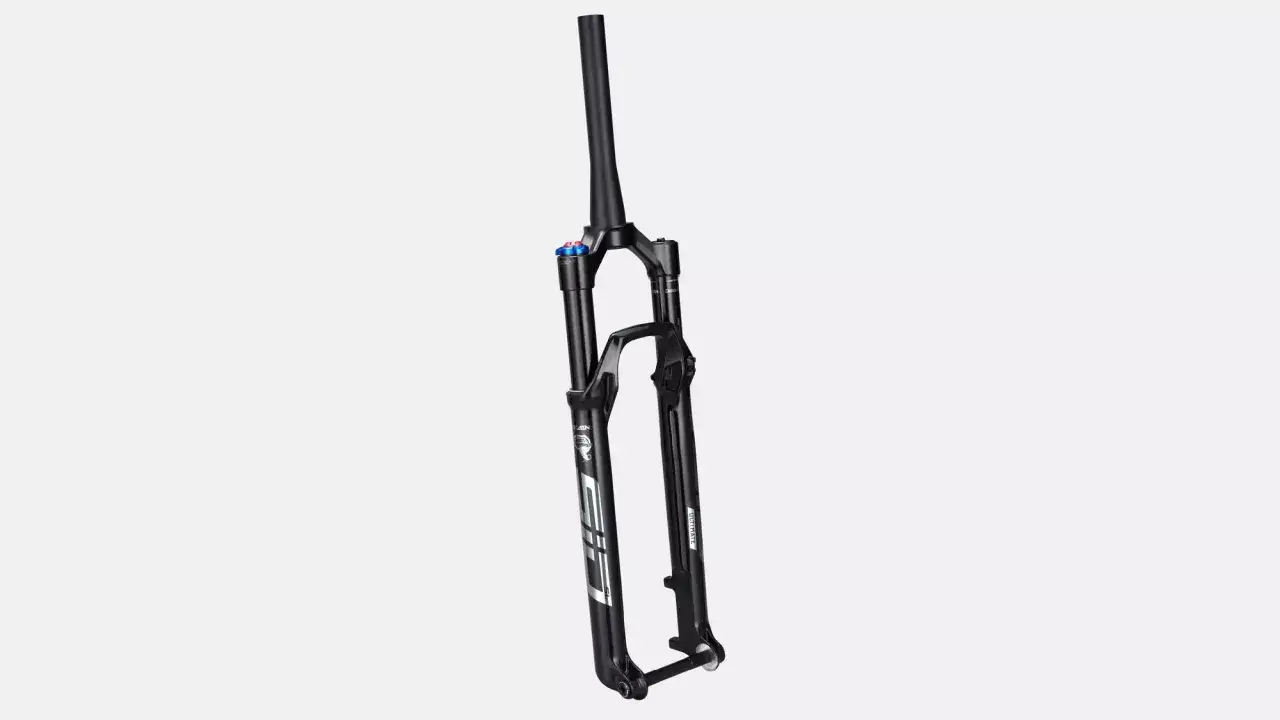
The SID SL exists for one job: make a cross-country bike feel fast without turning the front end into dead weight. The current fork family uses 32 mm upper tubes, Boost 15 x 110 spacing, and 29-inch compatibility, with travel typically set at 100 mm or 110 mm. On the lightest build, the SID SL Ultimate 110 mm is listed at 1352 g, which tells you exactly where this fork sits in the market.
That makes it ideal for riders who care about climbing, acceleration, and precise line choice. It is not trying to be a mini enduro fork, and that is the point. When I look at a SID SL, I see a fork for riders who want the bike to change direction quickly, carry speed out of corners, and stay efficient over long laps. In other words, it is built for racing efficiency first and forgiveness second.
RockShox also gives the SID SL a damping layout with 2-position or 3-position control on higher trims, so you can run the fork open, firm it for smoother climbs, or add a pedalling mode where that makes sense. That flexibility is useful, but only if the fork is set up properly. Once you understand the fork’s role, the next question is whether it is the right step up from the standard SID.
How it differs from the bigger SID fork
The easiest way to think about the two forks is this: the SID SL is the lighter, sharper XC option, while the standard SID gives you more stiffness and more travel headroom. RockShox’s current family follows that split quite clearly, and the difference shows up in the chassis, the air spring, and the way the fork behaves when the trail gets rougher.
| Feature | SID SL | SID | Why it matters |
|---|---|---|---|
| Upper tubes | 32 mm | 35 mm | The SID feels more planted and resists twisting better under harder braking and rougher hits. |
| Travel | 100 mm or 110 mm | 110 mm or 120 mm | The SID gives more margin when the course becomes steeper or more technical. |
| Air spring | XC-focused spring design | DebonAir+ | The SID is tuned for a more supportive and tunable feel through the stroke. |
| Weight focus | Lower | Higher, but still very light for XC | The SID SL rewards sprinting, climbing, and quick steering changes. |
| Best use | Pure XC, marathon, lighter builds | Faster XC, downcountry-leaning riding, rougher race courses | Choose based on your terrain, not just the number on the scale. |
My practical take is simple. If your local riding is mostly smooth race loops, rolling singletrack, and punchy climbs, the SID SL makes a lot of sense. If your idea of XC includes roots, braking bumps, step-downs, and steep natural descents, the standard SID can be the better long-term choice even if it costs you a little weight. That trade-off is where a lot of buyers get it wrong, so it is worth being honest about your trails before you pick a fork.
Which trim makes sense for different riders
The chassis gets most of the attention, but the trim still changes how the fork feels. The top models get the most refined damping package, while the lower trims keep the same basic idea at a more sensible cost. Exact trim names can vary a little by market, but the decision logic stays the same.
| Trim | What you get | Best for | My read |
|---|---|---|---|
| Ultimate | Top-level damping, 2P or 3P control, lightest build | Racers, tinkerers, riders who want the sharpest front-end feel | Worth it if suspension feel is a genuine priority, not just a spec-sheet flex. |
| Select+ | Very close ride quality with a simpler package | Most XC riders who want performance without paying top-tier money | This is often the sweet spot if you want most of the ride quality for less spend. |
| Select or Base | Simpler damping and fewer tuning touches | Training bikes, hardtails, budget-conscious builds | Good if you care more about the chassis than about chasing the last few percent of adjustability. |
The useful question is not “which trim sounds fastest?” It is “how much of this fork’s tuning range will I actually use?” If you leave a remote in one position all season and never touch rebound again, paying extra for the most sophisticated damper is probably not the best use of money. If, on the other hand, you tune suspension properly and notice the difference between firm support and subtle small-bump control, the higher trim earns its keep very quickly.
How to set sag and damping without making it feel dead
This is the part that changes the ride more than the badge on the fork leg. I would start most SID SL setups at about 15 to 20 percent sag for a race-focused feel, or 20 to 25 percent if the bike is used on rougher British XC courses and the priority is grip. On wet roots, cambered turns, and braking bumps, a slightly plusher setup often goes faster because the tyre stays glued to the ground longer.
The setup order matters. Inflate the fork, cycle it to equalise the air spring, set sag with full riding kit on, and only then touch rebound and compression. I rarely try to “fix” a bad setup by changing three things at once; that just hides the real problem.
| What it feels like | What to try first | Why that move helps |
|---|---|---|
| Front end dives hard under braking | Add 5 psi or use a firmer compression mode | You are probably running too deep in the travel for the terrain. |
| Fork feels nervous on roots and small chatter | Check sag first, then soften the setup slightly if grip is lacking | Too much pressure can make the fork skip instead of track. |
| Bike packs down in repeated bumps | Speed up rebound one click | The fork needs to return quicker between hits. |
| Top-out feels harsh or springy | Check air equalisation and slow rebound a little if needed | A badly equalised air spring or overly fast rebound can create a clunky feel. |
| Bottoming out too often | Add pressure, then consider a volume spacer if the mid-stroke still feels good | Volume spacers change end-stroke progression without ruining the whole setup. |
Compression mode is the last piece, not the first. Open is for rough ground, Pedal is for rolling climbs and smoother XC course links, and Lock should stay reserved for genuinely smooth efforts where you want the fork to stay still. I would rather ride a fork in Open with the right pressure than lock it out to compensate for a bad setup. That usually makes the bike slower, not faster.
Service intervals and the small habits that keep it fast
Light XC forks feel brilliant when they are fresh and irritating when they are neglected. RockShox’s general guidance is clear: plan a 50 ride-hour lower-leg service, then follow the model-year-specific schedule for deeper work on the air spring and damper. For many RockShox forks, the full service interval lands at 100 or 200 ride hours, and a yearly rebuild is a sensible benchmark if the fork sees mud, wet grit, or race use.
| Service habit | How often | Why it matters |
|---|---|---|
| Wipe the stanchions and seals clean | After wet or dirty rides | Prevents grit from grinding into the wipers. |
| Lower-leg service | Every 50 ride hours | Refreshes oil and foam rings before the fork starts to feel dry. |
| Air spring and damper service | Follow the model-year schedule, often 100 or 200 ride hours | Restores consistency, especially on a fork that gets raced hard. |
| Full rebuild | About once a year for heavy use | Keeps the fork feeling crisp through a full season. |
In a UK winter, this matters even more than in dry summer conditions. Mud, road salt, and fine grit shorten seal life and make a fork feel sticky long before it is truly worn out. A SID SL can feel incredibly smooth for a light fork, but only if you treat it like a precision part rather than a fit-and-forget upgrade.
What I would check before buying one for a UK XC bike
If I were speccing a bike around this fork today, I would check five things before spending the money. First, I would confirm the frame is meant for 100 mm or 110 mm travel and that the geometry still makes sense with a light XC fork. Second, I would make sure the axle, offset, and wheel standard match the frame; the current SID SL uses Boost 15 x 110 and a 44 mm offset. Third, I would look at the service history and avoid anything that has gone years without a lower-leg service.Fourth, I would decide whether the top trim is actually necessary. If you know you will never use the extra adjustability, a mid-level build often gives better value. Fifth, I would check the serial number and model generation so I know exactly which parts, travel options, and service documents apply. That matters more with RockShox than many riders realise, because older and current generations are not interchangeable in every respect.
If those boxes are ticked, the SID SL does exactly what a modern XC fork should do: stay light, stay precise, and disappear under you until the trail turns rough enough to remind you why setup matters.