In this guide, I’ll break down what sag actually does, the ranges that make sense for different riding styles, how to measure it properly, and what to change when the fork still does not feel right on the trail.
The quickest way to land on a sensible fork setup
- Start with 15-20% sag on most modern air forks.
- Measure in full riding kit, including pack and water if you normally carry them.
- Set sag before you start fine-tuning rebound or compression damping.
- More sag gives more grip and comfort; less sag gives more support and steering precision.
- If the fork still feels off at the right sag, look at air volume spacers and damping rather than chasing air pressure forever.
What sag actually changes on the trail
Sag is the amount the fork compresses under rider weight when you settle into your normal riding position. I treat it as the fork’s ride-height setting: it decides how high the front end sits, how quickly the fork enters its travel, and how much extension it has left to follow dips, roots, and chatter.
Too little sag keeps the fork riding high. That usually feels sharp and efficient at first, but the front tyre can deflect more easily on broken ground and the bike may lose a bit of grip on steep, rough sections. Too much sag drops the front end deeper into the stroke, which can improve traction but often brings more brake dive, less steering accuracy, and a greater chance of blowing through travel on harder hits.
FOX still points riders toward a 15-20% fork sag range in its setup guides, and that is a sensible baseline for most modern air forks. RockShox puts sag before damping in its setup flow for the same reason: the spring rate decides where the fork rides, and damping only refines how it moves after that. Once you understand that relationship, the rest of the setup becomes much less guesswork.
That leads straight into the question most riders really want answered: how much sag should I actually aim for on my own bike?
The starting range I’d use for different riding styles
There is no single number that fits every fork, rider, and trail, but there is a very good starting point. I usually begin in the middle of the manufacturer’s recommended range, then move a little either way depending on terrain and riding style.
| Riding style | Starting sag | What it usually feels like |
|---|---|---|
| XC and downcountry | 10-15% | Quicker steering, firmer front end, less margin before the fork sits deep in its travel |
| Trail and all-round riding | 15-20% | Best all-purpose balance of grip, support, and comfort |
| Enduro and rough natural trails | 18-22% | More traction and a calmer front wheel on steep, broken ground |
| Park and downhill | 20-25% on suitable long-travel forks | More front-wheel compliance and confidence when speed and impacts rise |
For a quick reality check, a 140 mm fork at 15% sag sits about 21 mm into its travel, while 20% sag is 28 mm. On a 160 mm fork, those numbers become 24 mm and 32 mm. I like to think in millimetres as well as percentages, because it makes it much easier to see whether a change is actually meaningful.
If you ride typical UK trails, especially wet roots, off-camber turns, and stop-start woodland climbs, a slightly more active front end often works better than an ultra-firm race setup. The trick is staying inside a useful range rather than chasing the smallest or largest sag number on paper.
Once you know the starting range, the next step is measuring it in a way that does not lie to you.
How to measure it properly without fooling yourself
The cleanest sag measurement is simple, but only if you are consistent. I want the fork fully open, the bike in proper riding trim, and the measurement taken without bouncing or forcing the fork down.
- Set the fork to the open position and leave any lockout fully off.
- Put on the kit you normally ride in, including a hydration pack if you use one.
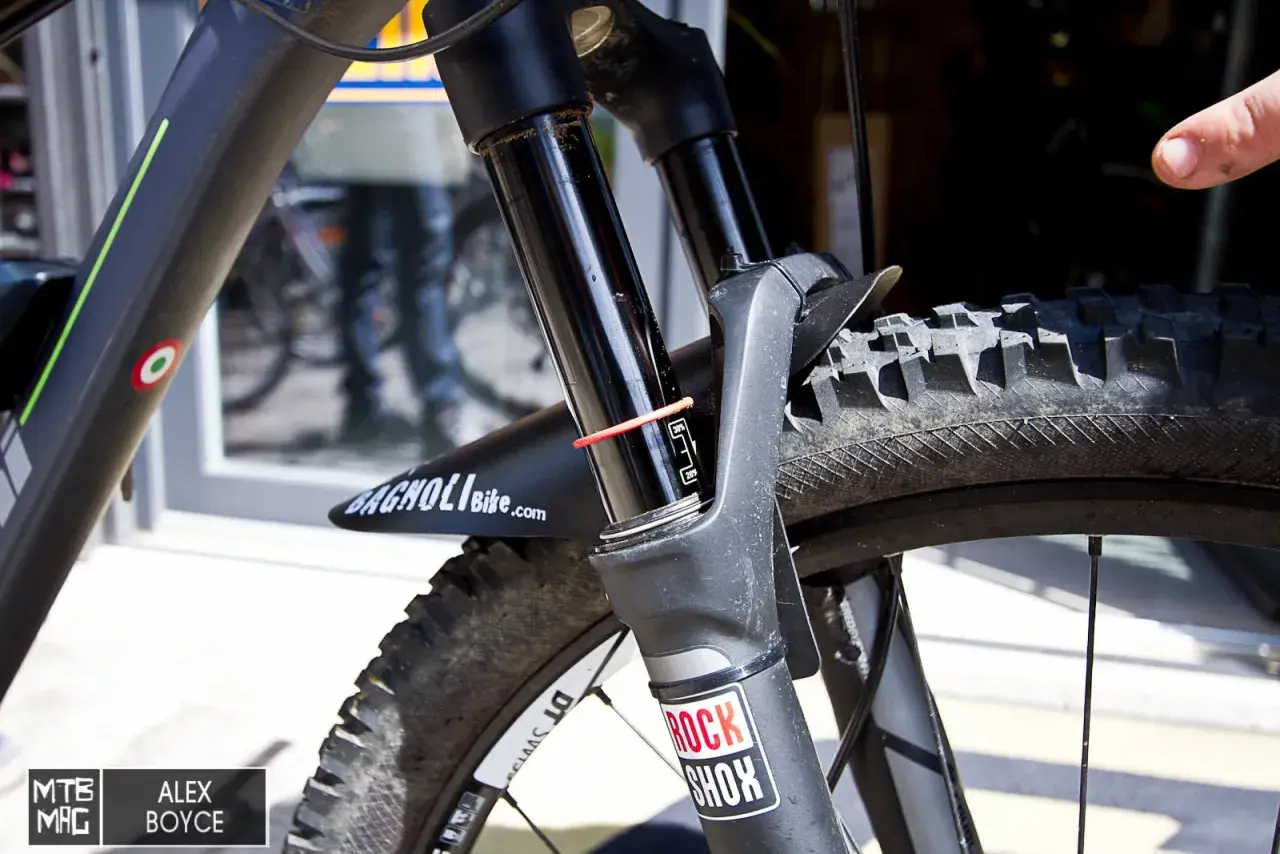
- Slide the sag o-ring up to the dust wiper, or fit a small zip tie if your fork does not have one.
- Hold the bike steady, get on in your normal attack position, and let the suspension settle for around 10 seconds.
- Carefully step off without pushing the fork deeper into the travel, then measure the gap from the dust wiper to the o-ring.
- Adjust air pressure in small steps, usually 2-5 psi at a time, then repeat the process.
The two biggest mistakes here are easy to make. The first is measuring without the gear you actually ride with, which can leave you a few millimetres off before you even start. The second is over-handling the fork while getting on and off the bike. If you bounce, lean back too hard, or grab a brake and force the chassis, the number stops being useful.
I also prefer to cycle the fork a few times before I begin measuring, especially if it has just been serviced or has been sitting for a while. That helps the seals settle and gives a more honest first reading. With a good measurement in hand, the next job is knowing what to change when the fork still does not feel right.
What to change when the sag number is right but the fork still feels off
Correct sag is only the starting point. If the fork feels bad on trail, the cause is often somewhere else, and I would rather adjust the right thing than keep adding or removing air blindly.
- Too much brake dive usually means the fork is sitting a little too deep or the low-speed compression is too open for your riding.
- Harshness on small bumps can point to too much pressure, too much compression damping, or simply a fork that needs service.
- Blowing through travel on normal hits often needs a touch more pressure, or a volume spacer if the fork is too linear.
- Not reaching enough travel on big impacts may mean the fork is too stiff, but it can also mean rebound is too slow and the fork is not recovering between hits.
- Front wheel deflection on roots and rocks is often a sign that the fork is too firm for the terrain, not that it is too soft.
Here is the part I would not skip: sag is a spring-rate setting, while rebound and compression are speed-control settings. Rebound controls how fast the fork returns after it compresses. Low-speed compression resists slower movements like brake dive and body-weight shifts; high-speed compression deals with sharper, faster impacts. If you mix those jobs together, you end up solving the wrong problem.
Volume spacers, sometimes called tokens, are another useful tool. They reduce the air volume inside the fork, which makes the last part of the travel ramp up more aggressively. I reach for them when the fork feels fine in the first half of the stroke but bottoms too easily on bigger hits, not as a substitute for proper sag.
Once you understand which adjustment does what, the usual setup mistakes become much easier to spot.
Common mistakes that make the number useless
I see the same errors over and over, and most of them create false confidence. The sag number might look right, but the bike still rides badly because the setup process was sloppy.
- Measuring with the compression lever partly closed.
- Leaving the fork unserviced and then blaming air pressure for seal drag.
- Setting sag in trainers, casual clothes, or without a pack when you normally ride with one.
- Chasing full travel on every ride instead of matching the fork to the terrain.
- Changing pressure, rebound, and compression all at once, then not knowing what actually helped.
- Confusing tyre pressure problems with suspension problems, especially on rough front-end feel.
One more mistake is expecting a single chart to solve every bike. A short-travel XC fork, a burly enduro fork, and a long-travel downhill fork may all live in different parts of the sag range even if they are set up correctly. Geometry, chassis stiffness, and air spring design all matter. That is why I prefer a controlled test ride over blind faith in a table.
For riders in the UK, that test ride should reflect the sort of trails you actually use most often, which is where the next section becomes useful.
The setup I trust for UK singletrack and mixed conditions
On British trails, the ground is often wetter, slower, and more varied than riders expect from a neat number on a setup chart. In that environment, I usually prefer a fork that sits just active enough to track roots and compressions, but not so deep that it loses its shape when the trail points down.
My practical starting points look like this:
- Fast XC and marathon riding - aim near 15% if you want a calmer, more efficient front end.
- Mixed trail riding - start around 17-18% for a balanced feel.
- Steep, rooty, and technical natural trails - move closer to 18-20% if you need more grip and comfort.
If you ride longer outings, carry tools, water, and a pack, I would set sag with that load on board. The difference is not dramatic for every rider, but it is real enough to matter when you are trying to make the front end feel consistent over a long day. I also like to write down the air pressure and the resulting sag in millimetres, because that gives me a repeatable reference when the weather changes or I fit new tyres, bars, or grips.
The final step is making sure the setup stays honest after a few rides, because forks rarely behave exactly the same once they have been out on the trail.
Why I recheck sag after the first wet ride
A fork can feel perfect in the workshop and slightly different after one proper ride. Seals bed in, stiction changes, temperature shifts the air spring a little, and muddy conditions can make the front end feel slower or more resistant than it did at home.
That is why I recheck sag after the first ride and again after a couple of hours on trail if the bike is new to me or has just had a service. I also recheck it whenever I change major variables such as tyre pressure, handlebar height, or riding load, because those changes affect how the front of the bike carries weight.
If I had to reduce the whole topic to one rule, it would be this: get sag in the right range first, then tune damping, then test on real terrain. Do that in order and the fork becomes much easier to understand. Skip that order and you end up chasing symptoms instead of the setup itself.