A well-tuned mountain bike suspension system changes everything that matters on rough ground: traction, braking control, cornering grip, and how tired you feel after an hour on broken trails. In this guide I break down what the parts actually do, how to set sag and rebound, how to choose travel for your riding, and when maintenance matters more than another expensive upgrade. I’m keeping it practical, with the kind of setup advice that makes a real difference on British trails.
The settings that matter before you buy parts
- Suspension is a control system first. It keeps the tyres on the ground and the bike composed, not just comfortable.
- Travel matters, but only in context. More millimetres help on rough terrain, but they also add weight and can slow the bike down if you do not need them.
- Sag is the first number to get right. A solid starting point is 15-20% up front and 25-30% at the rear.
- Rebound decides whether the bike feels calm or busy. Too fast, and it bucks; too slow, and it packs down.
- Wet UK conditions shorten service intervals. Mud and grit make regular cleaning and maintenance more important than many riders expect.
What suspension is really doing on the trail
I always start with the simple truth: suspension is not there to make a bike feel soft, it is there to keep it predictable. On roots, rocks, braking bumps, and awkward landings, the fork and rear end absorb energy so the tyre can stay in contact with the trail instead of skipping across it.
That matters because grip is not just about tyres. A bike that is too firm tends to deflect off hits, lose braking traction, and beat you up. A bike that is too soft can sit too deep in its travel, dive under braking, and feel vague through corners. The sweet spot is where the bike moves enough to track the ground, but not so much that it saps support and feedback.
In practical terms, I think about suspension as a balance between traction, support, and fatigue management. When those three are in sync, the bike feels quicker than its numbers suggest. Once you understand that balance, the hardware itself starts to make more sense.
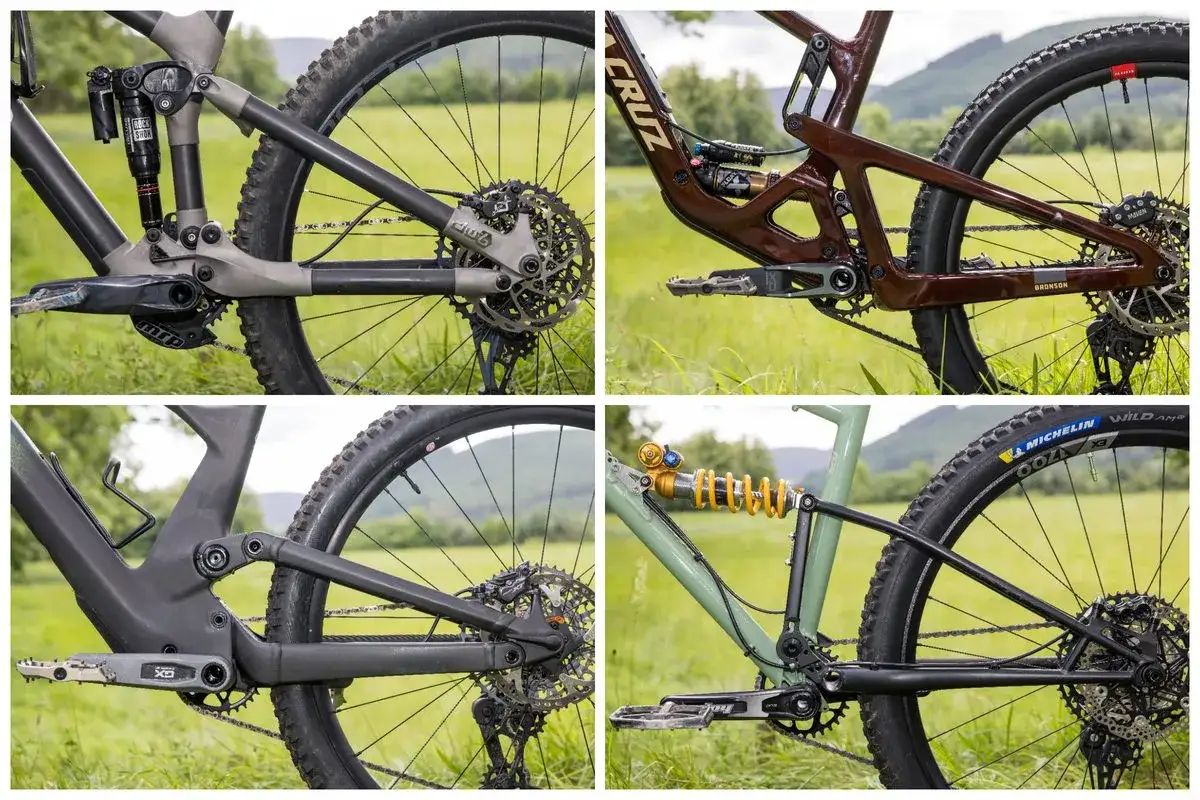
The parts inside the fork and shock
People often talk about suspension as if it is one thing, but the system is really a few separate jobs working together. The spring holds the bike up, the damper controls how fast it moves, and small tuning parts shape the last part of the stroke. If you know which piece is doing what, setup becomes much less guesswork.
Air spring versus coil spring
An air spring uses compressed air to support the rider, which makes it light, adjustable, and common on modern trail and XC bikes. A coil spring uses a steel spring, which usually gives a more linear feel through the travel and a very consistent response on repeated hits. In plain English, air is easier to tune; coil often feels more planted and supple, but it adds weight and usually costs more to set up properly.
The damper and why it matters more than most riders think
The damper controls motion. It slows compression so the bike does not blow through its travel on every hit, and it controls rebound so the wheel does not spring back like a pogo stick. Low-speed compression mostly affects body movements such as pedalling, pumping, and braking support. Rebound controls how quickly the fork or shock extends after being compressed.
I usually tell riders to respect damping before chasing fancy upgrades. A poorly matched damper can make even a good frame feel nervous, while a well-tuned one can make a mid-range bike feel much more coherent. That is why the next step is not the brand badge, it is travel.
Read Also: Fox Float DPS Factory - Still the Best for Your Bike?
Volume spacers and tokens
Volume spacers, often called tokens, reduce the air chamber volume so the spring ramps up more aggressively near the end of the stroke. That helps stop harsh bottom-outs without making the first part of the travel overly stiff. They are useful when a bike feels fine in the first half of its travel but drops through the last part too easily on bigger hits.
I treat tokens as a fine-tuning tool, not a first fix. If the bike feels wrong everywhere, the base spring rate or sag is probably off. Once the hardware is clear, it is easier to see how much travel the bike actually needs.
How travel changes the ride
Travel is the amount the fork or shock can move, measured in millimetres. It is one of the biggest clues to what a bike is built for, but it is not a ranking system. More travel is not automatically better. It just changes the compromise.
| Riding style | Typical travel range | What it feels like | Main trade-off |
|---|---|---|---|
| Cross-country | 80-120 mm front, 100-120 mm rear | Fast, efficient, lively on climbs | Less margin on rough descents |
| Trail | 120-140 mm front, 120-150 mm rear | Balanced, versatile, good on mixed terrain | Not as race-sharp as shorter travel, not as plush as longer travel |
| Enduro | 150-170 mm front, 140-170 mm rear | Calm on steep, rough, and fast tracks | Heavier and usually slower on smooth climbs |
| Downhill | 180-200+ mm front, 170-200+ mm rear | Maximum control at speed on very rough ground | Too much bike for most everyday riding |
For many UK riders, trail travel is the natural sweet spot. It is enough for roots, braking bumps, and awkward descents, but not so much that the bike feels like a handful on flatter local loops or longer climbs. I would rather have the right amount of travel with a sensible setup than 20 mm more and poor support.
Travel sets the ceiling, but sag and rebound decide whether the bike actually feels controlled within that range.
How to set sag and rebound without guesswork
This is the part I would never skip. Sag is the amount the suspension compresses under your body weight in normal riding gear, and it sets the bike’s ride height. Too much sag and the bike sits low, dives, and loses support. Too little sag and it can feel harsh and nervous.
- Put on your normal riding kit, including pack, water, and any tools you usually carry.
- Set the fork and shock to the manufacturer’s starting pressure or preload.
- Get on the bike in a neutral riding position, then gently settle into it without bouncing.
- Measure sag as a percentage of total travel.
- Adjust air pressure or spring preload in small steps, then re-test.
As a starting point, I usually work from 15-20% sag at the fork and 25-30% at the rear shock. That is a practical baseline for a lot of modern air suspension. If you ride smoother XC terrain, I lean toward the firmer end. If your trails are rough, steep, and full of repeated hits, I would start closer to the more active end of the range.
| Ride feel | Likely cause | First adjustment |
|---|---|---|
| Dives too easily under braking | Too much sag or not enough support | Add a little air pressure or one volume spacer if the bike bottoms out late in the stroke |
| Bucks upward after hits | Rebound is too fast | Slow rebound by one click |
| Feels stuck down in repeated bumps | Rebound is too slow | Speed rebound by one click |
| Harsh on small chatter | Too much air, too much compression, or too much tyre pressure | Reduce air slightly or open compression a little |
I like to make one change at a time and test it on the same trail section. Suspension tuning is full of false positives, and changing three things at once makes it impossible to know what actually improved the ride. Once the setup is close, the frame format becomes the next big decision.
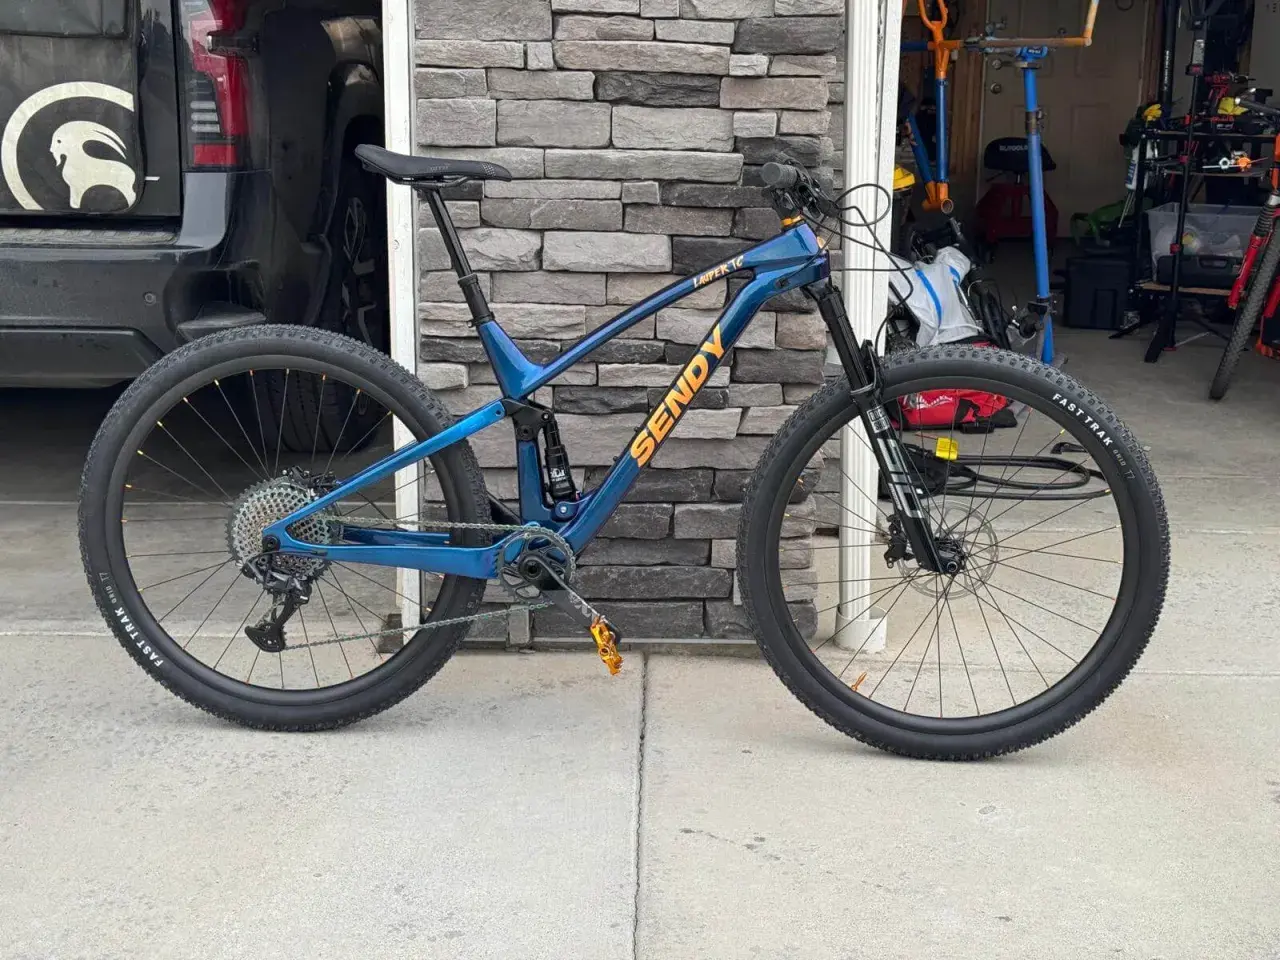
Hardtail or full suspension, and where each makes sense
This is one of the most practical choices in mountain biking, and it is not only about budget. A hardtail gives you a simpler, lighter, lower-maintenance bike with direct pedalling feel. A full-suspension bike gives you more grip, more comfort, and better control when the trail gets broken up or steep.
| Bike type | Strengths | Compromises | Best fit |
|---|---|---|---|
| Hardtail | Simple, efficient, usually cheaper, easier to maintain | Less forgiving on roots, rocks, and long descents | Smoother trails, XC riding, riders who value efficiency and direct feedback |
| Full suspension | More traction, less fatigue, better control on rough ground | Heavier, more expensive, more parts to service | Technical UK trails, wet roots, descending-focused riding, mixed terrain |
If I were choosing purely for British trail conditions, I would lean full-suspension more often than not, especially if the riding includes roots, wet descents, and repeated braking bumps. If the riding is fast, dry, and smoother, a hardtail still makes a lot of sense. The trick is matching the bike to the terrain instead of chasing a category label.
Once that choice is clear, the next gains usually come from avoiding setup mistakes that quietly waste performance.
Mistakes that cost traction and speed
The frustrating part about suspension is that small setup errors can make a good bike feel average. I see the same mistakes again and again, and most of them are fixable in minutes.
- Copying someone else’s pressures. Rider weight, riding position, frame geometry, and terrain all change the correct setting.
- Chasing plushness at the expense of support. A bike that feels soft in the car park often feels vague and slow on the trail.
- Changing too many things at once. This makes it impossible to learn what actually helped.
- Ignoring tyre pressure. Tyres and suspension work together, and a badly inflated tyre can make the fork feel wrong.
- Running the bike dirty. Mud on the stanchions and shock shaft increases wear and ruins small-bump sensitivity.
My rule is simple: tune the basics before you blame the bike. In a lot of cases, a better tyre pressure, the right sag, and one rebound click make more difference than a more expensive fork. That is even more true when the trails are wet and gritty, because maintenance starts to matter quickly.
Keeping it smooth in wet UK weather
British conditions are hard on suspension. Mud, grit, rain, and constant washing all shorten the life of seals and bushings, so I treat maintenance as part of riding, not a separate job for later. A bike that runs cleanly all winter usually feels better in spring too.
- Every ride: wipe the fork stanchions and shock shaft clean, then check for oil rings or dirt stuck around the wipers.
- Every few muddy rides: inspect the bike for leaks, loose bolts, and unusual noise from the linkage or top-out.
- Around 50-125 hours: many forks and shocks want a lower-leg or basic service, depending on the model.
- Around 200-300 hours: more complete damper or air-spring service is often due, again depending on the brand and product.
- At least once a year: if you ride through winter, I would plan a professional service even if the hour count looks low.
One useful habit is to keep a simple note of pressures, rebound clicks, service dates, and any spacer changes. That gives you a baseline to return to after a service or a season change. It also stops you from guessing when something starts to feel off.
Once the bike is clean and the service intervals are under control, the last decision is whether a part swap will genuinely improve the ride or simply cost money.
What I would check before spending money on upgrades
Before I buy a new fork, shock, or tune kit, I ask one blunt question: is the problem actually suspension, or is it something upstream of that? Sometimes the answer is spring rate. Sometimes it is geometry. Sometimes it is tyre choice. An expensive upgrade cannot fix the wrong frame size or a rider who is running the bike far outside its intended range.
- Match the bike to the terrain first. If your local riding is mostly smooth, a shorter-travel, lighter setup may make more sense than adding travel.
- Confirm frame compatibility. Eye-to-eye length, stroke, mounting hardware, and leverage curve all matter.
- Work out whether you need more spring support or better damping control. Those are different problems.
- Check service access in the UK. A high-end part is less attractive if parts, tools, or labour are hard to get.
- Keep your baseline notes. If you do upgrade, you want to know whether it actually improved the bike or just changed the feel.
If I had to keep one rule from the whole article, it would be this: start with the right travel, set sag properly, then tune rebound before you touch the expensive stuff. That sequence solves more problems than most riders expect, and it is the fastest route to a bike that feels calm, grippy, and genuinely quick.