Getting tubeless tape right is one of those jobs that looks simple until a slow leak ruins the evening. In practice, the tape has to seal every spoke hole, sit flat in the rim bed, and leave the valve area clean enough to hold pressure. This guide explains how to tape tubeless rims, choose the right width, and fix the mistakes that usually cause repeat air loss.
The cleanest tubeless setup starts with the tape, not the sealant
- Clean, dry rim beds matter more than brand names.
- Pick tape 1 to 2 mm wider than the rim’s internal width in most cases.
- Apply with firm, even tension so the tape sits flat and centred.
- Overlap the end by 10 to 15 cm to avoid a weak join.
- Pierce the valve hole cleanly instead of cutting a large slit.
- Retape when the edges lift, wrinkle, or get cut during tyre changes.
What rim tape is actually sealing
Rim tape is not there to make the wheel look tidy. Its job is to turn a spoke-hole-filled rim bed into an airtight surface so air and sealant stay inside the tyre, not inside the rim cavity. If the tape is too narrow, badly centred, or laid over dirt, the wheel may inflate once and then lose pressure through tiny gaps that are hard to track down.
I treat the tape as the foundation of the whole tubeless system. The valve, the bead, and the sealant all depend on that first airtight barrier. If the rim bed has burrs, sharp spoke ends, or damaged eyelets, tape can hide the problem for a while, but it will not solve a bad rim. That is why I always inspect the wheel before I touch the roll of tape.
Once you understand that the tape’s real job is to seal the bed, it becomes much easier to choose the right width and apply it with the right amount of care.
Choosing the right tape width for your rim
My rule of thumb is simple: measure the internal rim width and choose tape that is slightly wider, usually by about 1 to 2 mm. DT Swiss publishes the same general approach, and in real workshop use it is still the safest starting point. Too narrow is a leak. Too wide can creep up the sidewall, make tyre fitting harder, or bunch in the centre channel.Here is the sizing logic I use most often on MTB and gravel wheels:
| Rim internal width | Good starting tape width | Why this works |
|---|---|---|
| 21 to 23 mm | 23 to 25 mm | Gives full spoke-hole coverage without climbing the sidewall |
| 24 to 25 mm | 26 to 27 mm | Common for gravel and XC rims with a clean rim bed |
| 26 to 28 mm | 29 to 30 mm | Safer coverage on wider MTB rims |
| 29 to 30 mm | 32 mm | Usually the cleanest fit on modern wide rims |
| 31 to 35 mm | 37 mm | Better for plus-size or very wide trail rims |
If the rim has a deep centre channel or a rougher spoke bed, I lean toward the wider option, but I do not start layering tape randomly. Two or three layers can help in some rim and tyre combinations, yet they also add height and make beads harder to seat. For most builds, one properly applied strip is cleaner and more reliable than trying to solve everything with extra layers.
Once the size is right, the installation itself matters more than the tape brand, and that is where most messy setups begin.
How I apply tape without trapping air
I start by stripping the wheel down completely and cleaning the rim bed until it feels dry and smooth. Isopropyl alcohol on a lint-free cloth is usually enough for a fresh job, but if there is old adhesive or sealant residue, I remove that first. A dirty rim is the easiest way to trap air under the tape, and once a bubble is there, it tends to stay there.
- Remove the tyre, valve, and any old tape or rim strip.
- Inspect the rim bed for burrs, cracks, or sharp spoke ends.
- Clean the rim thoroughly and let it dry.
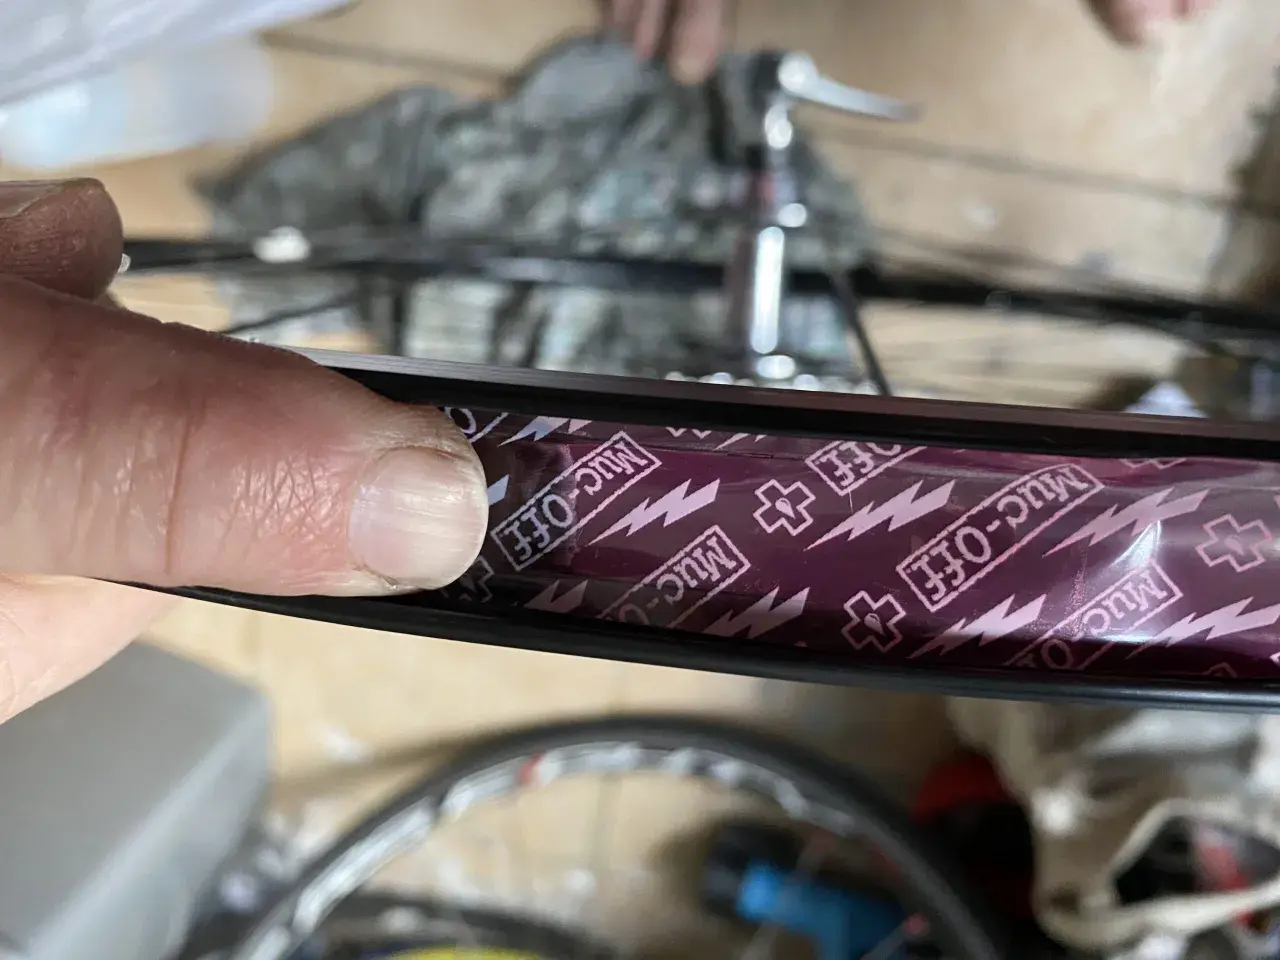
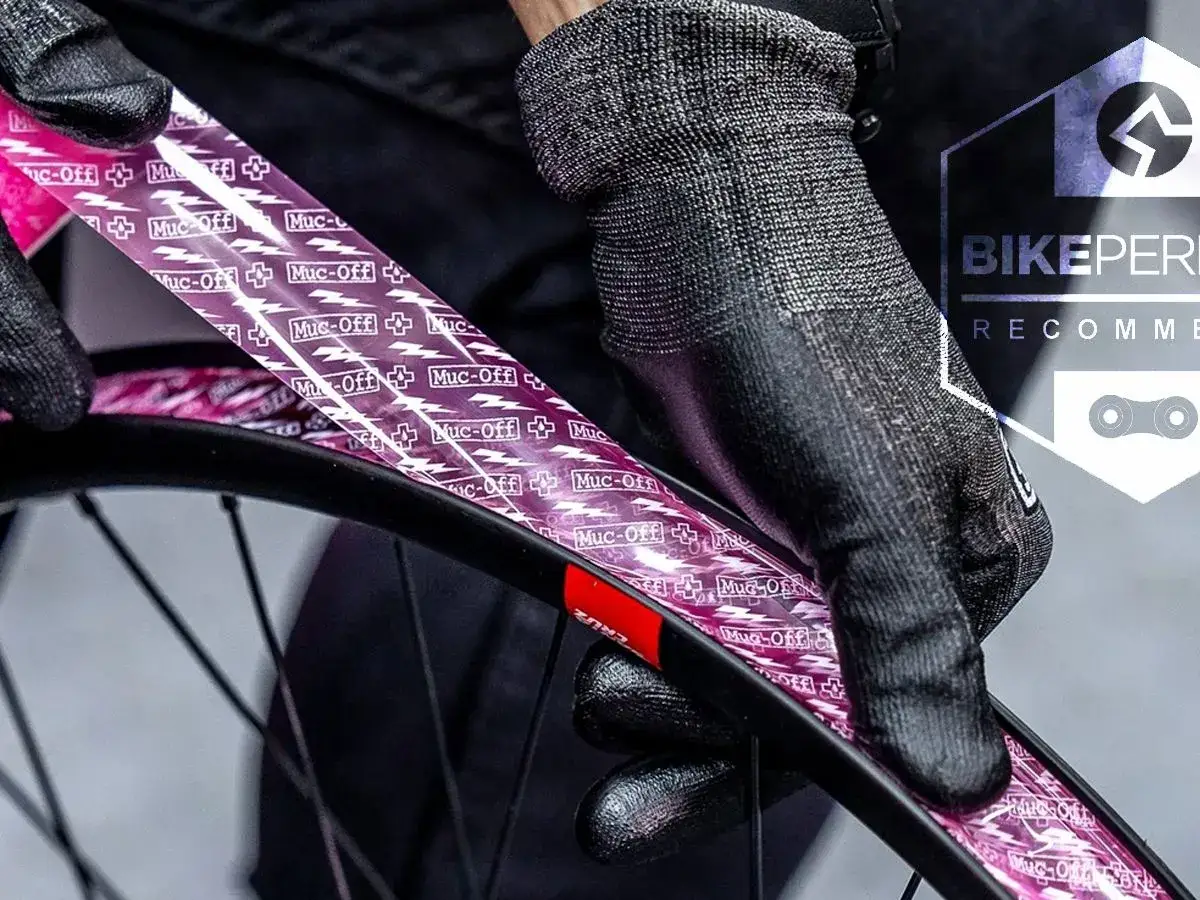
- Align the tape so it runs straight through the centre channel.
- Start on the side opposite the valve hole and anchor the first few centimetres.
- Pull the tape with firm, even tension while pressing it into the rim bed.
- Work slowly around the wheel, smoothing with your thumb as you go.
- Finish with an overlap of about 10 to 15 cm.
- Press the whole strip down again, especially across the overlap.
- Pierce the valve hole with a pick or awl, then fit the valve snugly.
The part I never rush is the first pass around the wheel. If the tape is wandering even slightly, I stop and realign it before I get halfway round. Schwalbe’s guidance is consistent with this: keep the tape under tension, avoid air bubbles, and make sure every spoke hole is covered securely. I also avoid cutting a large cross at the valve. A clean puncture is enough, and it preserves the seal around the hole.
When the tape is down properly, inflation becomes a lot less dramatic. When it is not, the symptoms show up quickly, usually as slow leaks or a valve that never seems to seal properly.
The mistakes that cause slow leaks
Most tubeless problems that look like sealant failures are actually tape problems. The tyre may hold air for a few hours and then sag overnight, or it may hiss around the valve the moment you inflate it. I usually work through the causes in this order: tape width, tape position, valve fit, and then the tyre bead itself.
| What you notice | Likely cause | What I do |
|---|---|---|
| Air leaking through spoke holes | Tape is too narrow, lifted, or creased | Remove it and retape with the correct width on a clean rim |
| Leak at the valve | Hole is too large, tape was torn, or the valve washer is loose | Refit the valve, reseal the area, or replace the damaged strip |
| One section keeps bubbling | Air pocket under the tape | Lift that section and lay a new strip with more even pressure |
| Tyre refuses to seat cleanly | Too much tape build-up or an overwide strip | Check whether the tape is stacking up in the bead seat area |
| Edge of the tape peels back | Rim was oily, dusty, or the tape was stretched too aggressively | Clean the rim again and retape from scratch |
In practice, the biggest mistake is trying to save a bad tape job with more sealant. Sealant can close tiny pores, but it will not fix a tape edge that has lifted or a hole that was cut too large. If the leak is coming from the rim bed, the honest fix is to retape it.
That leads to the next question I get a lot: when is it worth retaping instead of trying to patch the setup one more time?
When I retape a wheel instead of chasing a leak
I retape a wheel when the tape has any visible wrinkle, lift, cut, or puncture near the valve or spoke holes. I also retape if I remove and refit the tyre several times and the tape starts to look tired. There is no fixed mileage interval that works for every rider, because tyre choice, rim depth, and workshop habits all change the result.
Some wheels are simply less forgiving. Deep rims, rough alloy beds, and older wheels converted to tubeless often need more patience than modern tubeless-ready MTB rims. If the wheel came pre-taped from the factory and the strip is still perfect, I leave it alone. If it is damaged, I replace it rather than layering another strip over a compromised base.
This is also where I am cautious about double layers. They have a place, but only when the rim bed shape genuinely needs extra build-up. On a standard trail wheel, a single correct layer is usually the better answer because it keeps the bead seat consistent and the tyre easier to mount.
Once I stop treating tape as a temporary fix, the whole tubeless system becomes more dependable, which is exactly what you want before sealant goes in.
The checks I make before sealant goes in
Before I pour in sealant, I run through a short list. It takes less than a minute and saves a lot of rework later. I check that the tape is centred, the overlap is flattened, the valve sits snugly against the tape, and there are no bubbles or lifted edges anywhere around the rim. If anything looks uncertain, I fix it then, not after the tyre is full of sealant.
- The tape covers every spoke hole with no gaps at the edges.
- The valve hole is clean and just large enough for the valve stem.
- The overlap is pressed down firmly, especially where the strip ends.
- The tyre bead is seated evenly all the way round before sealant is added.
- The rim bed is dry, because moisture and adhesive do not mix well.
After the first inflation, I leave the wheel at pressure for a few minutes, then listen for any hiss around the valve or spoke bed. If it is quiet and the pressure holds overnight, the tape job is doing its work. That is the real test, and it is the reason I spend more time on the prep than on the actual wrapping. A clean tape job is not glamorous, but it is the difference between a tubeless setup you trust and one you keep revisiting after every ride.