Fox's GRIP2 damper is for riders who want to shape fork behaviour, not just choose between soft and firm. It gives separate high- and low-speed compression and rebound adjustment, so you can keep the fork supple over chatter while still supporting the bike through braking, G-outs and hard landings. In this guide I break down what the damper does, how to set it up, how it compares with Fox's newer options, and where it still makes the most sense in 2026.
The useful way to think about GRIP2 is simple
- Set sag and air pressure first, then use damping to fine-tune feel.
- GRIP2 gives four external controls, so it is more tunable than simpler Fox dampers.
- Fox's current new-fork range is built around GRIP X2, GRIP X, GRIP SL and GRIP, so GRIP2 now shows up mostly on older or second-hand forks.
- A sensible baseline for 36/38 GRIP2 forks is 5 clicks out on high-speed compression and 10 clicks out on low-speed compression.
- For UK trails, a slightly more open setup usually works better than an over-firm one, especially on wet roots and repeated square-edged hits.
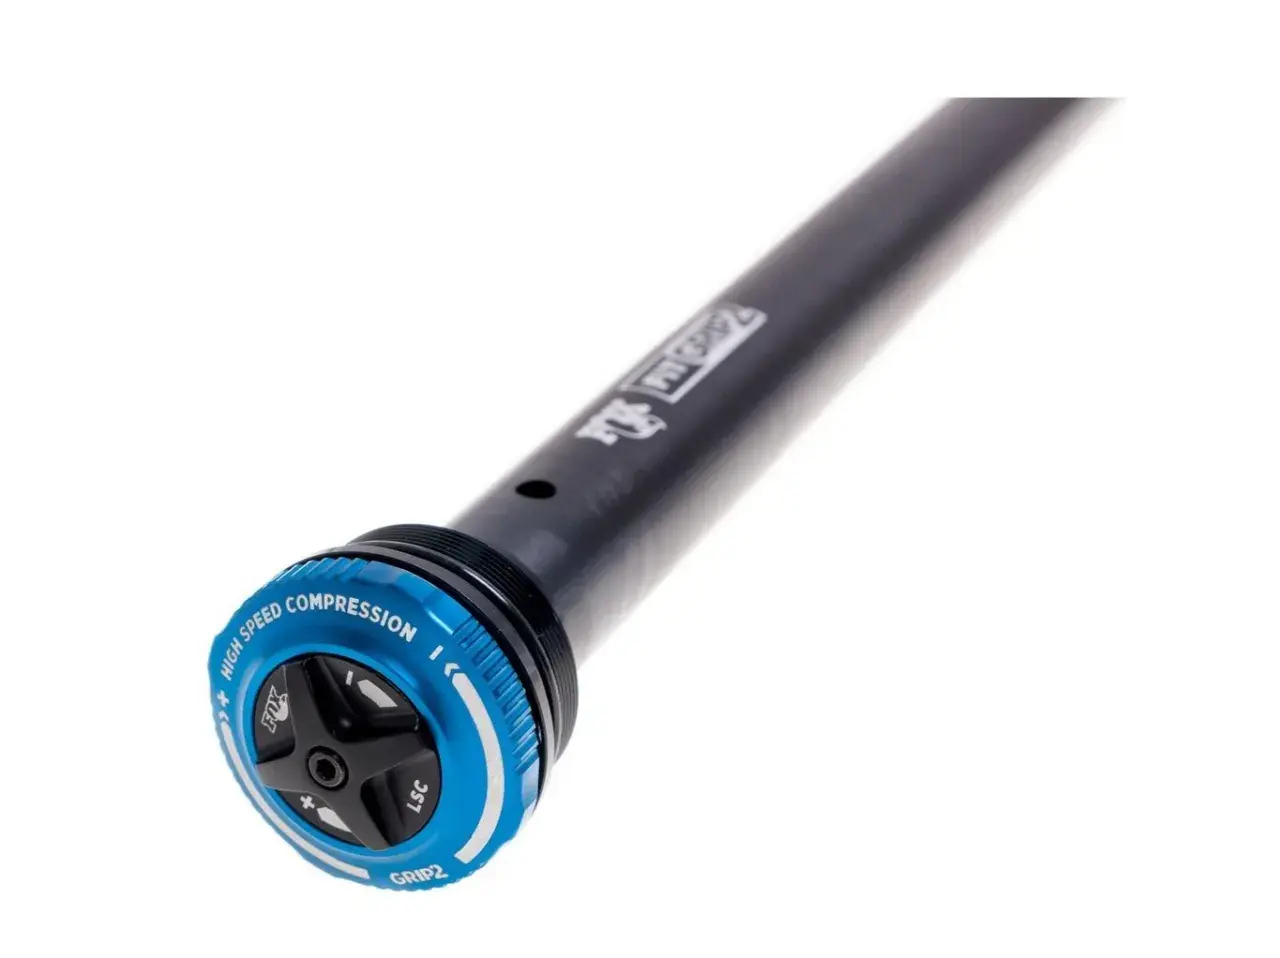
What the damper actually does inside the fork
I think of damping as the fork's control layer. The air spring holds the bike up; the damper decides how quickly the fork moves, how it recovers, and how much support you feel when the trail gets messy.
Inside the fork, oil is forced through valves and shim stacks, which are thin metal discs that flex to meter flow. When oil flows easily, the fork moves more freely. When flow is restricted, the fork slows down and feels more controlled. That is why a fork can be set up to feel lively on small chatter, yet still resist diving hard into its travel when you brake into a steep chute.
The important detail is that high-speed and low-speed do not describe your riding pace. They describe how fast the damper shaft is moving. A square-edged rock can create a high-speed shaft movement at walking pace, while a hard pedal stroke or a long brake squeeze is usually a low-speed event. Once that clicks, the whole GRIP2 layout starts to make sense, and the adjusters stop looking like random knobs.
On later GRIP2 forks, Fox uses Variable Valve Control on the high-speed circuits, which lets the external adjuster change valve behaviour without opening the damper. That is the part that makes the fork feel properly tuneable instead of just vaguely adjustable. Once you understand that, the individual knobs become much easier to use well.
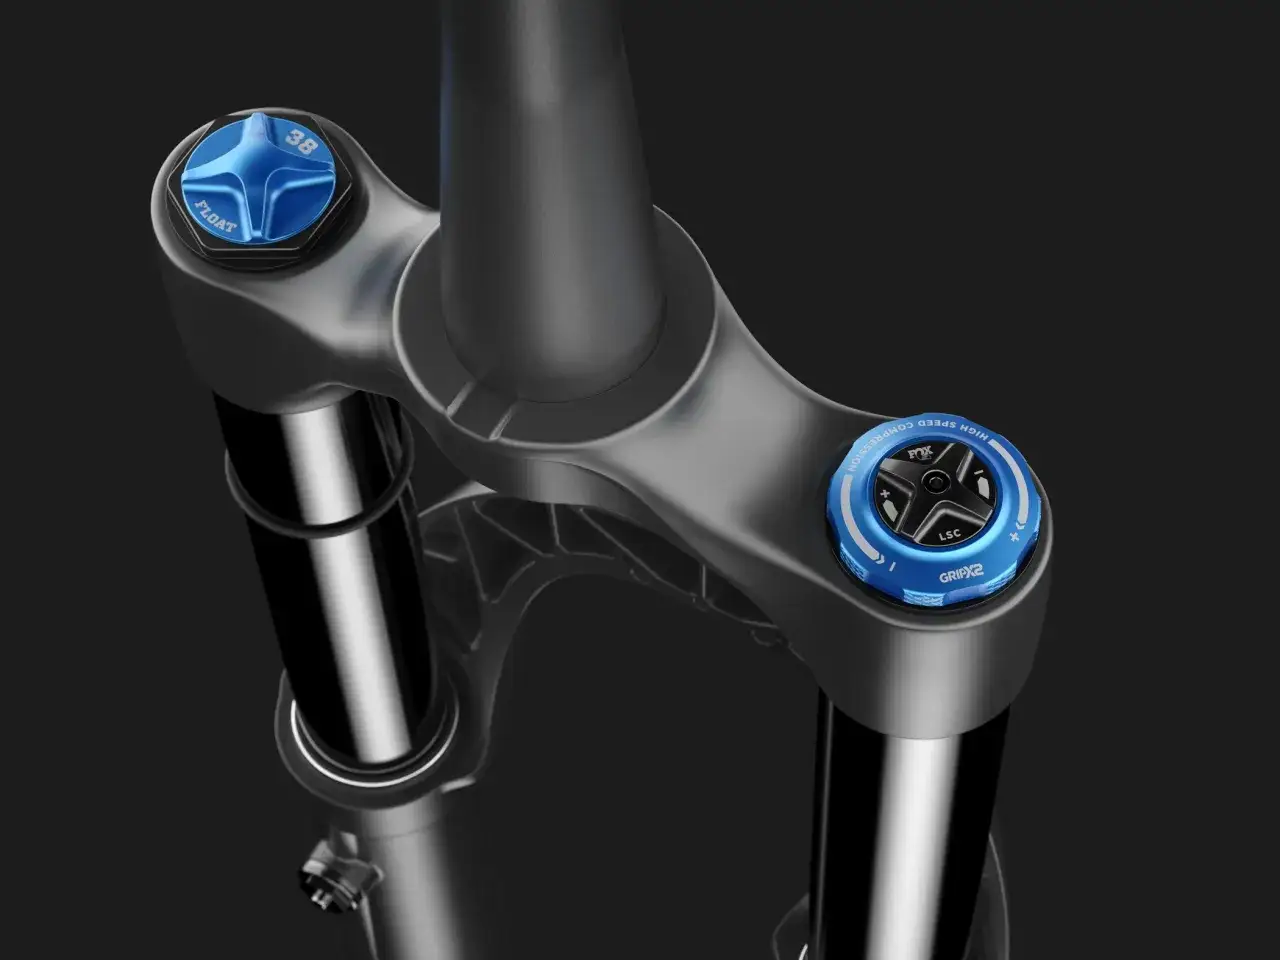
How the four adjusters change the ride
The easiest way to tune GRIP2 is to connect each adjuster to a real trail sensation. If you do that, you are less likely to chase clicks blindly and more likely to fix the actual problem.
| Adjuster | What it controls | What you feel if it is too open | What you feel if it is too closed |
|---|---|---|---|
| High-speed compression | Big hits, landings and square-edged bumps | Fork blows through travel too easily and feels less supported | Harsh impact feel, less grip on sharp edges |
| Low-speed compression | Braking support, pumping, rider weight shifts and G-outs | Brake dive, wallowy mid-stroke feel | Front end can feel rigid, nervous and tiring |
| High-speed rebound | How fast the fork extends after deeper compression | Fork can spring back too quickly and top out | Fork returns too slowly and starts to pack down |
| Low-speed rebound | Recovery between smaller repeated hits | Front wheel feels lively or bouncy | Front end rides deeper and loses pop |
Fox's own starting logic is straightforward: close each adjuster gently, then back it out to a baseline. On GRIP2, the high-speed compression adjuster only changes damping through the first 16 clicks out from fully closed, so there is no point pretending the extra detents are useful if you are way past that range.
My practical rule is simple. If the fork is harsh on sharp hits, open high-speed compression first. If it dives under braking or pumps through the mid-stroke too easily, add a click or two of low-speed compression. If the fork feels bouncy or tops out, add rebound damping. If it feels glued down and dead on repeated hits, back rebound out one click. That is the rhythm to use before you start blaming the chassis.
Once the adjusters are tied to the right symptoms, the only thing left is a sensible starting setup.
A practical setup routine for UK trails
For UK riding, I always start with the spring side before touching the damper. Fox sets fork sag at 15-20% of total travel, and on the common 36/38 chassis the maximum air pressure is 120 psi for a 36 and 140 psi for a 38. If you are close to those ceilings and still cannot get the sag you want, the answer is usually not more compression damping.
- Set sag with both compression circuits fully open.
- Use Fox's baseline damping numbers: 5 clicks out on high-speed compression and 10 clicks out on low-speed compression.
- Set rebound from a repeatable baseline, then test on the same descent or trail section each time.
- Change one click at a time, not three.
- Recheck after a longer ride, because temperature, mud and fork pressure can change the feel more than people expect.
| Rider weight (kg) | Low-speed rebound | High-speed rebound |
|---|---|---|
| 54-59 | 9 clicks out | 8 clicks out |
| 59-64 | 8 clicks out | 7 clicks out |
| 64-68 | 7 clicks out | 6 clicks out |
| 68-73 | 7 clicks out | 6 clicks out |
| 73-77 | 6 clicks out | 5 clicks out |
| 77-82 | 6 clicks out | 5 clicks out |
| 82-86 | 5 clicks out | 4 clicks out |
| 86-91 | 4 clicks out | 3 clicks out |
| 91-95 | 4 clicks out | 3 clicks out |
| 95-100 | 3 clicks out | 2 clicks out |
| 100-104 | 2 clicks out | 1 click out |
| 104-109 | 2 clicks out | 1 click out |
| 109-113 | 1 click out | 0 clicks out |
Higher air pressure usually needs more rebound damping, so do not be surprised if a firmer spring setting also wants a slower return. The best test is a short loop with repeated hits: if the fork returns too fast and kicks, add rebound; if it sinks lower and lower through a rough section, open it up a click. That is the point where the numbers start translating into real trail behaviour.
With that baseline in place, it helps to know where GRIP2 sits in Fox's current range, because the answer changes whether you are buying new or tuning an older fork.
How it fits into Fox's current fork range
In 2026, Fox's new fork line-up is built around GRIP X2, GRIP X, GRIP SL and GRIP. On the latest Fox 36 and 38 pages, GRIP X2 is presented as the most tunable gravity-focused option, while GRIP X is the simpler trail and all-mountain choice. That means GRIP2 is now mostly a concern for riders on older forks or those looking at used bikes and upgrade parts.
| Damper | Adjustability | Best for | Why I would choose it |
|---|---|---|---|
| GRIP2 | 4-way adjustability | Older aggressive trail, enduro and park forks | Very tunable if you like to dial support, traction and recovery separately |
| GRIP X2 | 4-way adjustability | Current high-end gravity and hard-charging trail forks | Fox's newer replacement with the same broad tuning goal and a current chassis fit |
| GRIP X | 3-way adjustability | Trail and all-mountain | Less fiddly, still supportive, easier to live with on mixed riding |
| GRIP | 3-position lever | General trail use | Simple, quick and predictable when you do not want to think about four separate circuits |
In practical terms, I would not call GRIP2 outdated just because newer forks use GRIP X2. It is still a strong damper if the rest of the fork suits the bike and the service history is solid. I would only move on from it if I wanted the current Fox chassis, simpler setup, or a fork that better matches how I ride today.
That is the practical line between a damper that feels great and one that feels overworked.
The setup mistakes that make a good fork feel bad
- Chasing damping before sag - if the spring rate is wrong, the damper ends up doing a job it was never meant to do.
- Cranking compression too far closed - support improves for a moment, then the fork starts losing grip and riding high in the wrong way.
- Ignoring rebound after changing air pressure - more air pressure normally needs more rebound damping, so one setting rarely works forever.
- Using high-speed compression to hide a spring problem - if the fork is blowing through travel, a volume spacer or spring-side change is usually the real fix.
- Leaving service too long in wet conditions - Fox specifically notes that hard use, mud and wet terrain justify earlier maintenance than the normal interval.
The biggest pattern I see is simple: riders think they need a more aggressive damping setup when they really need cleaner baseline setup. A fork with too much air pressure and too much compression will feel harsh, but a fork with too little rebound can feel vague and out of control even if the compression settings are sensible. The damper only works well when the spring side and the chassis are already close.
If the fork still feels wrong after that, the issue is usually in the broader setup rather than the damper itself.
When I would keep GRIP2 and when I would move on
- Keep it if the fork matches your bike, the service record is good and you enjoy fine-tuning trail feel.
- Keep it if you ride rough, steep or repetitive terrain where separate compression and rebound control really pays off.
- Move to GRIP X2 if you are buying new and want the current Fox gravity-focused damper in a modern chassis.
- Move to a simpler damper if you want less setup time and more of a set-and-forget trail fork.
If you already own a GRIP2 fork, I would treat it as a highly capable, still-relevant damper rather than old tech. Keep the spring side correct, use the baseline clicks as a starting point and tune for the trail you actually ride. For most UK riders that means a fork that stays calm in braking bumps, holds shape in rough compressions and still finds grip when the ground is wet and unpredictable.